Who doesn’t love it when you can do a little less work and still create something beautiful? How perhaps use something that you have a million of to repurpose into something great? I had the pleasure of testing the Maddie Dress by {Sig}nature Creations which lets you do just that! This pattern lets you use an existing shirt or tank to create a beautiful dress. It goes step by step to make the skirt part and then shows you how to attach it to the shirt or tank to create the perfect empire waist dress in size 0-6mo to 14! Now I took this one step further and attached it to a onsie. I don’t know about you but I love onsie dresses as it keeps my girl a little more modest as she is crawling or being passed around.

Are you ready to find out how to do this yourself? Here is my first tutorial on my blog! Are you as excited as I am? A few things first. There are many different ways to attach the skirt to the onsie. You may find that another method works better for you. One method is to cut the onsie and then sew back together. I don’t like this method as it shortens the onsie. I don’t want to lose any length! I find that this method explained here is the best for me! Also the Maddie pattern is so versatile that you can embellish your skirt anyway you choose! You can even embellish the shirt if you wanted. For this Maddie I decided to attach another ruffle to the top of the skirt. I was trying something new and I think it turned out cute! It does make it a tad more difficult to attach it, but with a little patience it worked out great. I would not recommend it for your first one though! Now on with the tutorial!!
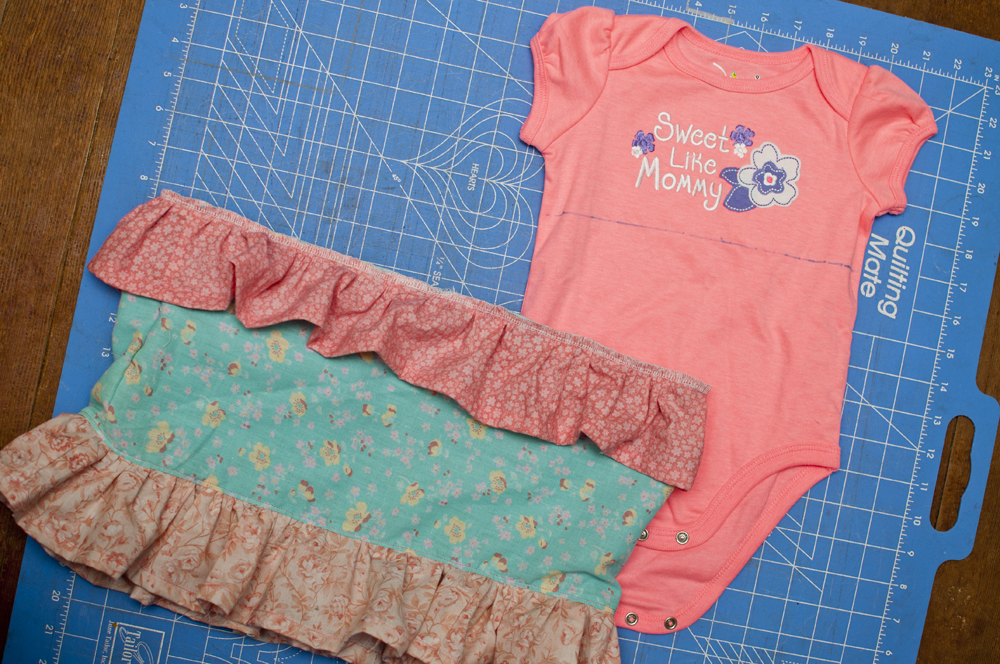
First follow the pattern on how to make your skirt. After you do that you should have two garments: the skirt and the onsie:
 1. Find your cutting measurement on the chart. I am doing the 6-12mo so my measurement is 2″. Measure down from the arm pit seam on your onsie and mark. Repeat for the other side.
 2. Draw a line across the onsie connecting both marks you just made. I use a water soluble marker. Repeat for the back too!
3. Make sure the top raw edge of your skirt is finished. I use my serger to do this.

4. Gather your skirt to the width of your onsie.

5. Keep your onsie right side out and turn your skirt wrong side out. Slip the skirt over the top of the onsie so that the right sides should be together and the bottom of your onsie is sticking out like the photo.

6. Pin your gathered serged edge to the line you marked on the onsie. Make sure you line up the side seams of the skirt to the side seams of the onsie!

7. Check your stitch on your machine. I use the “lightening bolt” stitch seen in this photo. If you don’t have this stitch just use another stretch stitch or a zig zag stitch.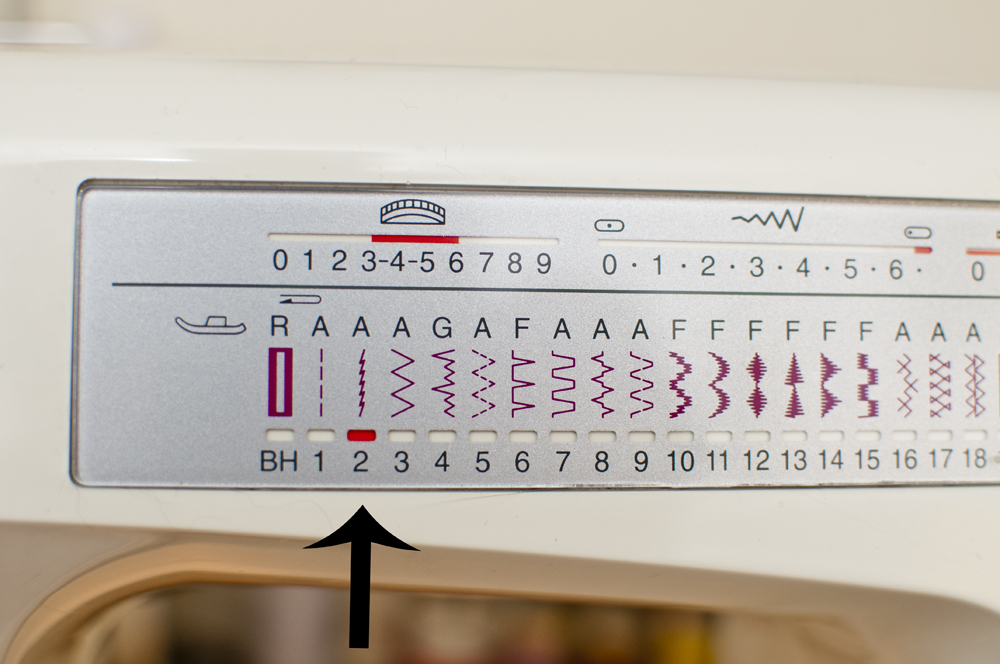
8. Sew the skirt to the onsie. You will want to sew right above your serged edge that way when you flip the skirt down you don’t see if from the right side. Also when I sew the skirt to the onsie I like to very gently stretch the onsie as I sew to give it a little extra give! Makes it a little easier to dress a squirming baby!


9. Flip the skirt down and you should have a little dress!! Now if you aren’t doing a sash you are done! If you are doing a sash continue on.

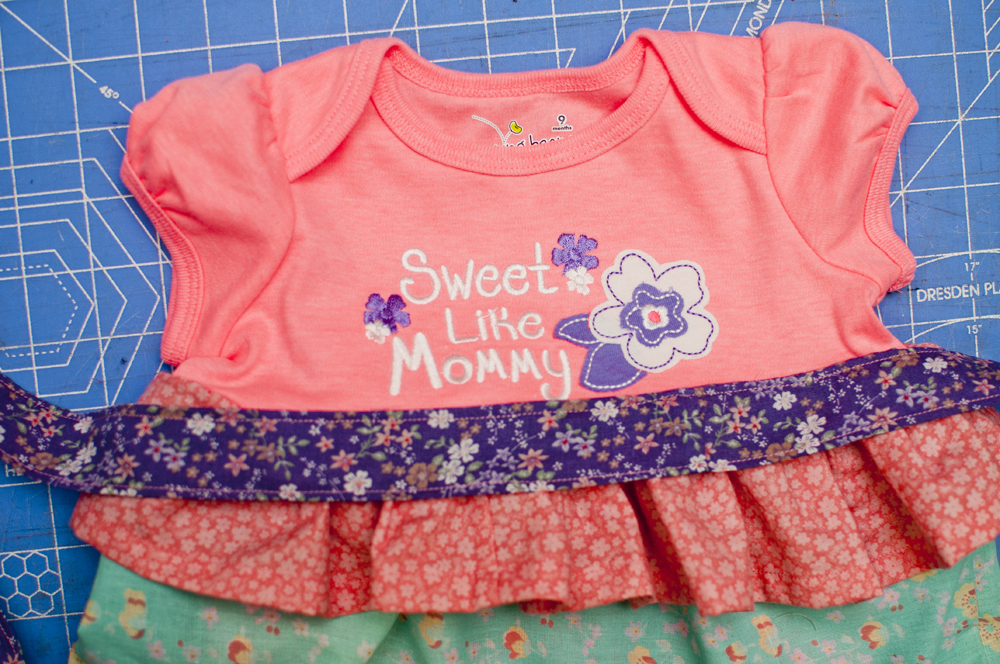
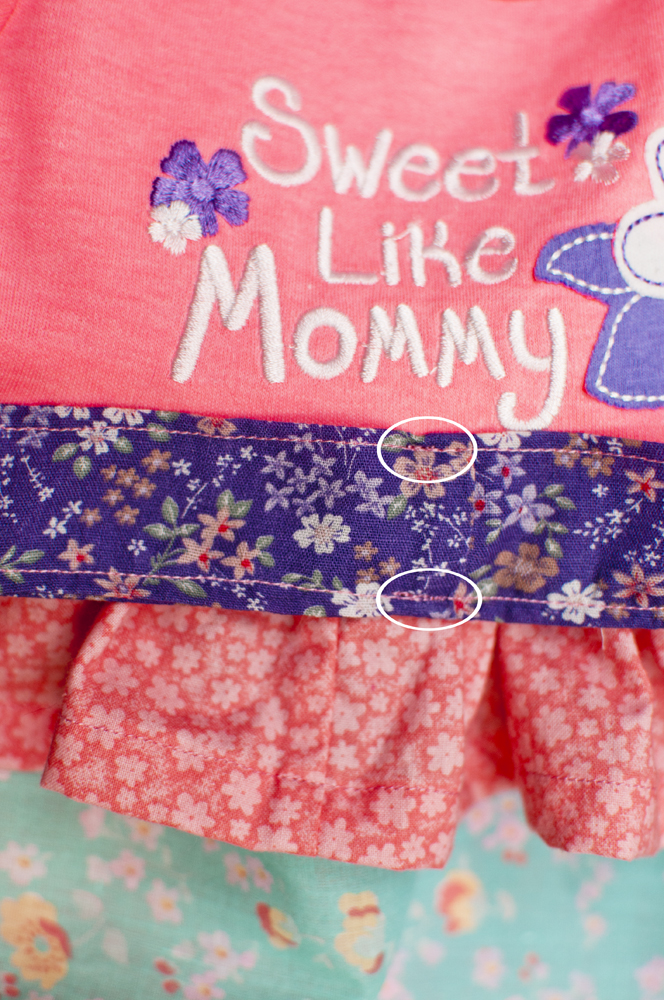
10. Follow the directions on the pattern for making the sash. I like to topstitch my sash. Find the center of your sash and the center on the front of your onsie. Place the sash on top of the onsie/skirt seam lining up the center points. Simply just stitch a couple stitches right over the topstitching on the top and bottom of the sash as indicated by the circles. Alternately you can sew all along the front on top of the topstitching but you might loose some stretch when doing so.

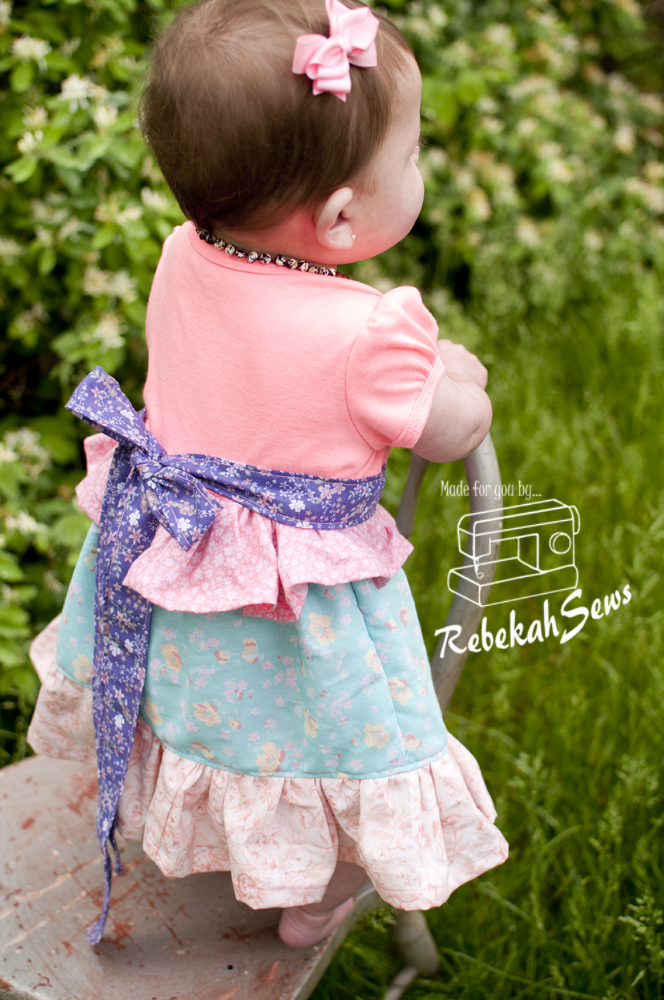
You are done! Now just put your darling dress on your beautiful girl and admire both your amazing creations!!