Exciting things are happening!!! I wasn’t planning on posting so soon but something very exciting happened yesterday. I found out I won something!! Do you want to know what it is? Of course you do. I belong to a wonderful website called sewingmamas.com. It is a great community of women (wonder if there are some men on there too) that all come together to talk sewing. Ok, not always sewing. There are spots on the forum to talk about embroidery, yarn work, photography, and the list can go on. You can strut your stuff in the Runway, buy fabric in the Sewing Boutique, or chat about pretty much anything in Material Girls. One thing I love about this site as well, are the swaps and contests! Now I never entered one of the contests before, but when the Upcycle Challenge came around I said, “Why not?” I certainly have enough sewing to do and there has to be something fun to upcycle for one of the testers that I was doing at the time. I thought about it for a bit and then it happened!

Yes, this is a horrible cell phone shot!
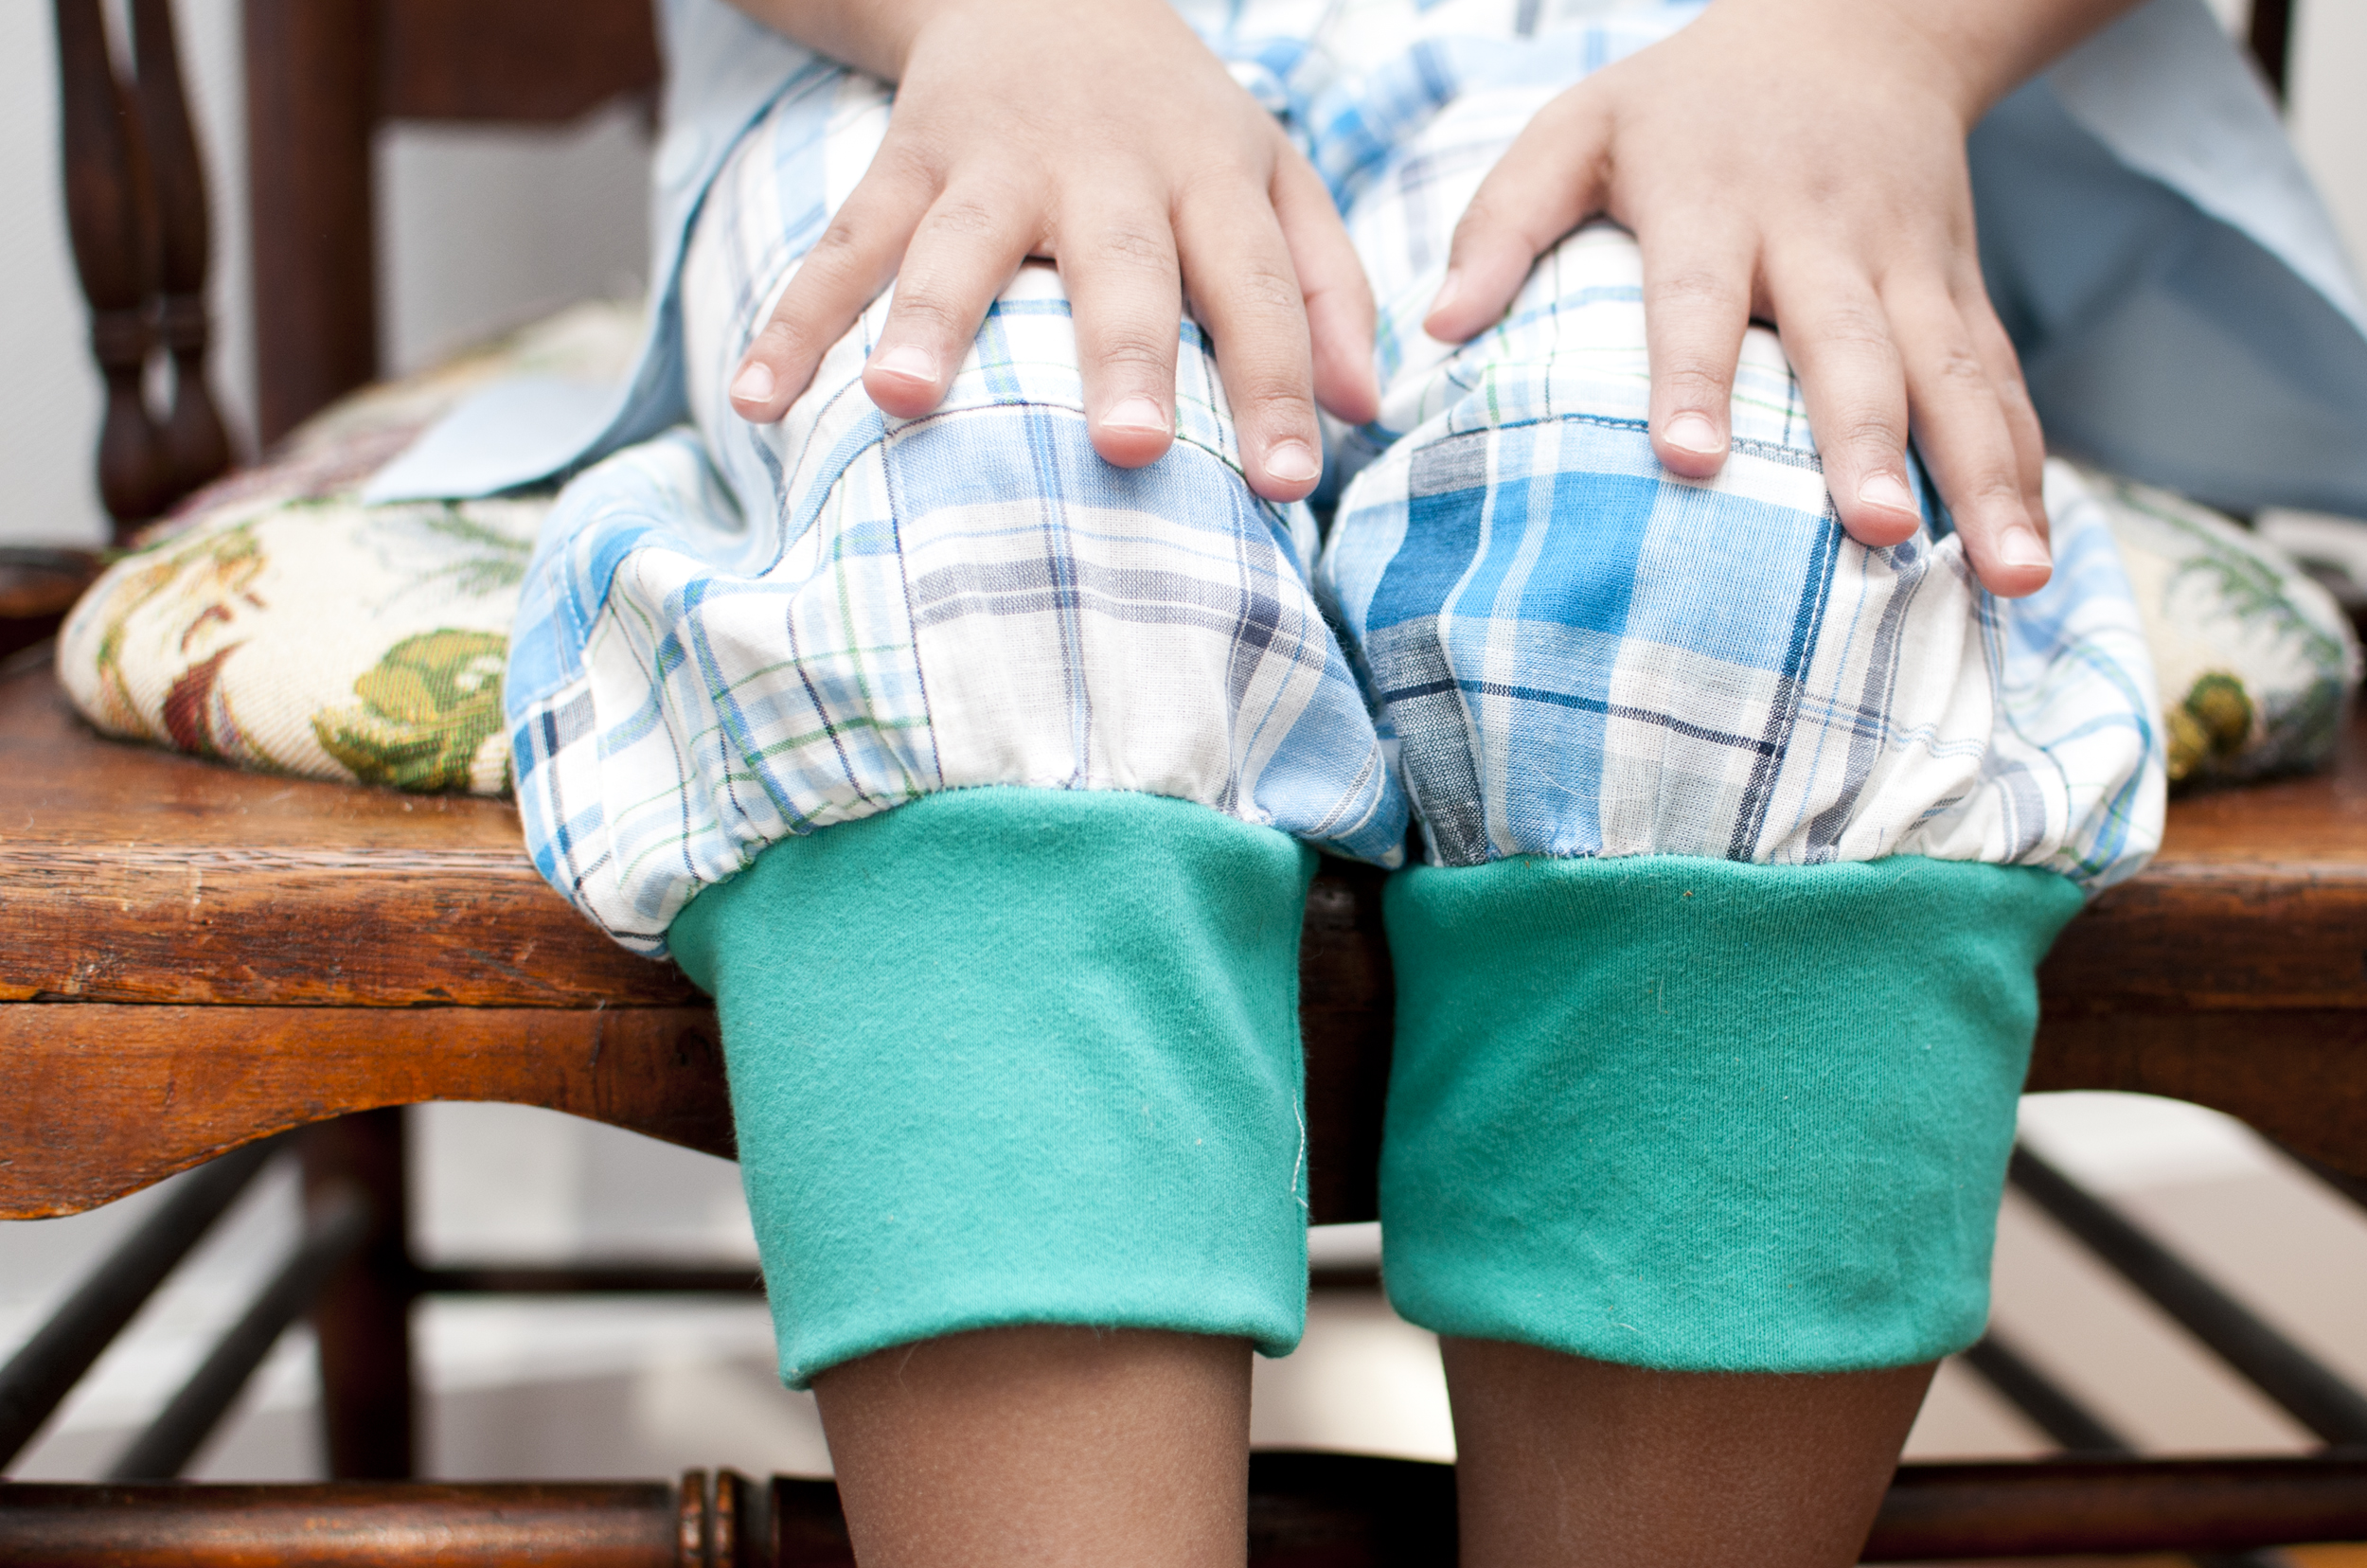
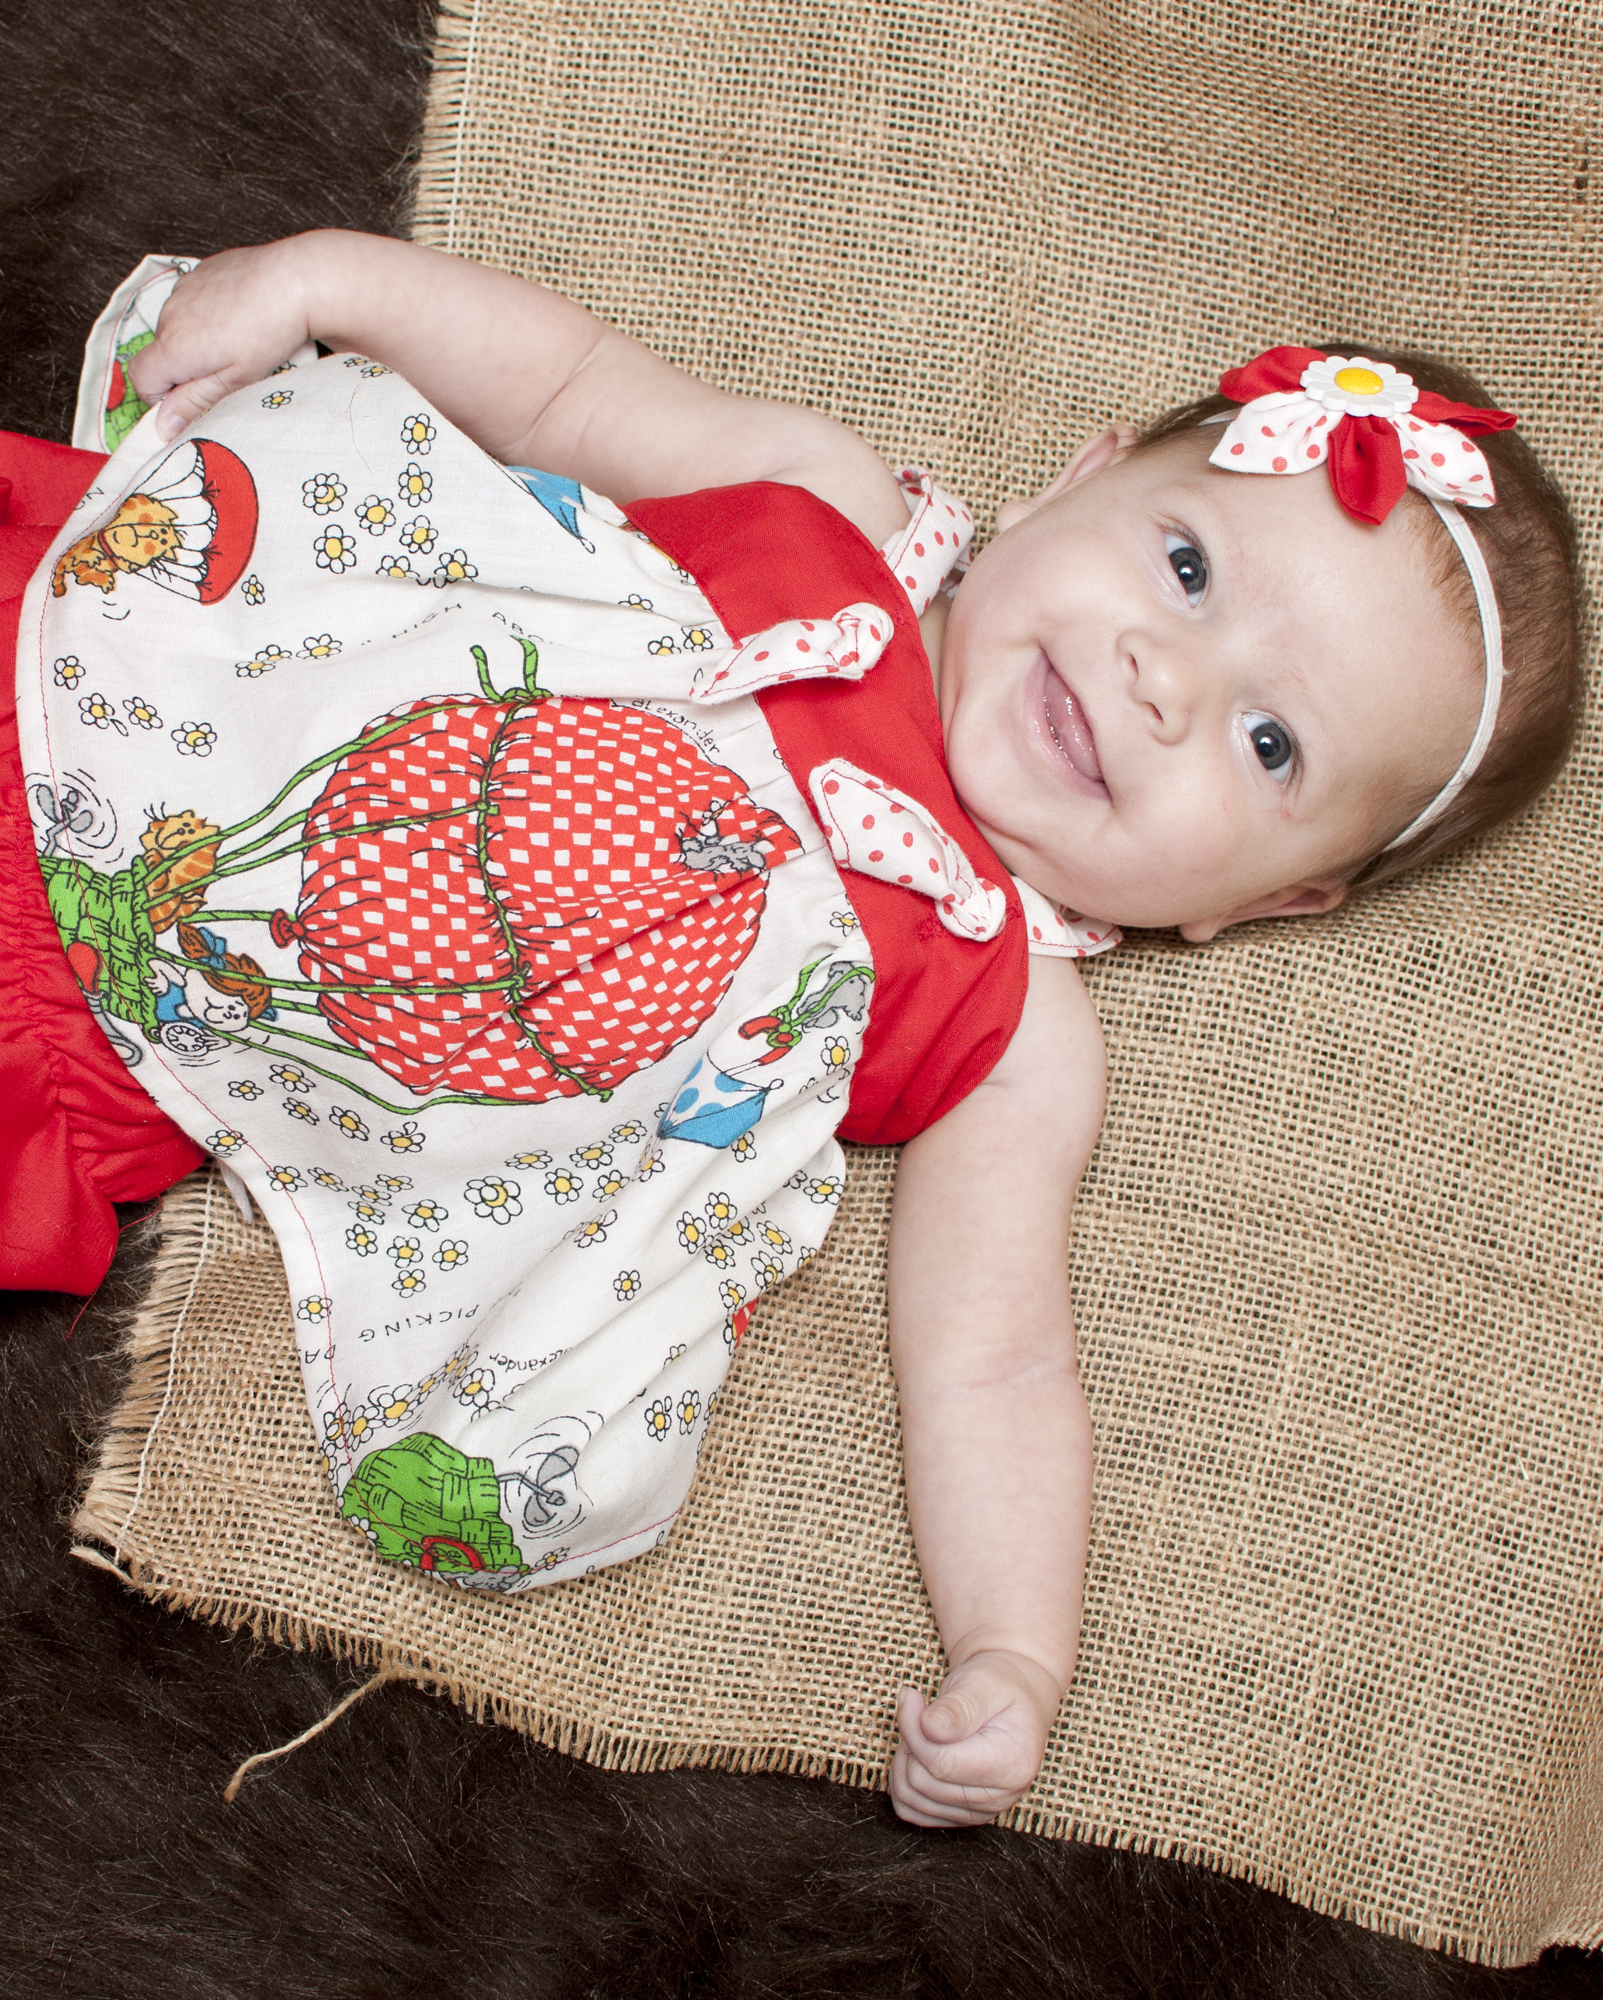
The Sweet n’ Sassy Bubble shorts came along by Little Kiwi’s Closet. I have been waiting anxiously for this pattern ever since Lydia released the girls’ pattern (sizes 2-12yr). She promised me the baby sizes where coming. So I waited, somewhat patiently, for the testing call. Now you probably are asking, “What is so amazing about these shorts?” Have you seen them??!! The cuteness factor is through the roof! They start with the bubble look, but don’t end there. On the side panels of these shorts you can add soooo many options. Included in the pattern are instructions on adding bows, or pockets. You can even leave them plain or maybe make them a mesh for extra ventilation during those hot summer days. Your choice! And, by the way, the infant size Sweet n’ Sassy shorts comes in premie-24months and can accommodate a clothed or disposable diaper.

Pregnant with Little Miss in my favorite maternity dress.
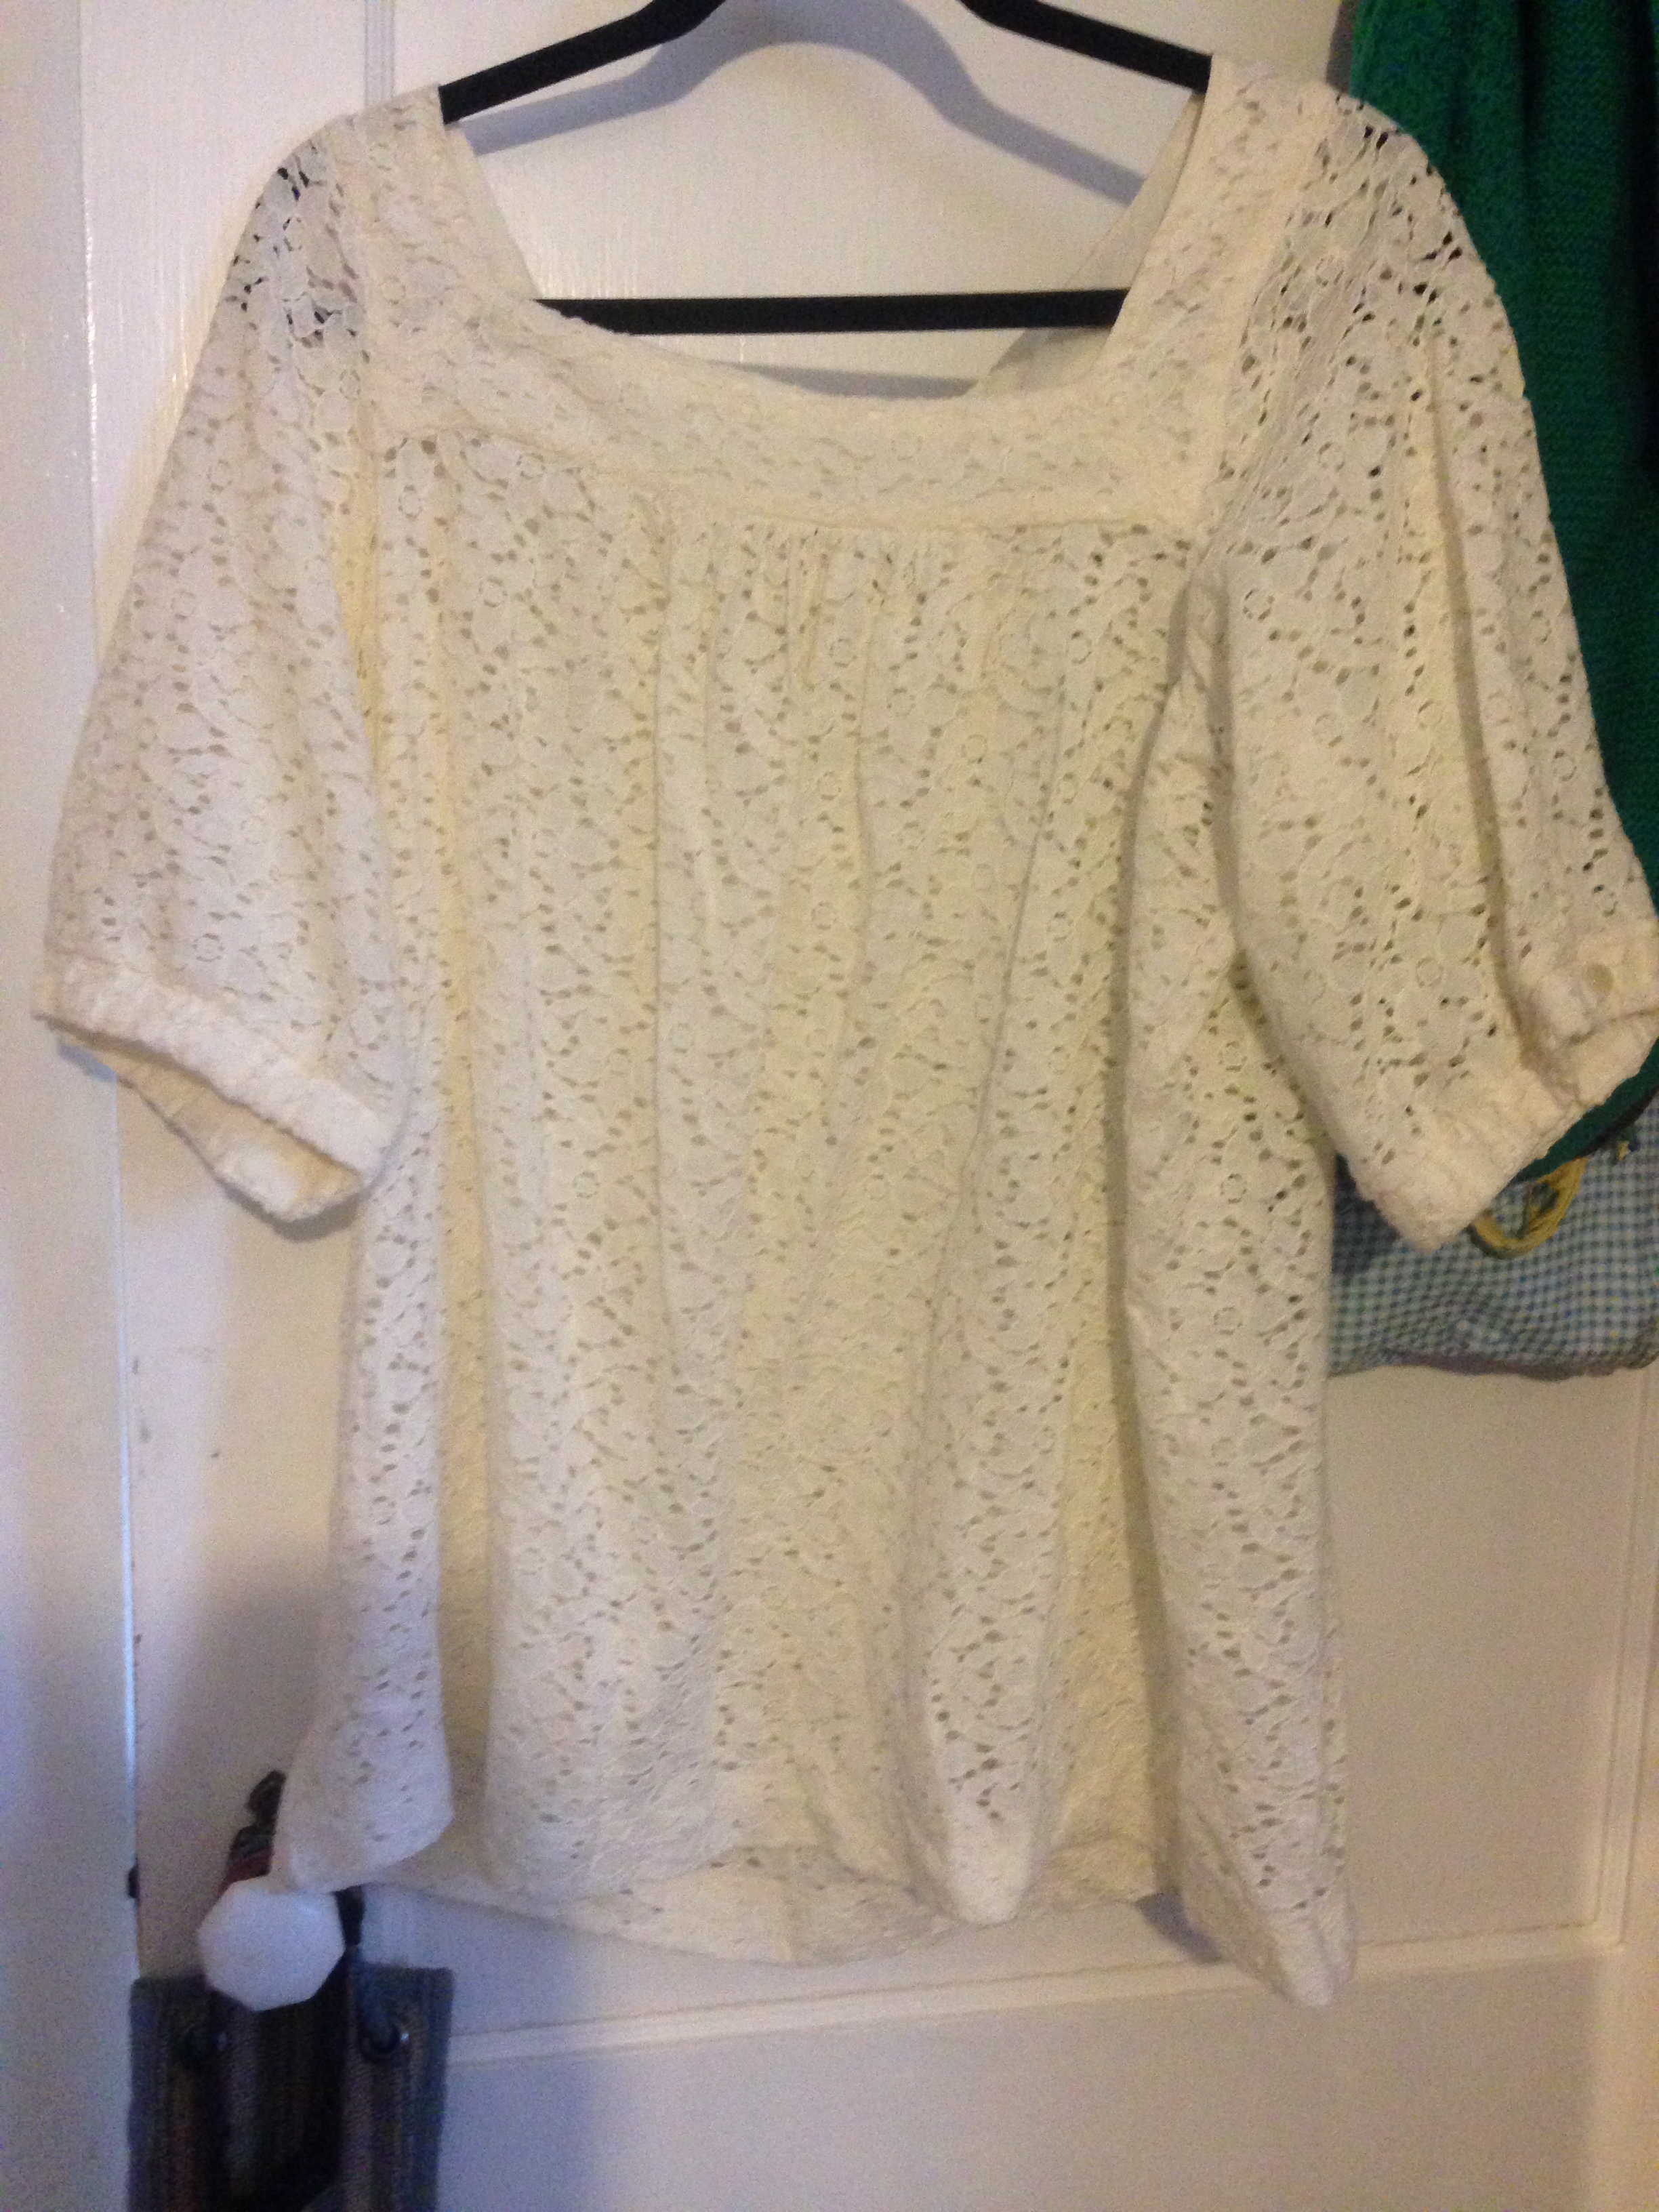
I knew this was it. I had a beautiful lacey top from my plus size days and my favorite maternity dress that where just waiting for a special project. They both landed on my cutting table (well mat on the floor actually) and the rest is history! The lace and the woven ruffle at the bottom of the maternity dress soon transformed into the cutest littlest shorts ever. The front and back panels are the lace with the woven lining. The side panels are just the lace with the bows made out of the woven. Add the bias tape hem and the contrast band for a super cute finish. 
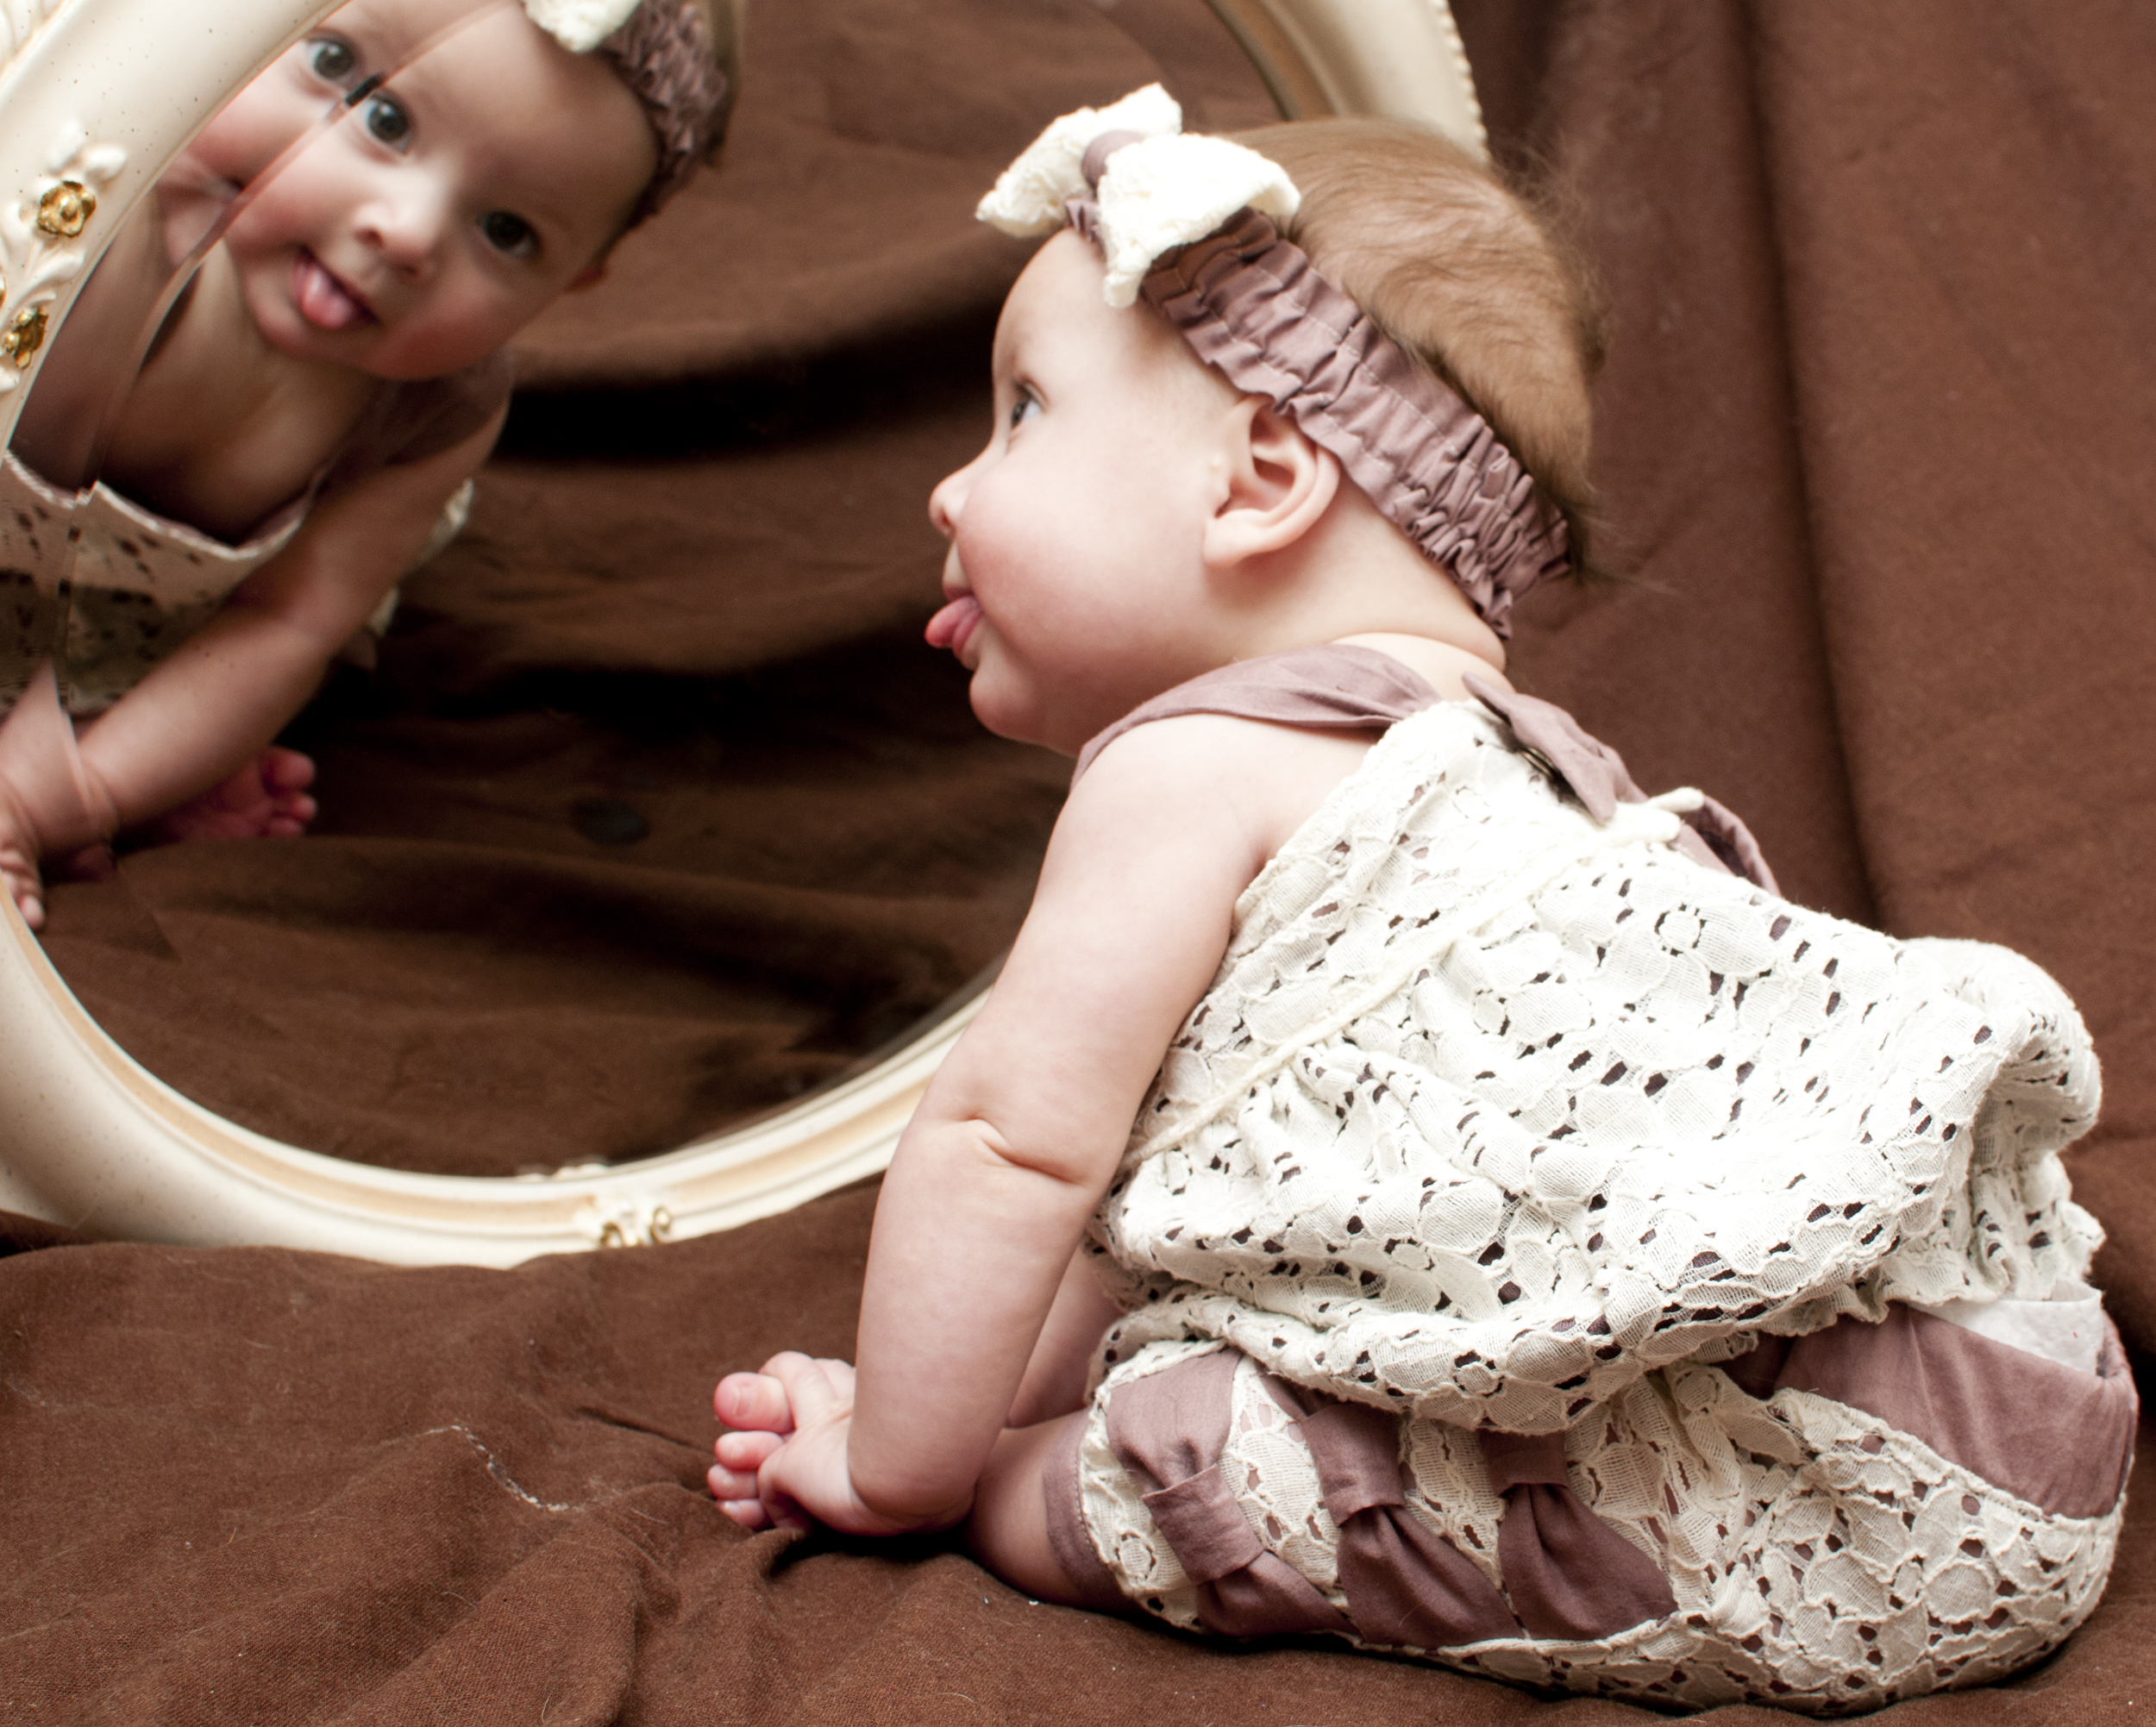
Now I couldn’t just stop there. I needed a top to match the cuteness of the shorts. After all I wanted a whole outfit for the contest! I had previously tested for Little Kiwi’s Closet the Estrella Apron top. On a side note my daughter’s middle name is Estrella and this top was named after her, so I lovingly call it her top!! I still love that Lydia chose her name for this!! Ok, back to the topic here…I decided to modify the top for this outfit.
Unmodified this top is just perfect, and of course has plenty of options as well. It comes in sizes NB-12yrs, which if you are a smart shopper like me, the more size ranges the better! You can make this with laced or knotted straps, open or closed back, and with a lace up or button closure. It also has instructions for adding the cutest pockets ever. Wow I really use the word “cute” a lot, don’t I? Oh well because it seriously is cute!!! And did I mention that it isn’t just for summer. My little miss has worn it several times with a long sleeve onesie underneath and it still is cute!!!
Now for my upcycle version I did modify the pattern somewhat. I wanted a closed back and fixed straps. For the straps I used the waist sash on the maternity dress. In order to place the straps I used the measurements for placement of the knotted straps (which  attach to the bodice back) and laced straps (which attach to the bodice front). I also added elastic to the hem (I made the hem a little bigger to be a casing) to make the top bubble like the shorts! I really needed something to tie it even more together, and that just had to be a bow! Why not use that as the closure?
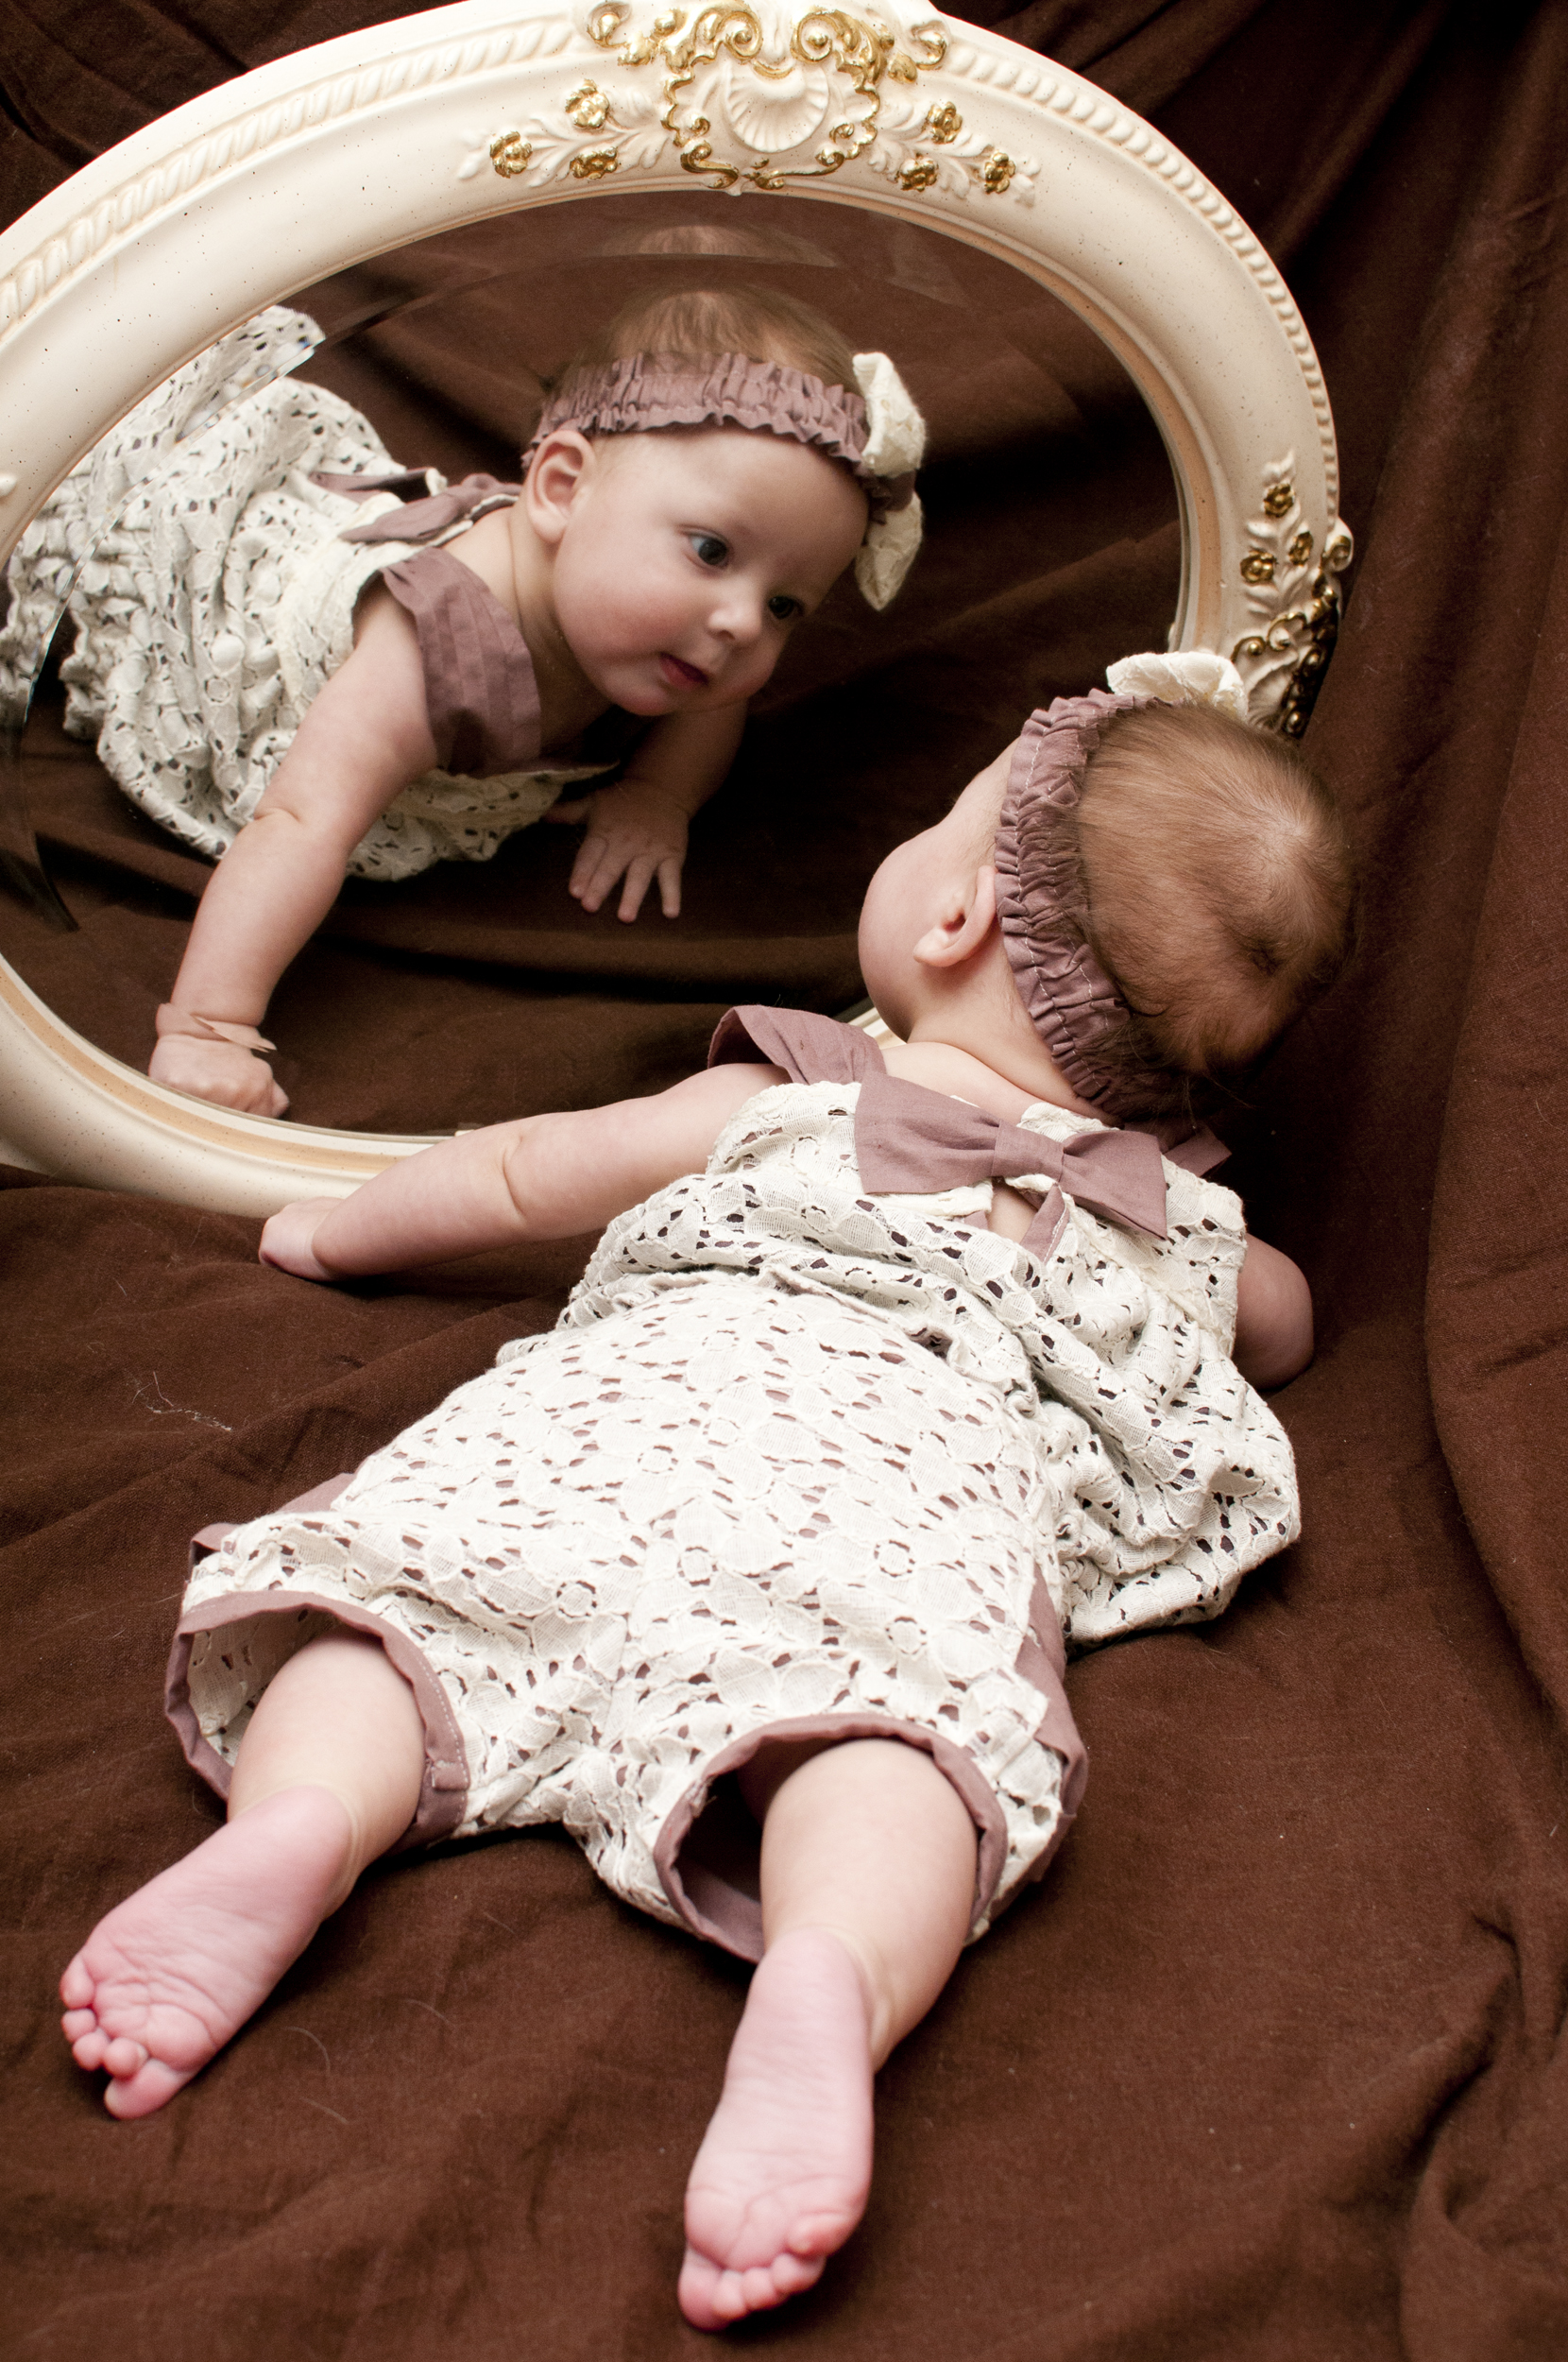
 I used the width of the bow pattern from the shorts and just made the length double in order to finish the seam and allow the bow to have a two layer look which enables it to have finished edges. Do you follow me? If you don’t just ask and I can certainly clarify, just ask!! Anyways I then put snaps in the under layer and on the bodice. This made is a snap closure with the bow!!!
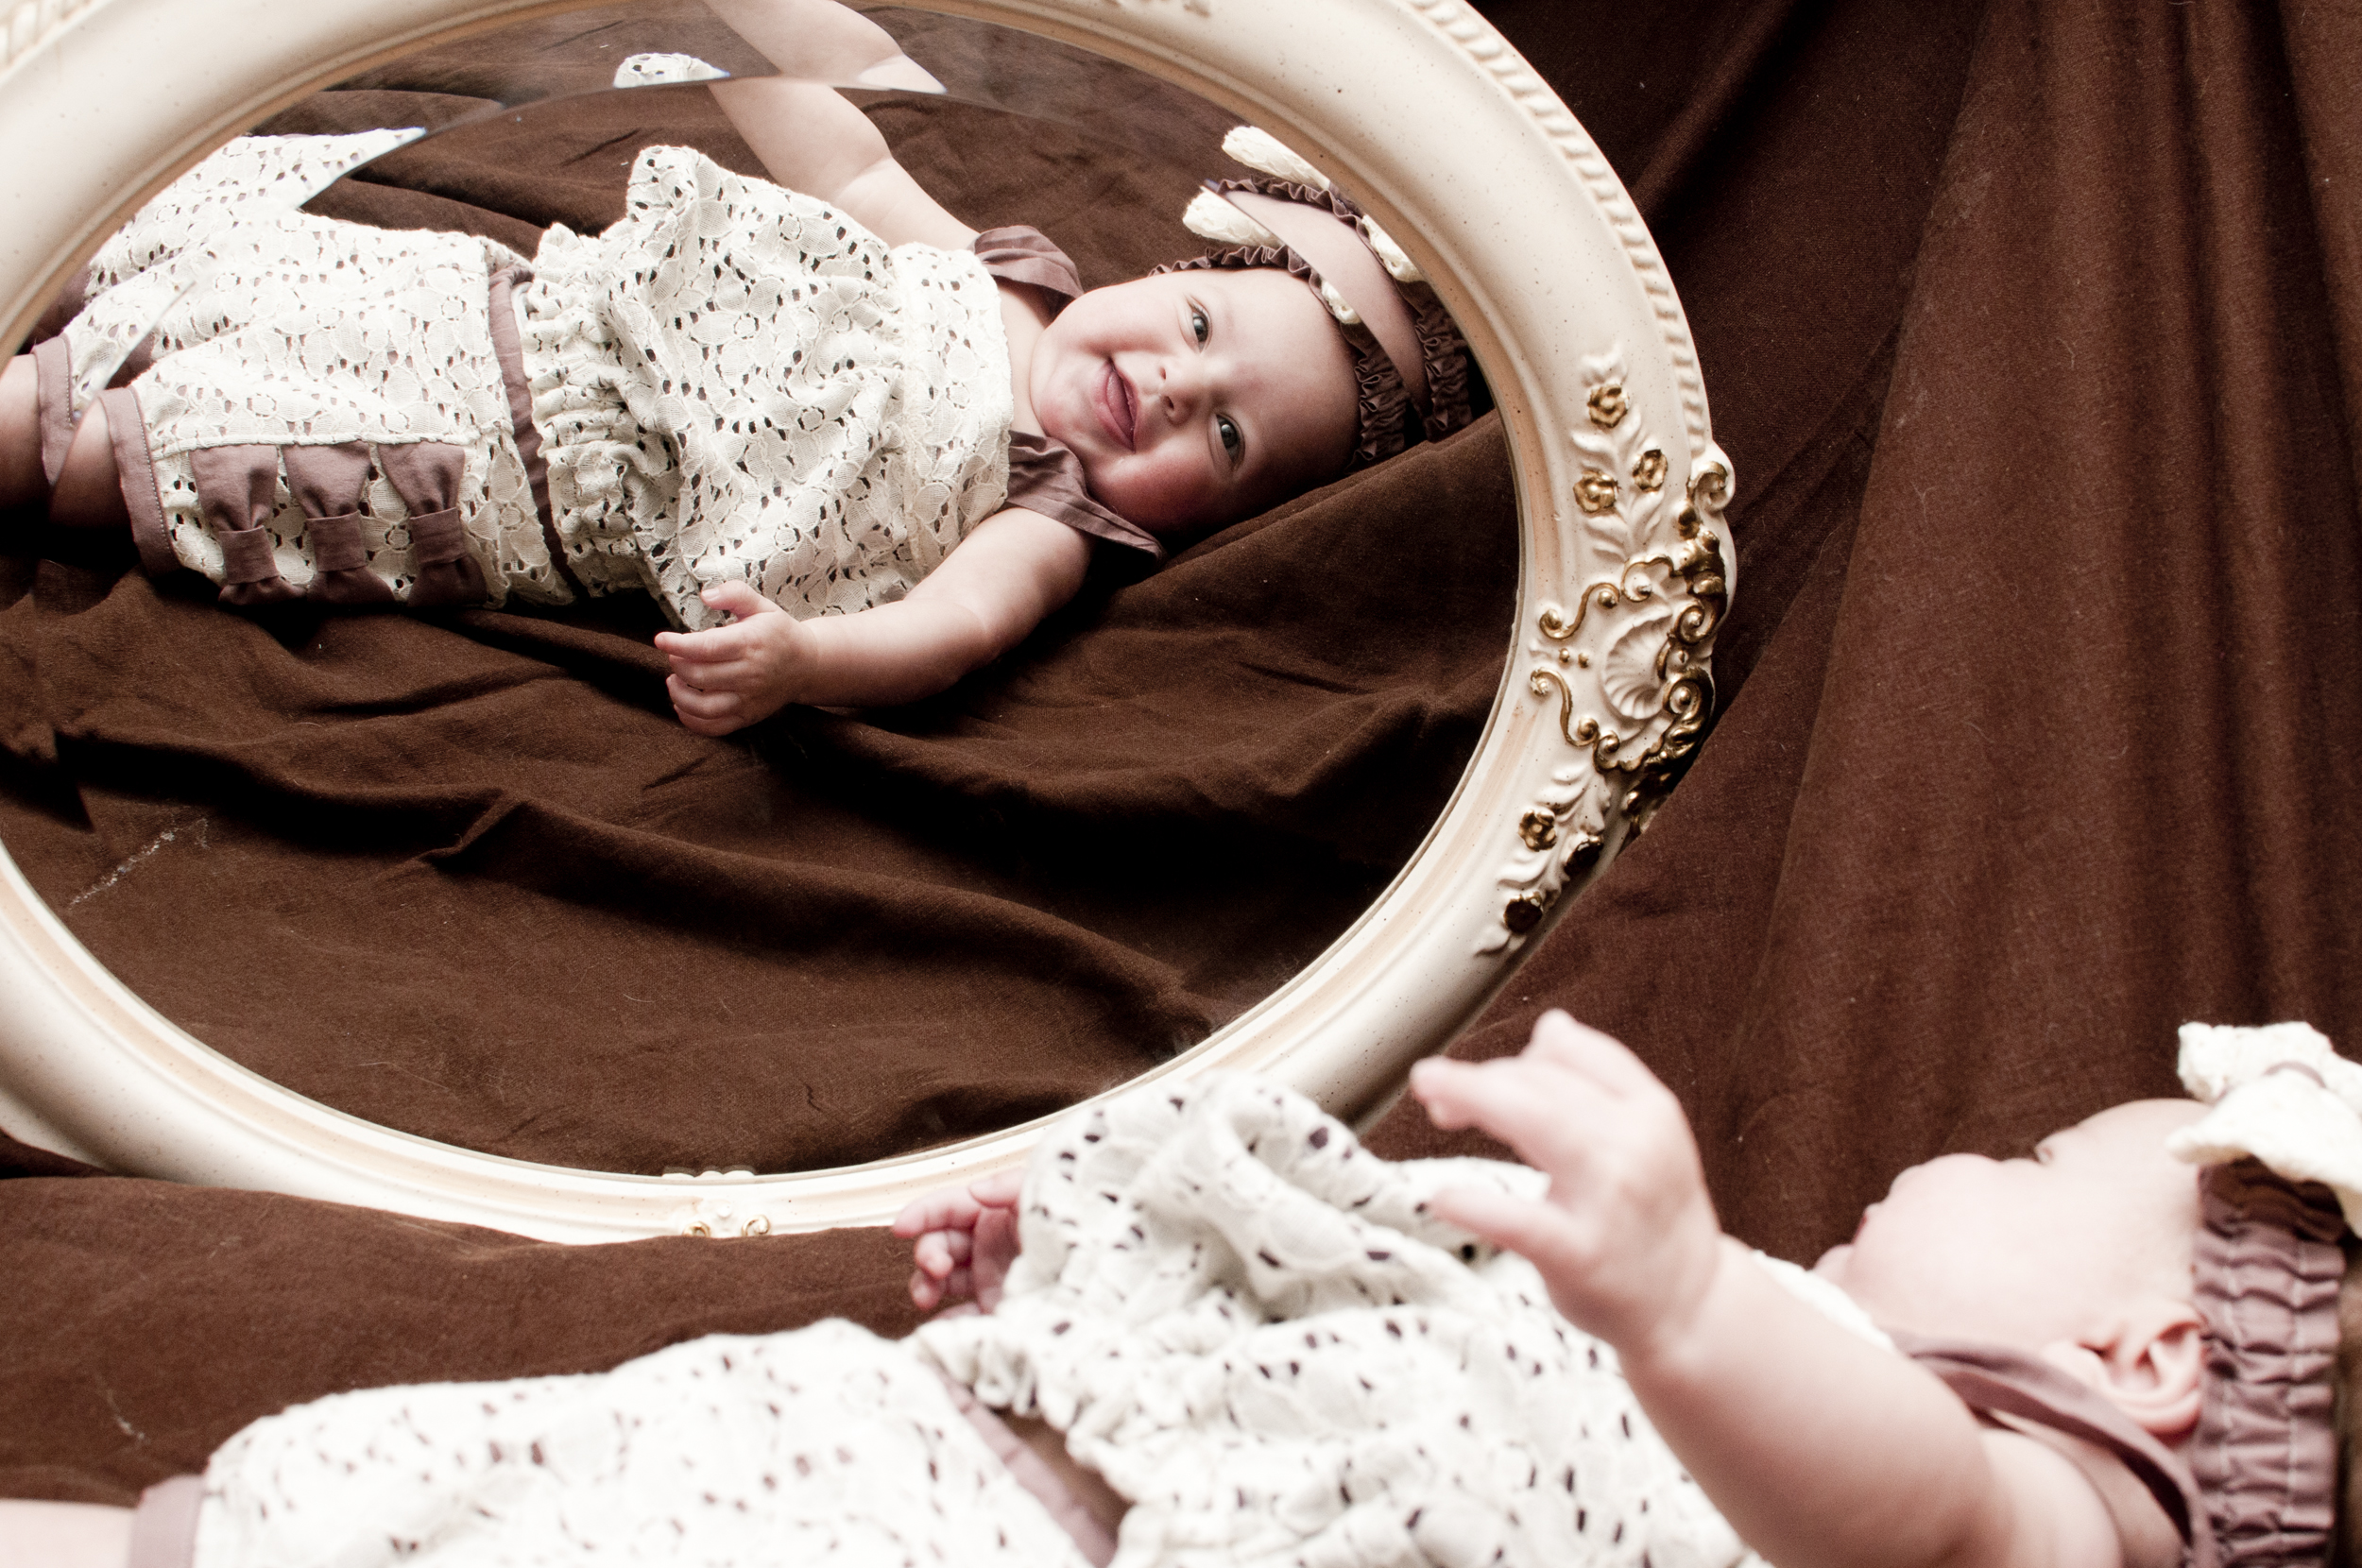
Of course no outfit is complete without a headband. I made the band part from the woven again. I sewed up a long tube in the width I wanted and sewed two seams down this tube leaving 3/8″ gap in the middle. This allowed the 1/4″ elastic to be threaded through to give it a gathered look. Add another bow on top and the outfit is complete!!
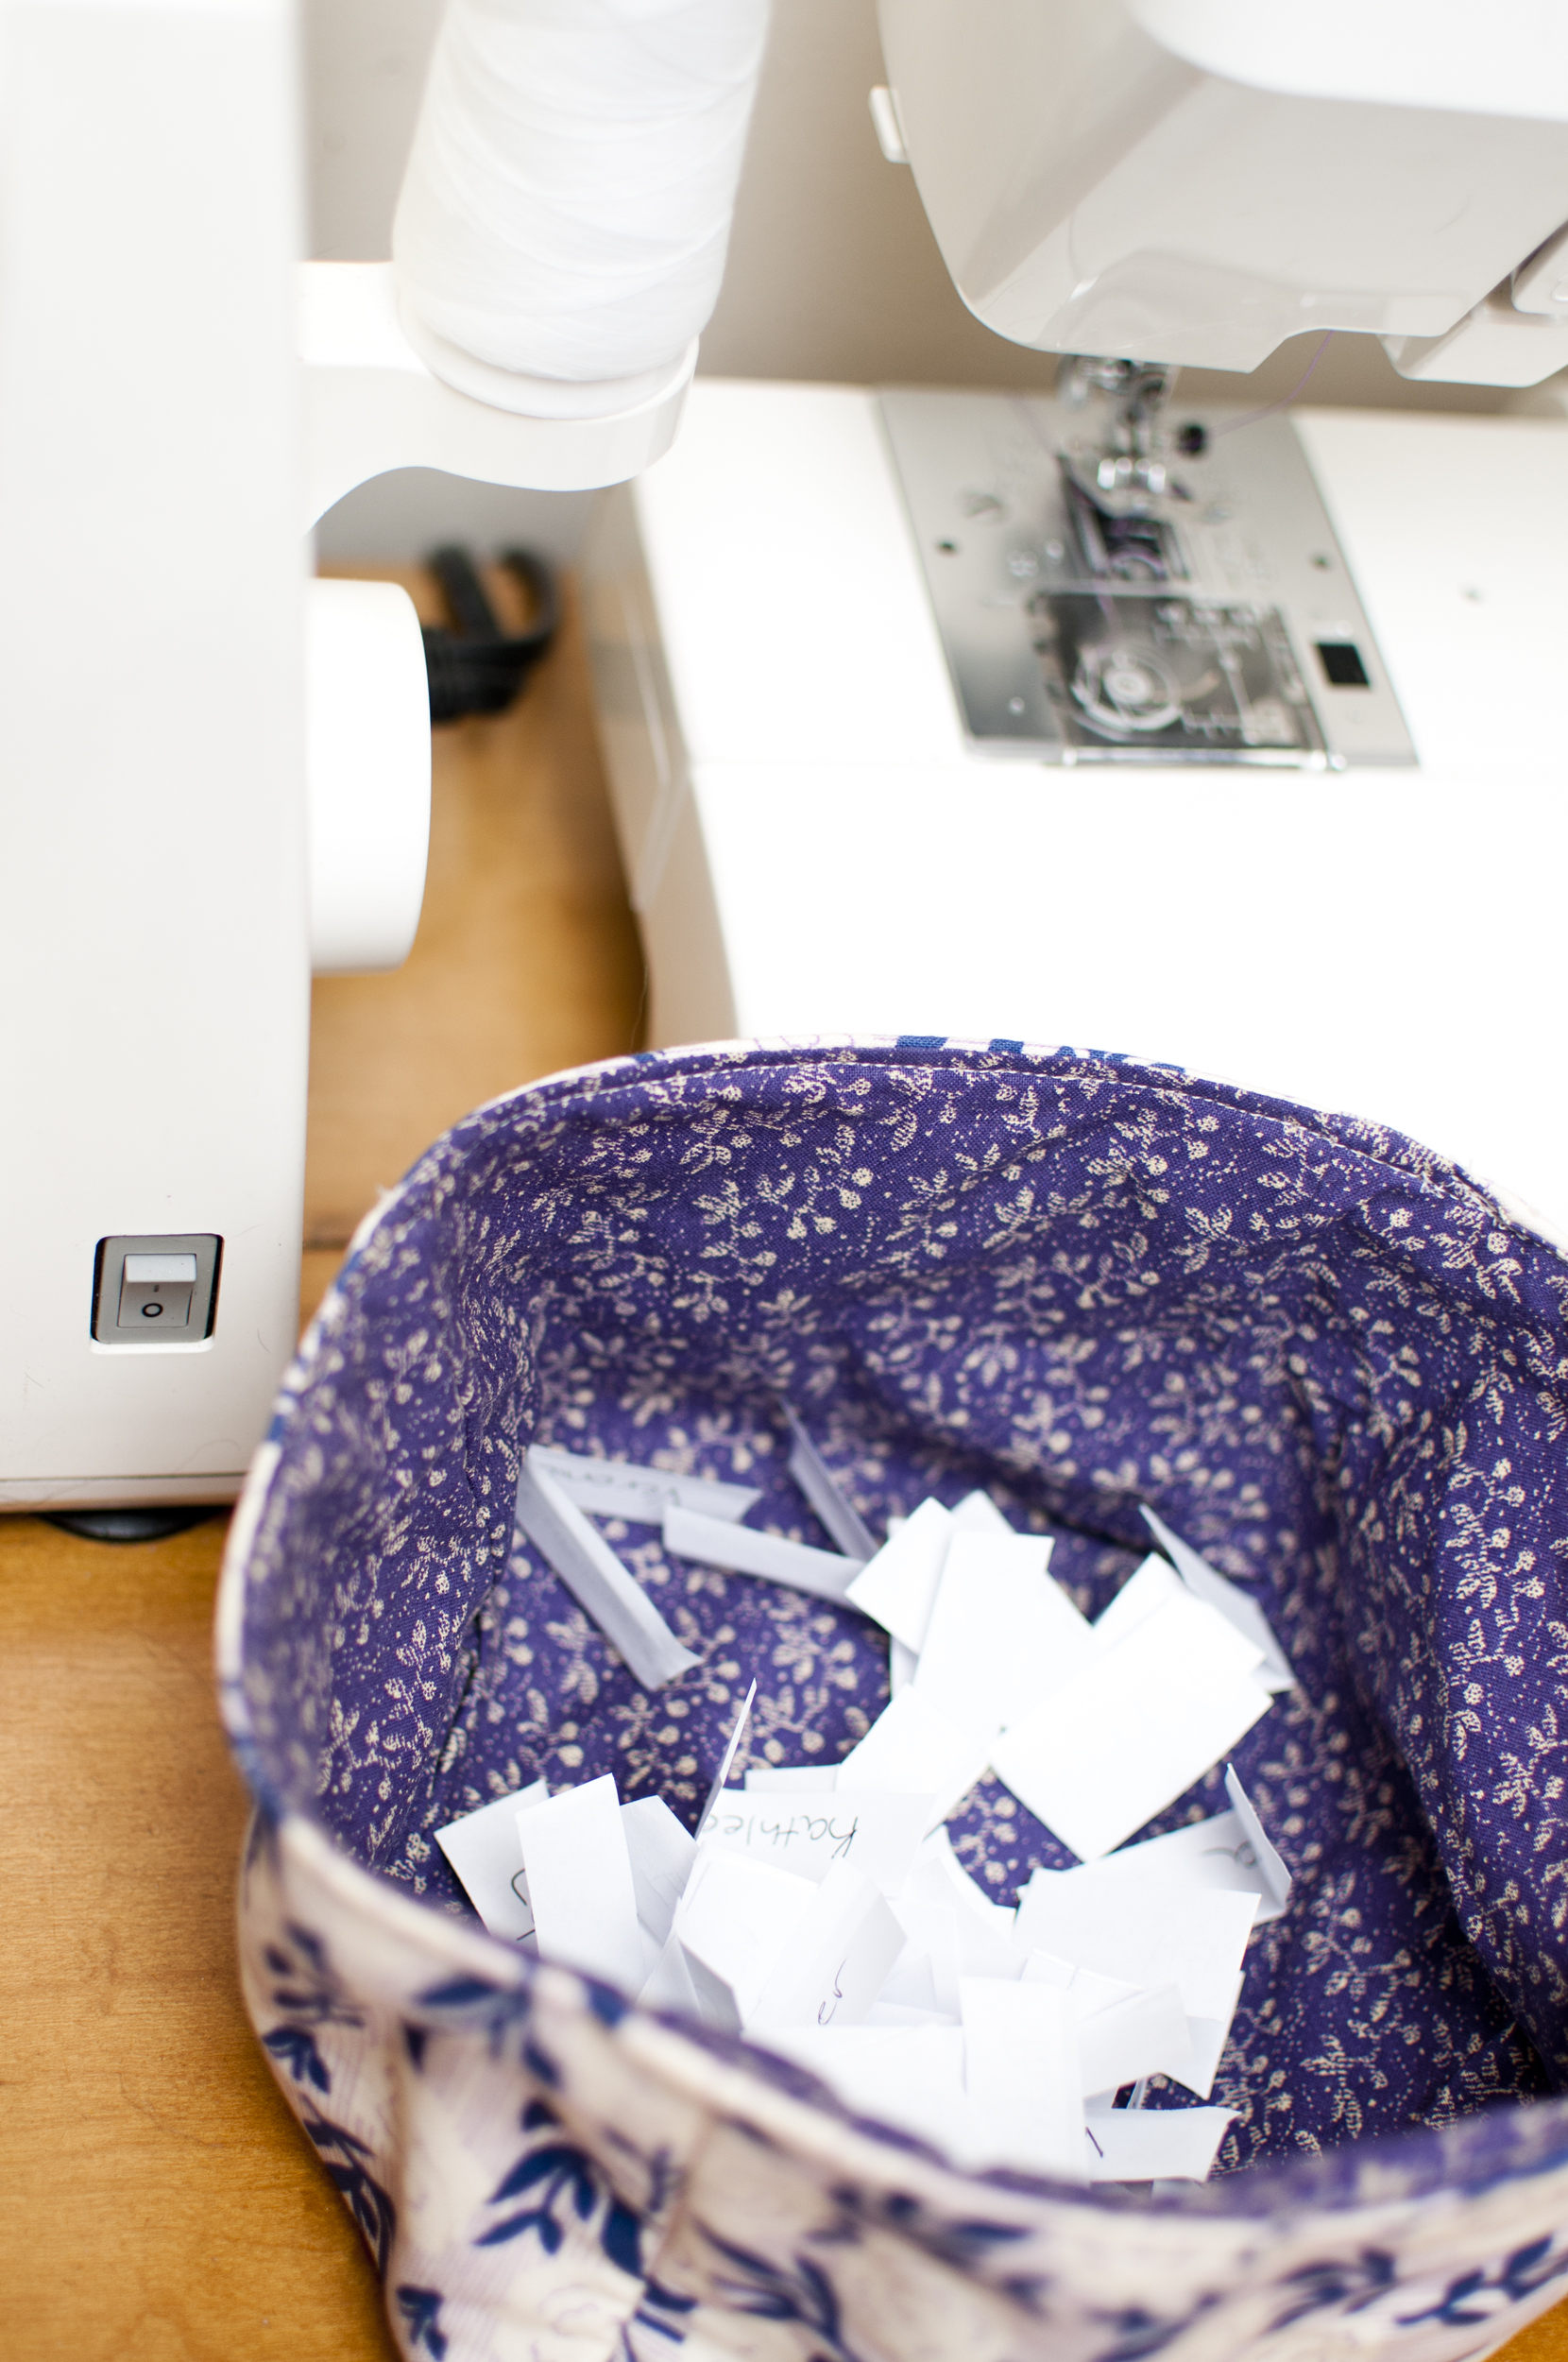
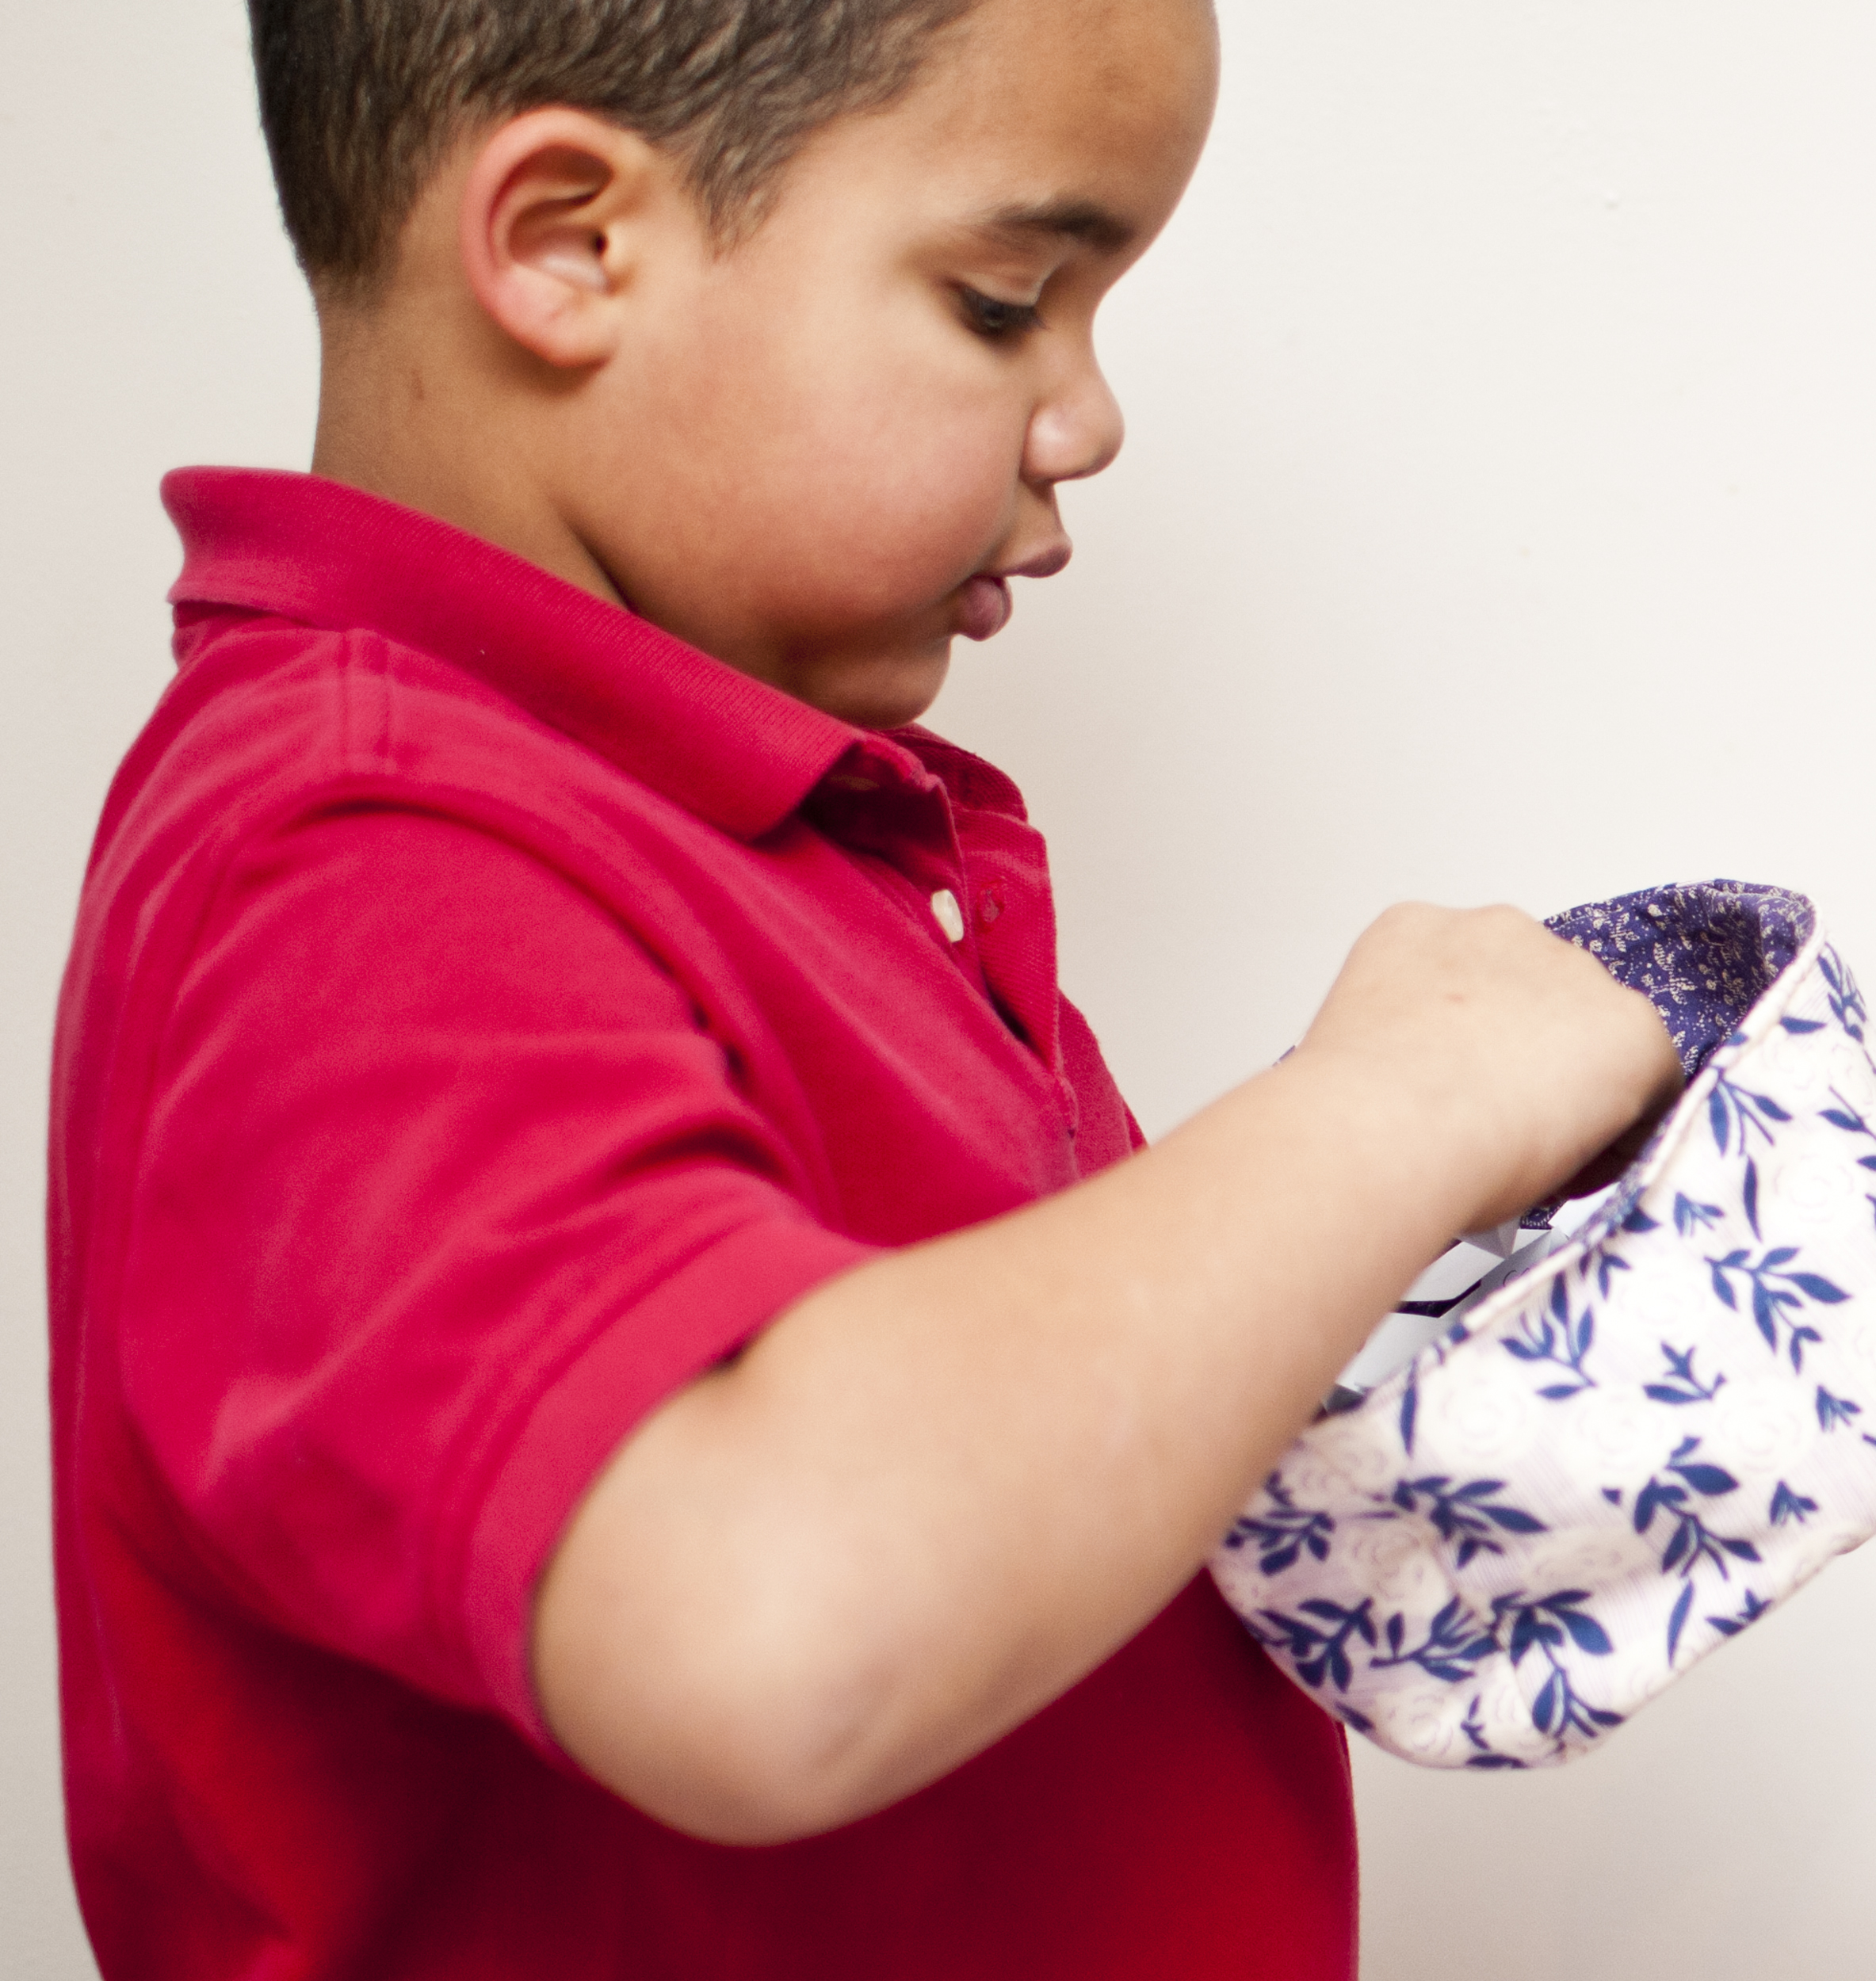
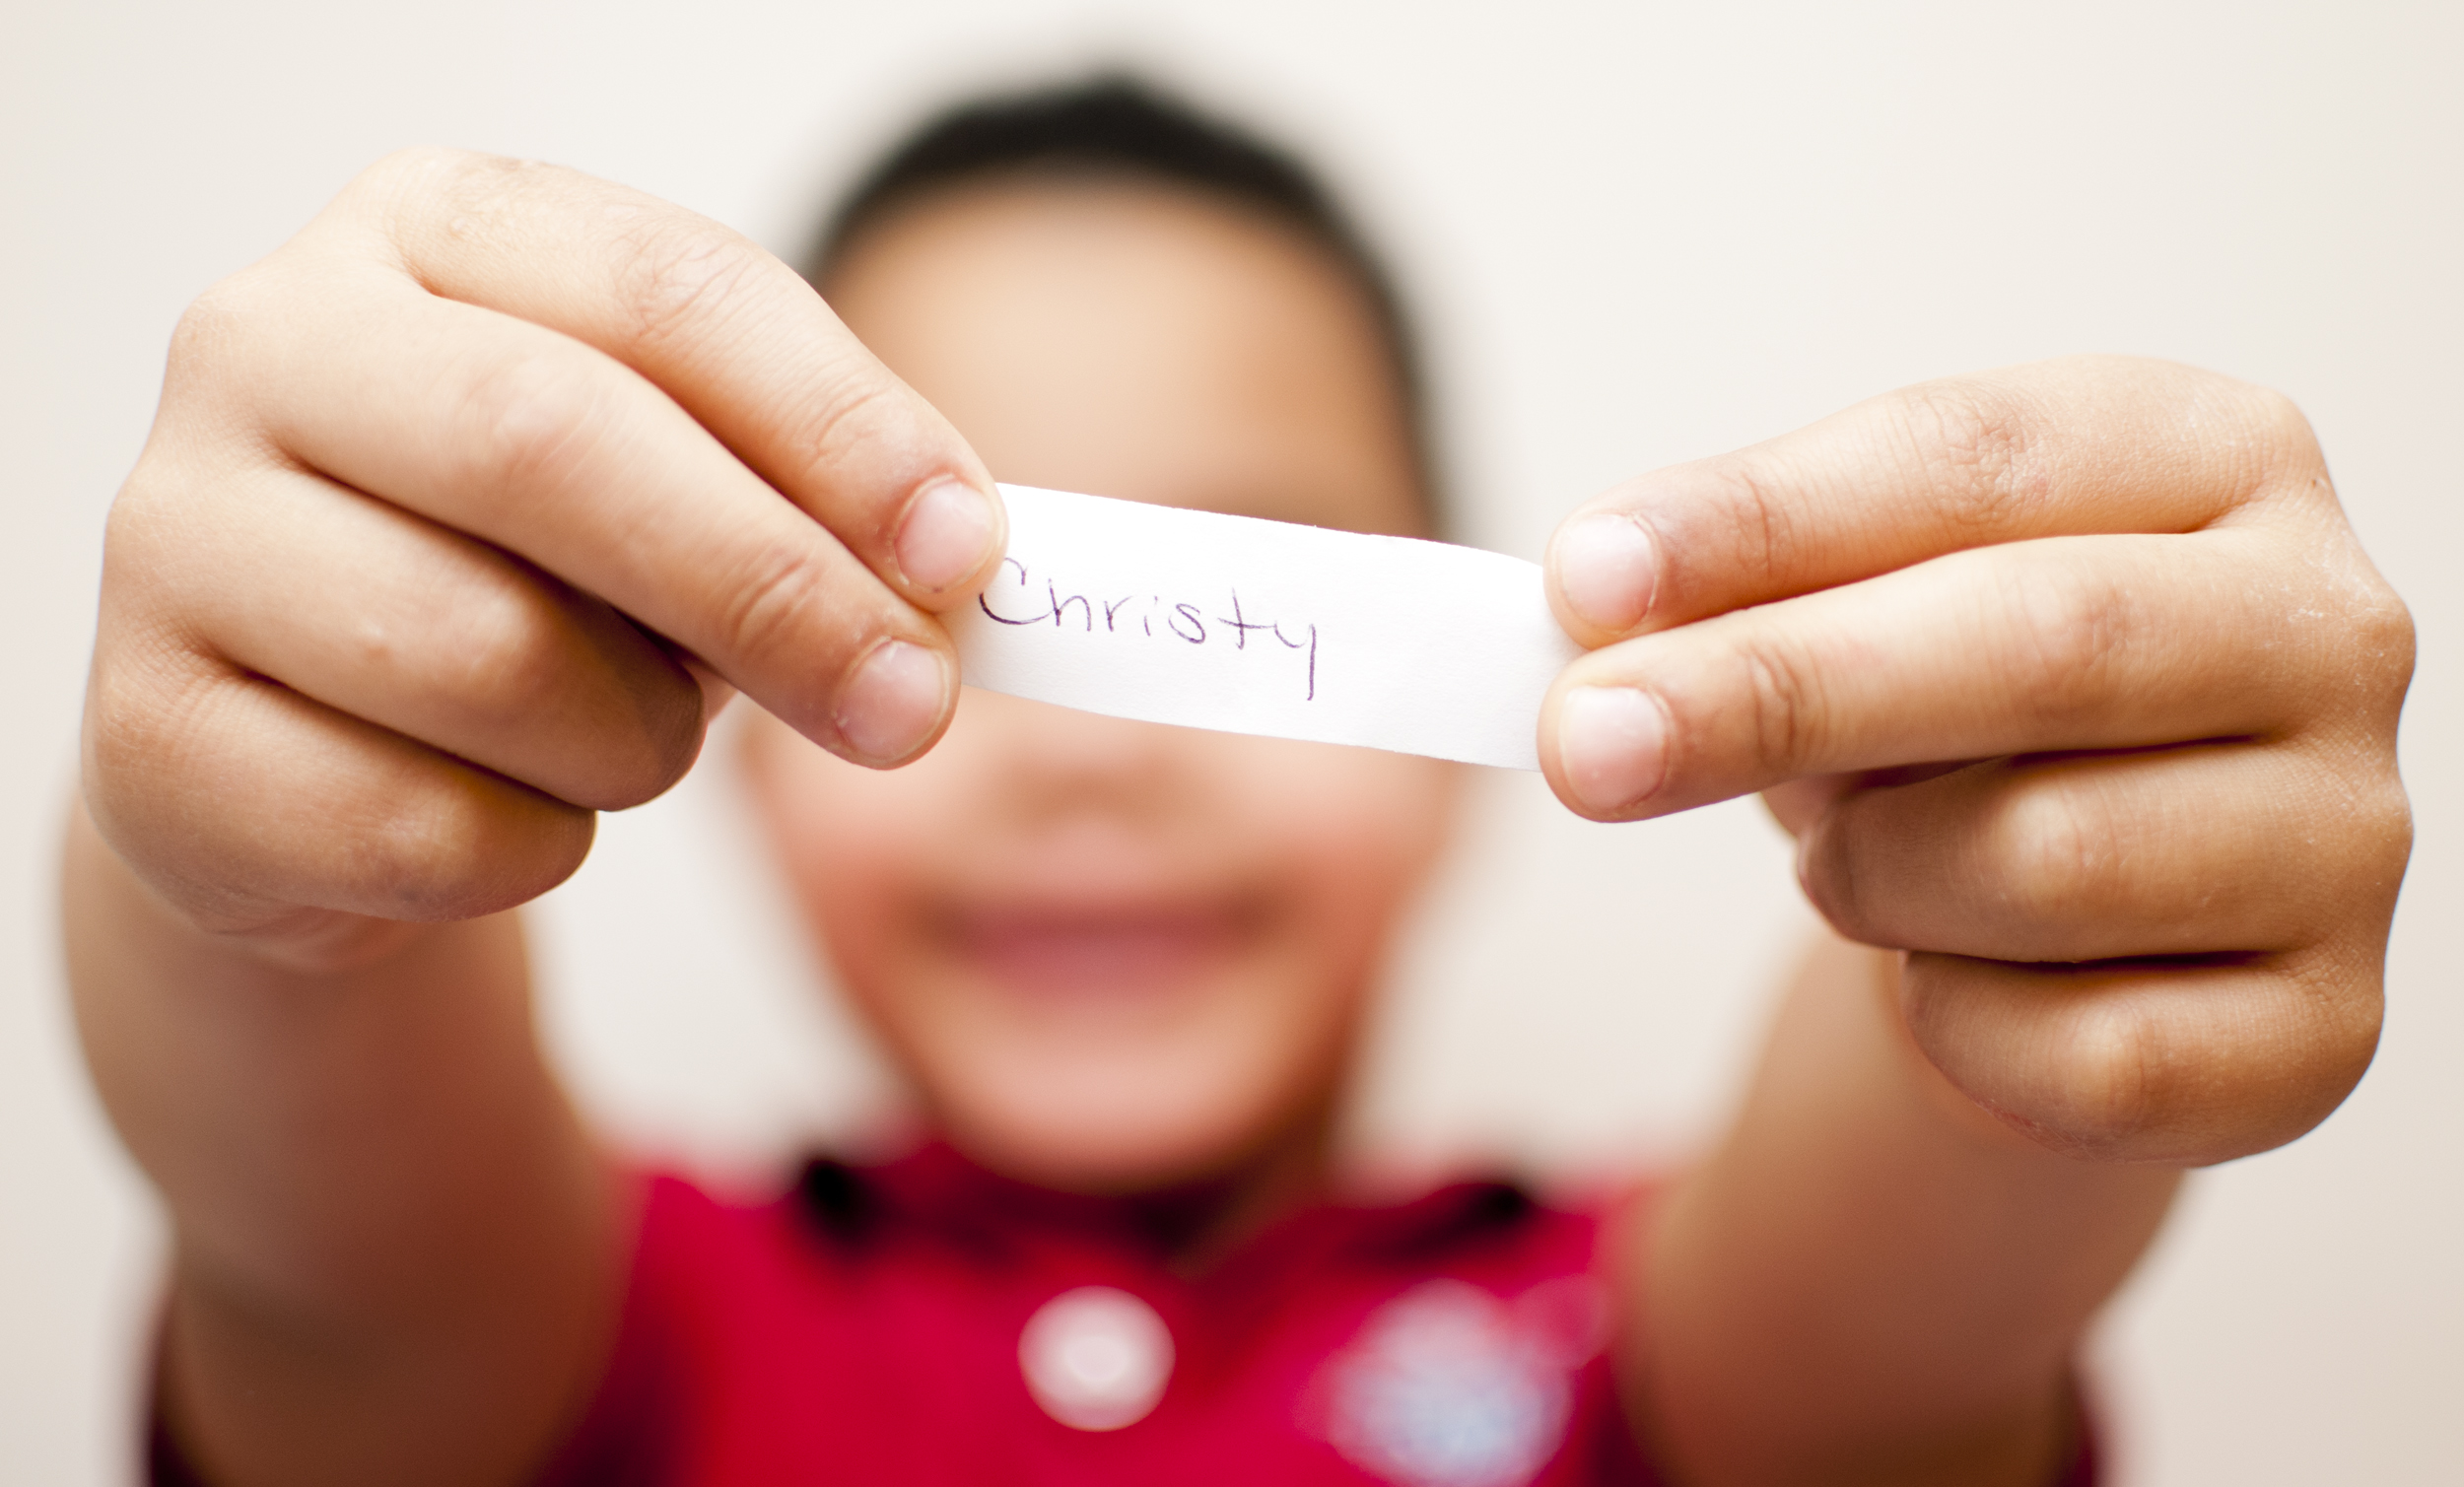
Much to my surprise I won 1st Place in the Upcycle Challenge!!! I still am super excited about it! But now it is time to share something very exciting for you too! MY FIRST GIVEAWAY!!!! In honor of my win, Lydia from Little Kiwi’s Closet has generously donated both the Estrella Apron Top pattern and the Sweet n’ Sassy Bubble Short pattern (you choose the girls or infant size) to one lucky winner!!! If you have never tried Little Kiwi’s Closet patterns before then this is your chance to try it for free. If you don’t win though, you still seriously have to try them. They are soooooo cute and the instructions and photos in the tutorial are perfect! So what do I ask of you in order to enter? All you have to do is COMMENT on this post AND FOLLOW my blog. I will be checking!! That’s it!! You have from now till Friday at 5pm EST to enter. My kids will draw one lucky winner on Friday night and I will announce the winner on the blog. So if you don’t sign up to follow you won’t get the email notifying you of the winner and won’t be able to claim your amazing prize. You wouldn’t want that!! So a big Thank You for all your great comments ahead of time and for following me! I can’t wait to give away these awesome patterns! 


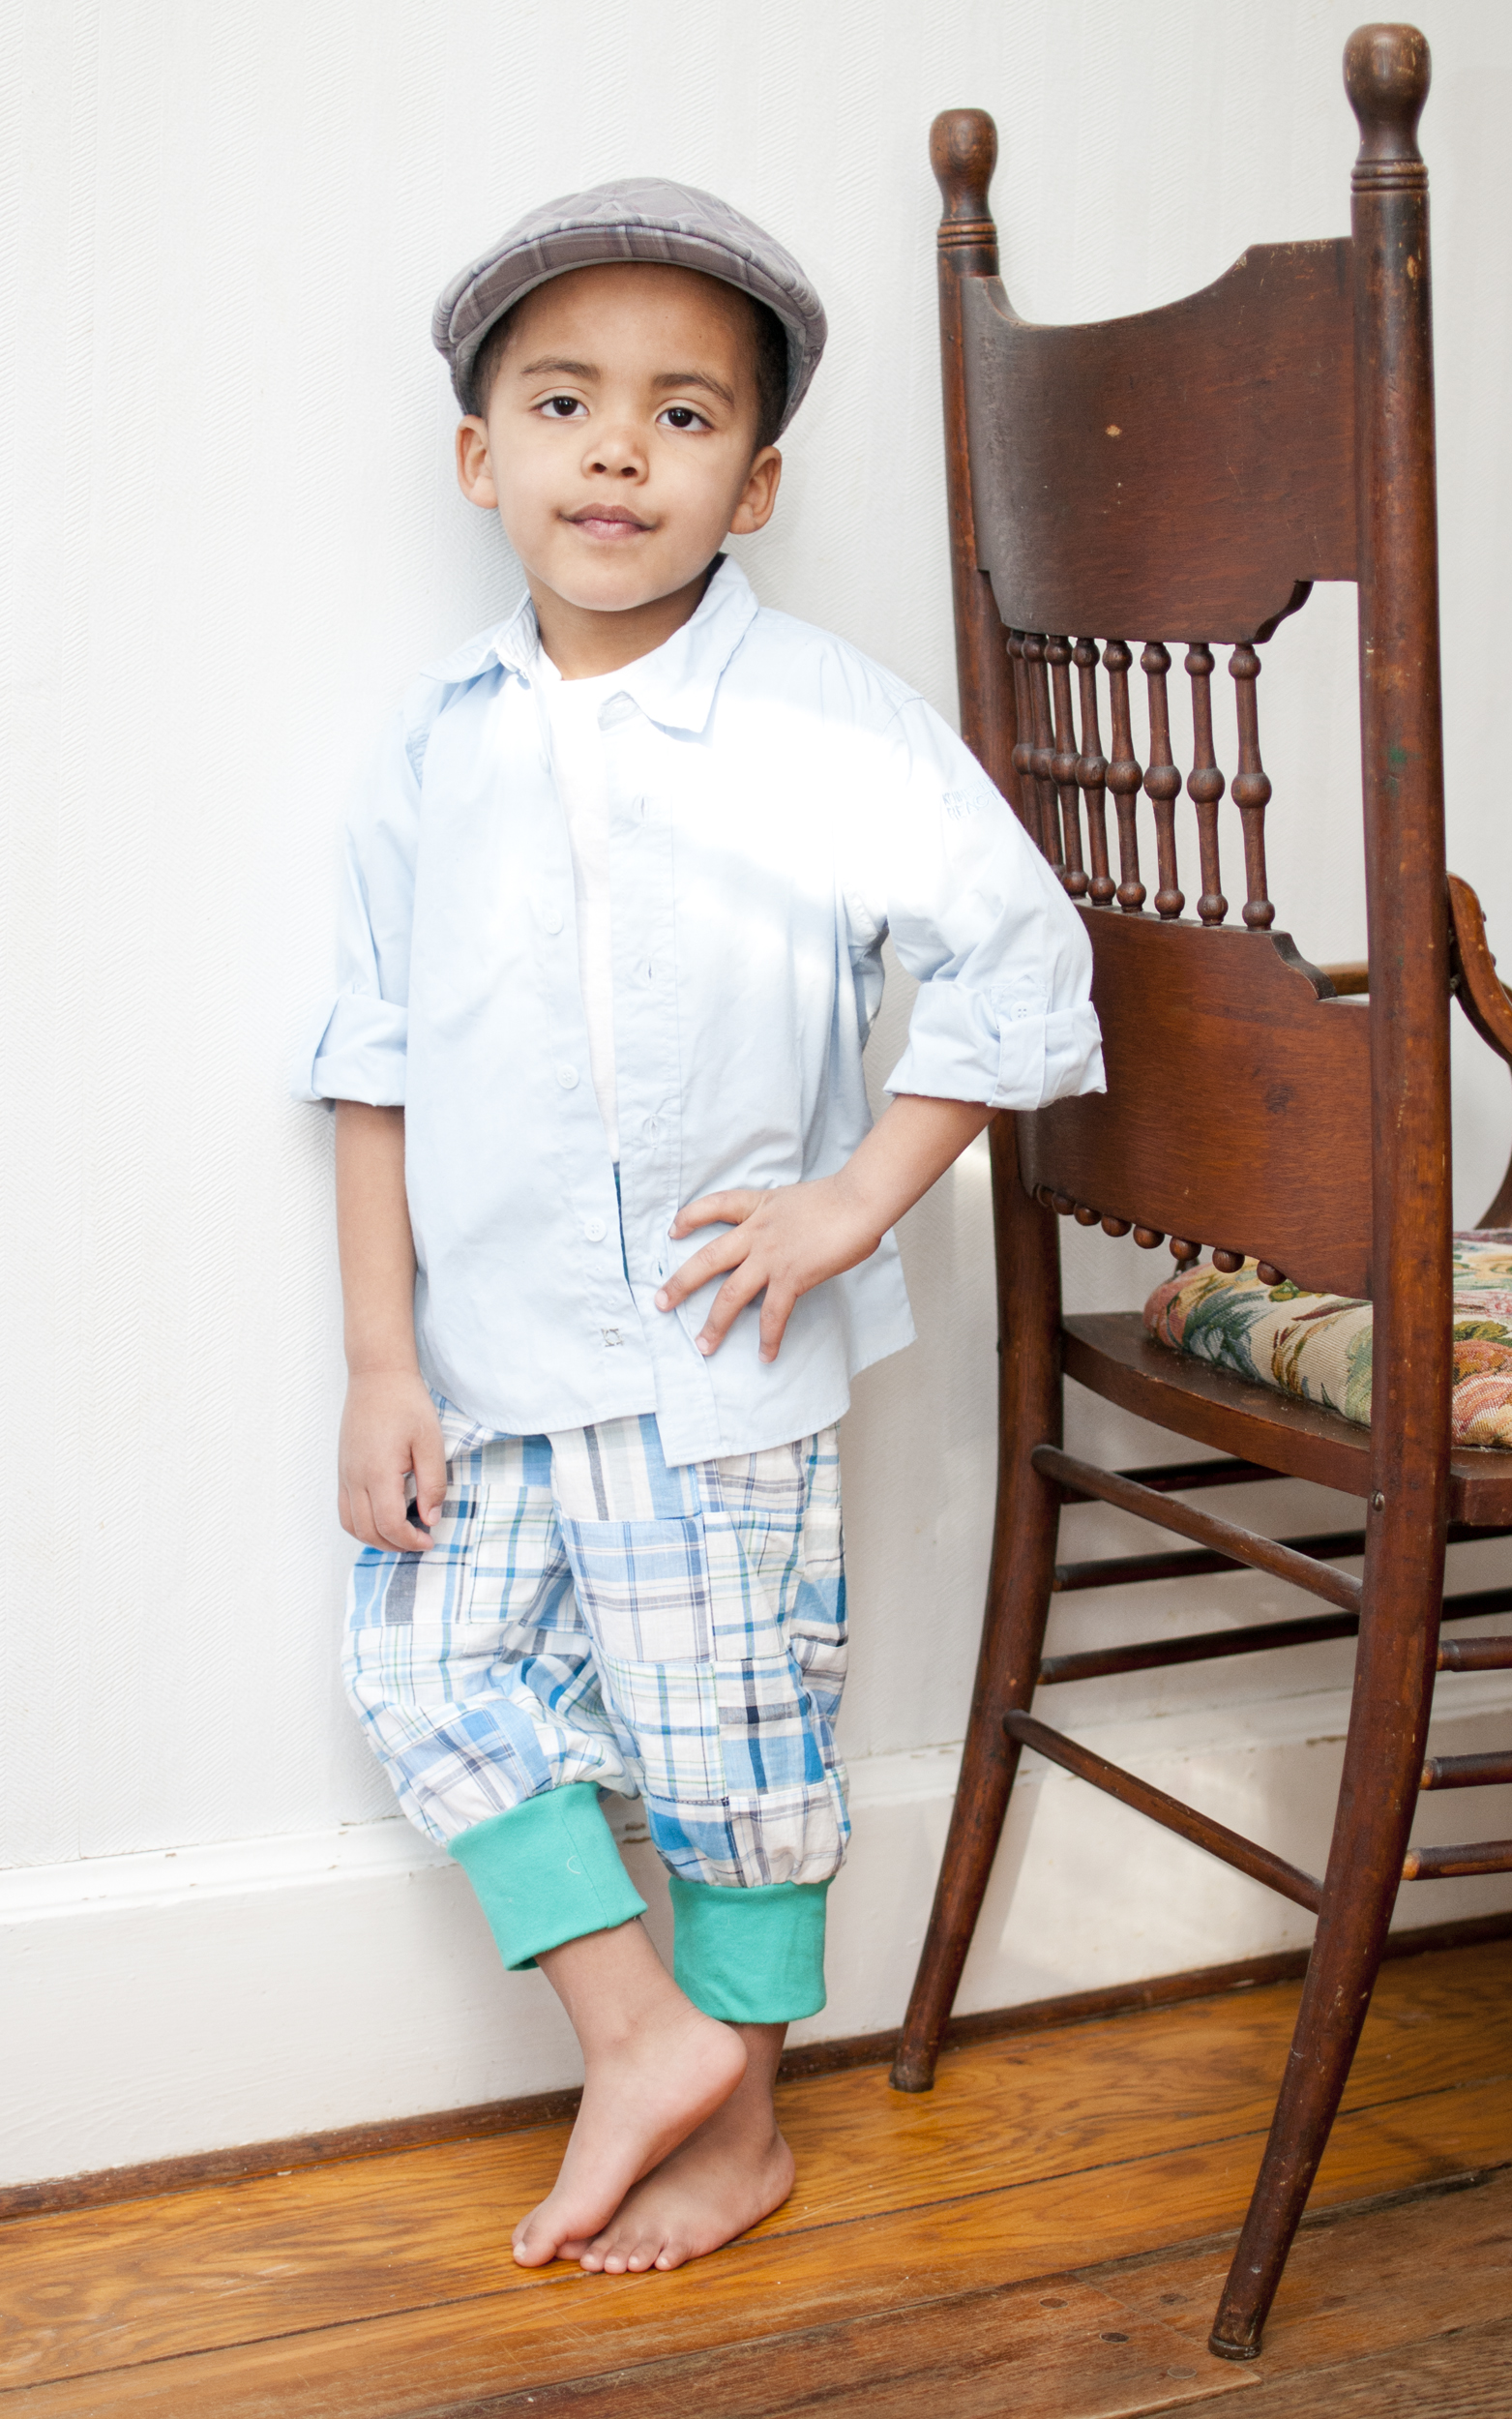
 released their Old Tyme Baseball Shirt. Just as the name implies this gives the classic lines and look of the baseball jerseys we all know and love! You know how I am such a sucker for the classics, and easy sews are right up my alley as well. I made all three of my shirts in one night!
 This shirt is designed to be loose fitting so there are no play restrictions at all. Layering for those colder days is also a breeze! There
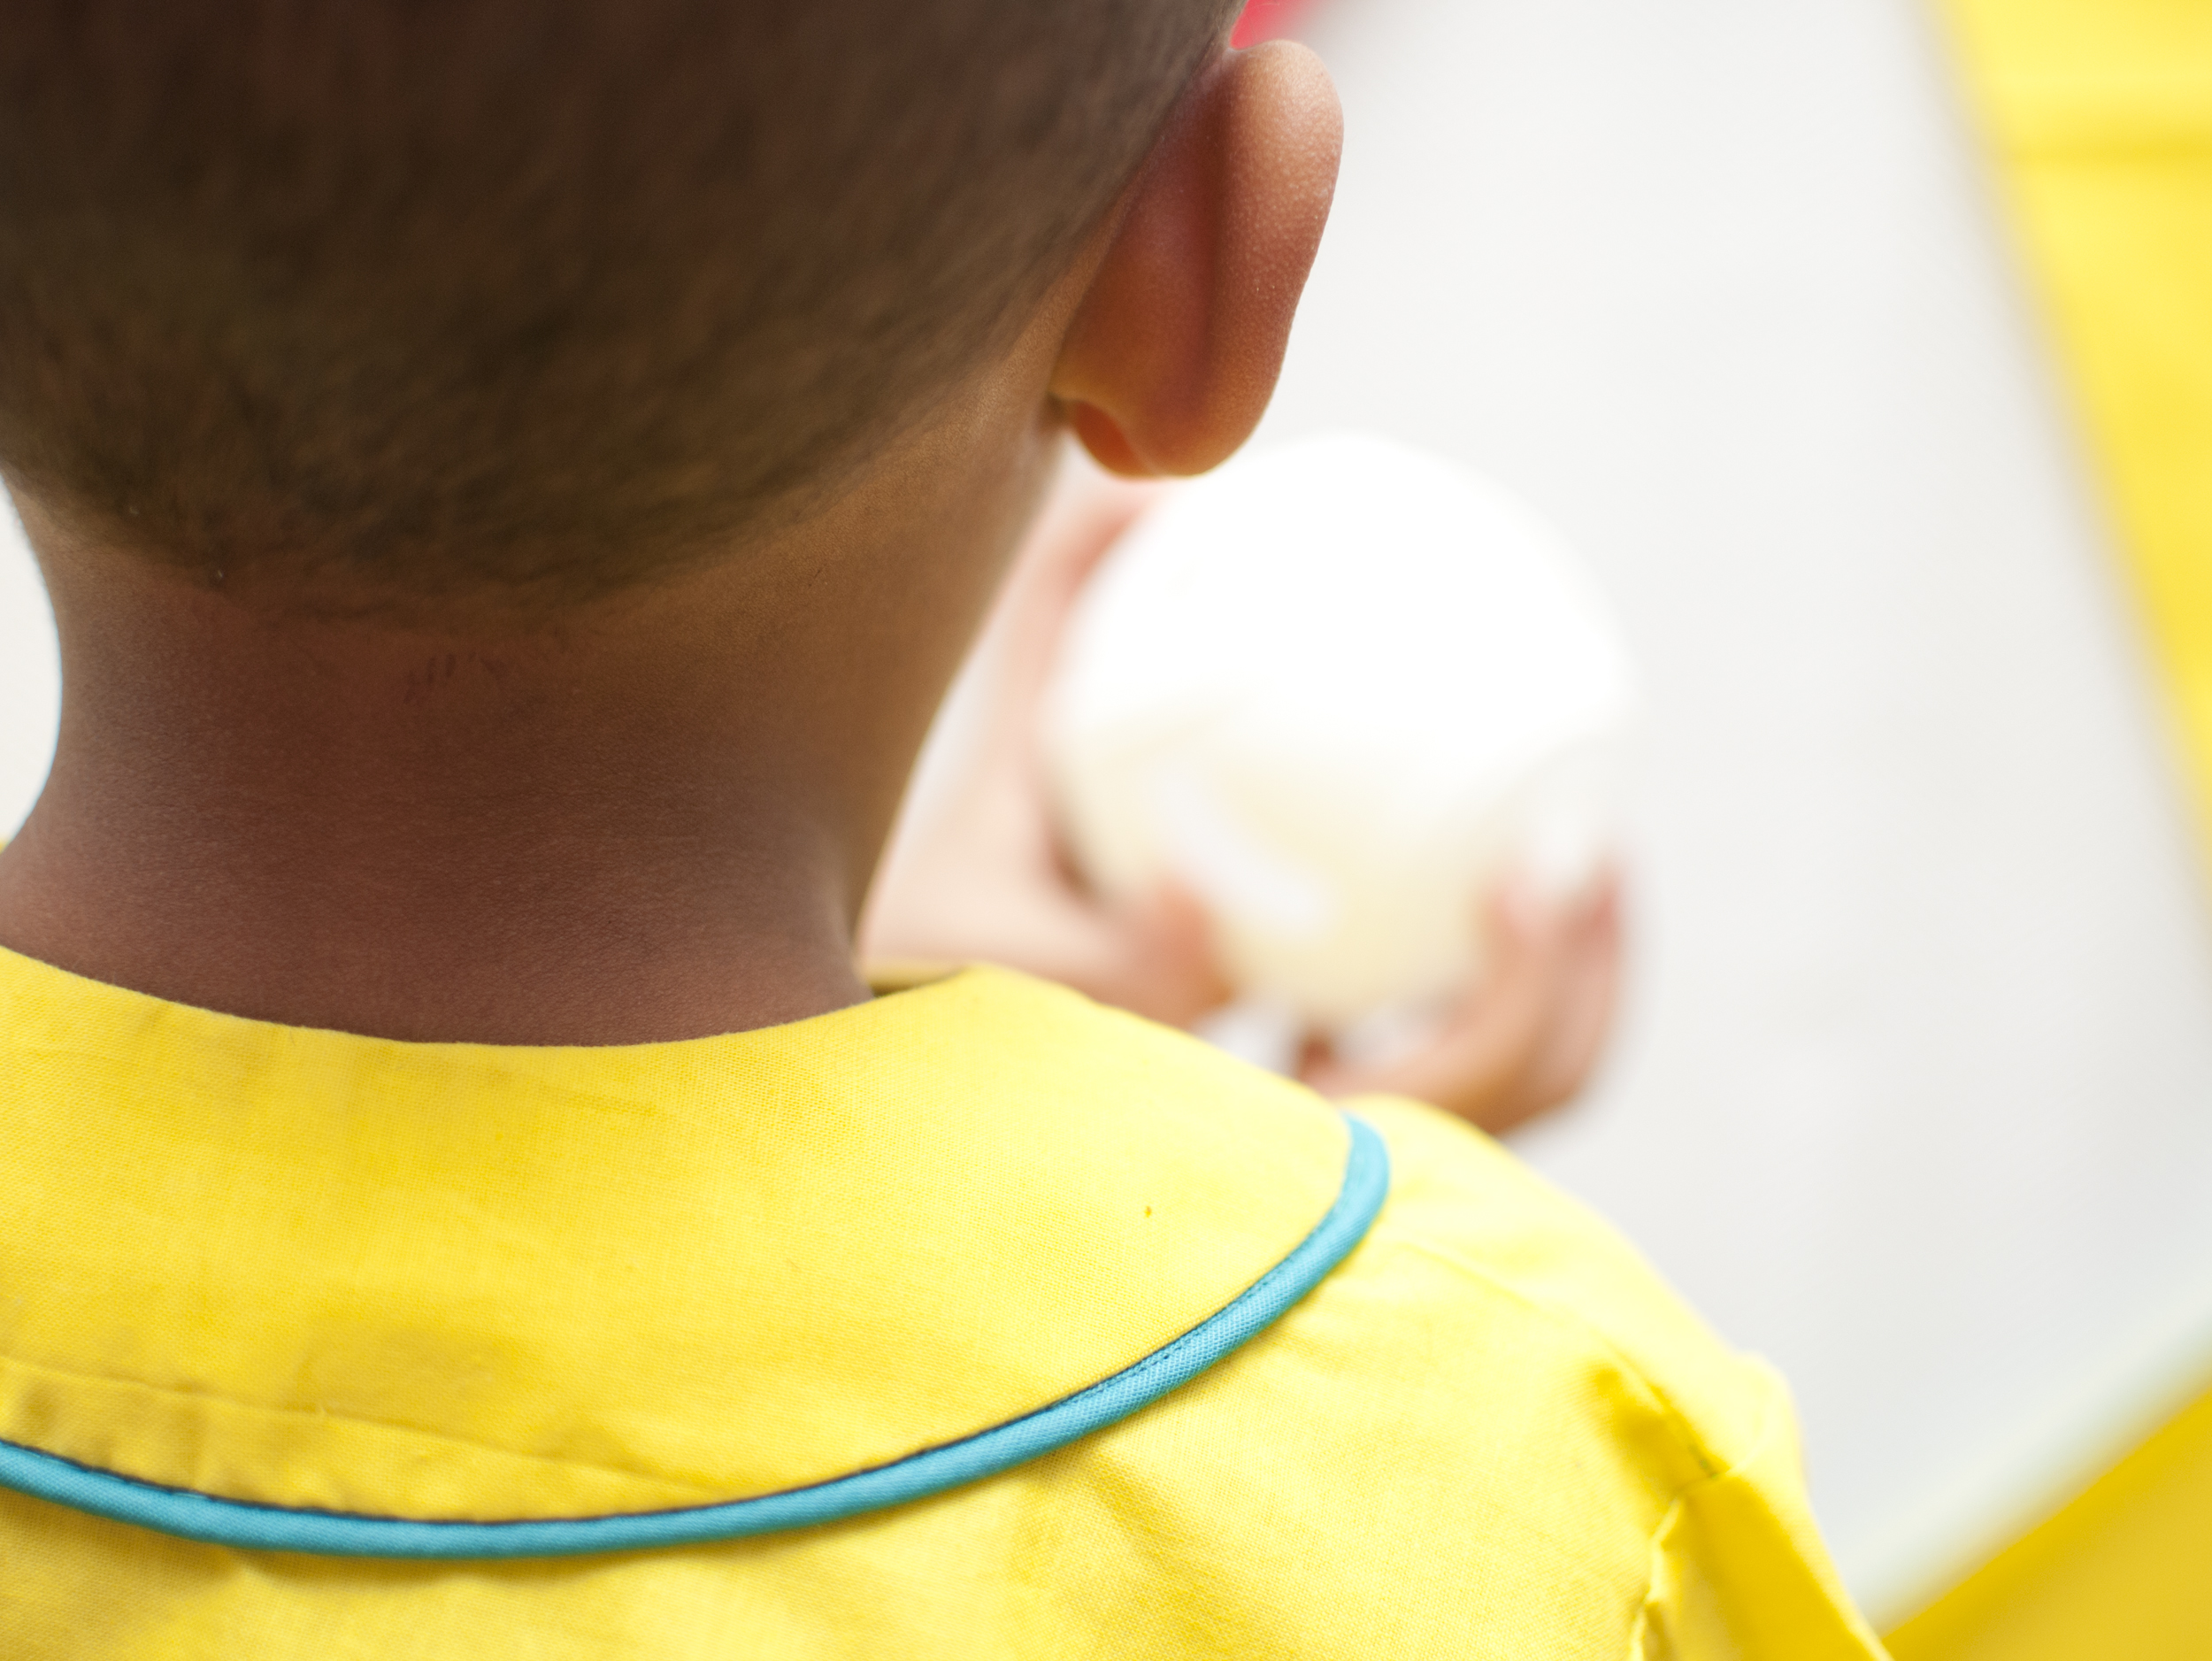 is piping around the front placket and cuffs for that professional baseball flair too.
  Now this shirt is button up. If you are like be you may dread the time to sew button holes and then attaching umpteen buttons to the shirt. Well don’t worry, it’s not mandatory. Use snaps!!! I have a whole bunch of vintage metal snaps that were passed onto me from my grandma. I was unsure if they would still look good on the shirt but figured I’d give it a try. I am sure glad I did! The metal snaps were just perfect and still gave it the classic look! So go check out Dandelions n’ Dungarees on Facebook or their blog! Then go get your pattern in your desired size: NB-18months, 2T-7, or 8-16. But just as a warning, you may have “Take me out to
 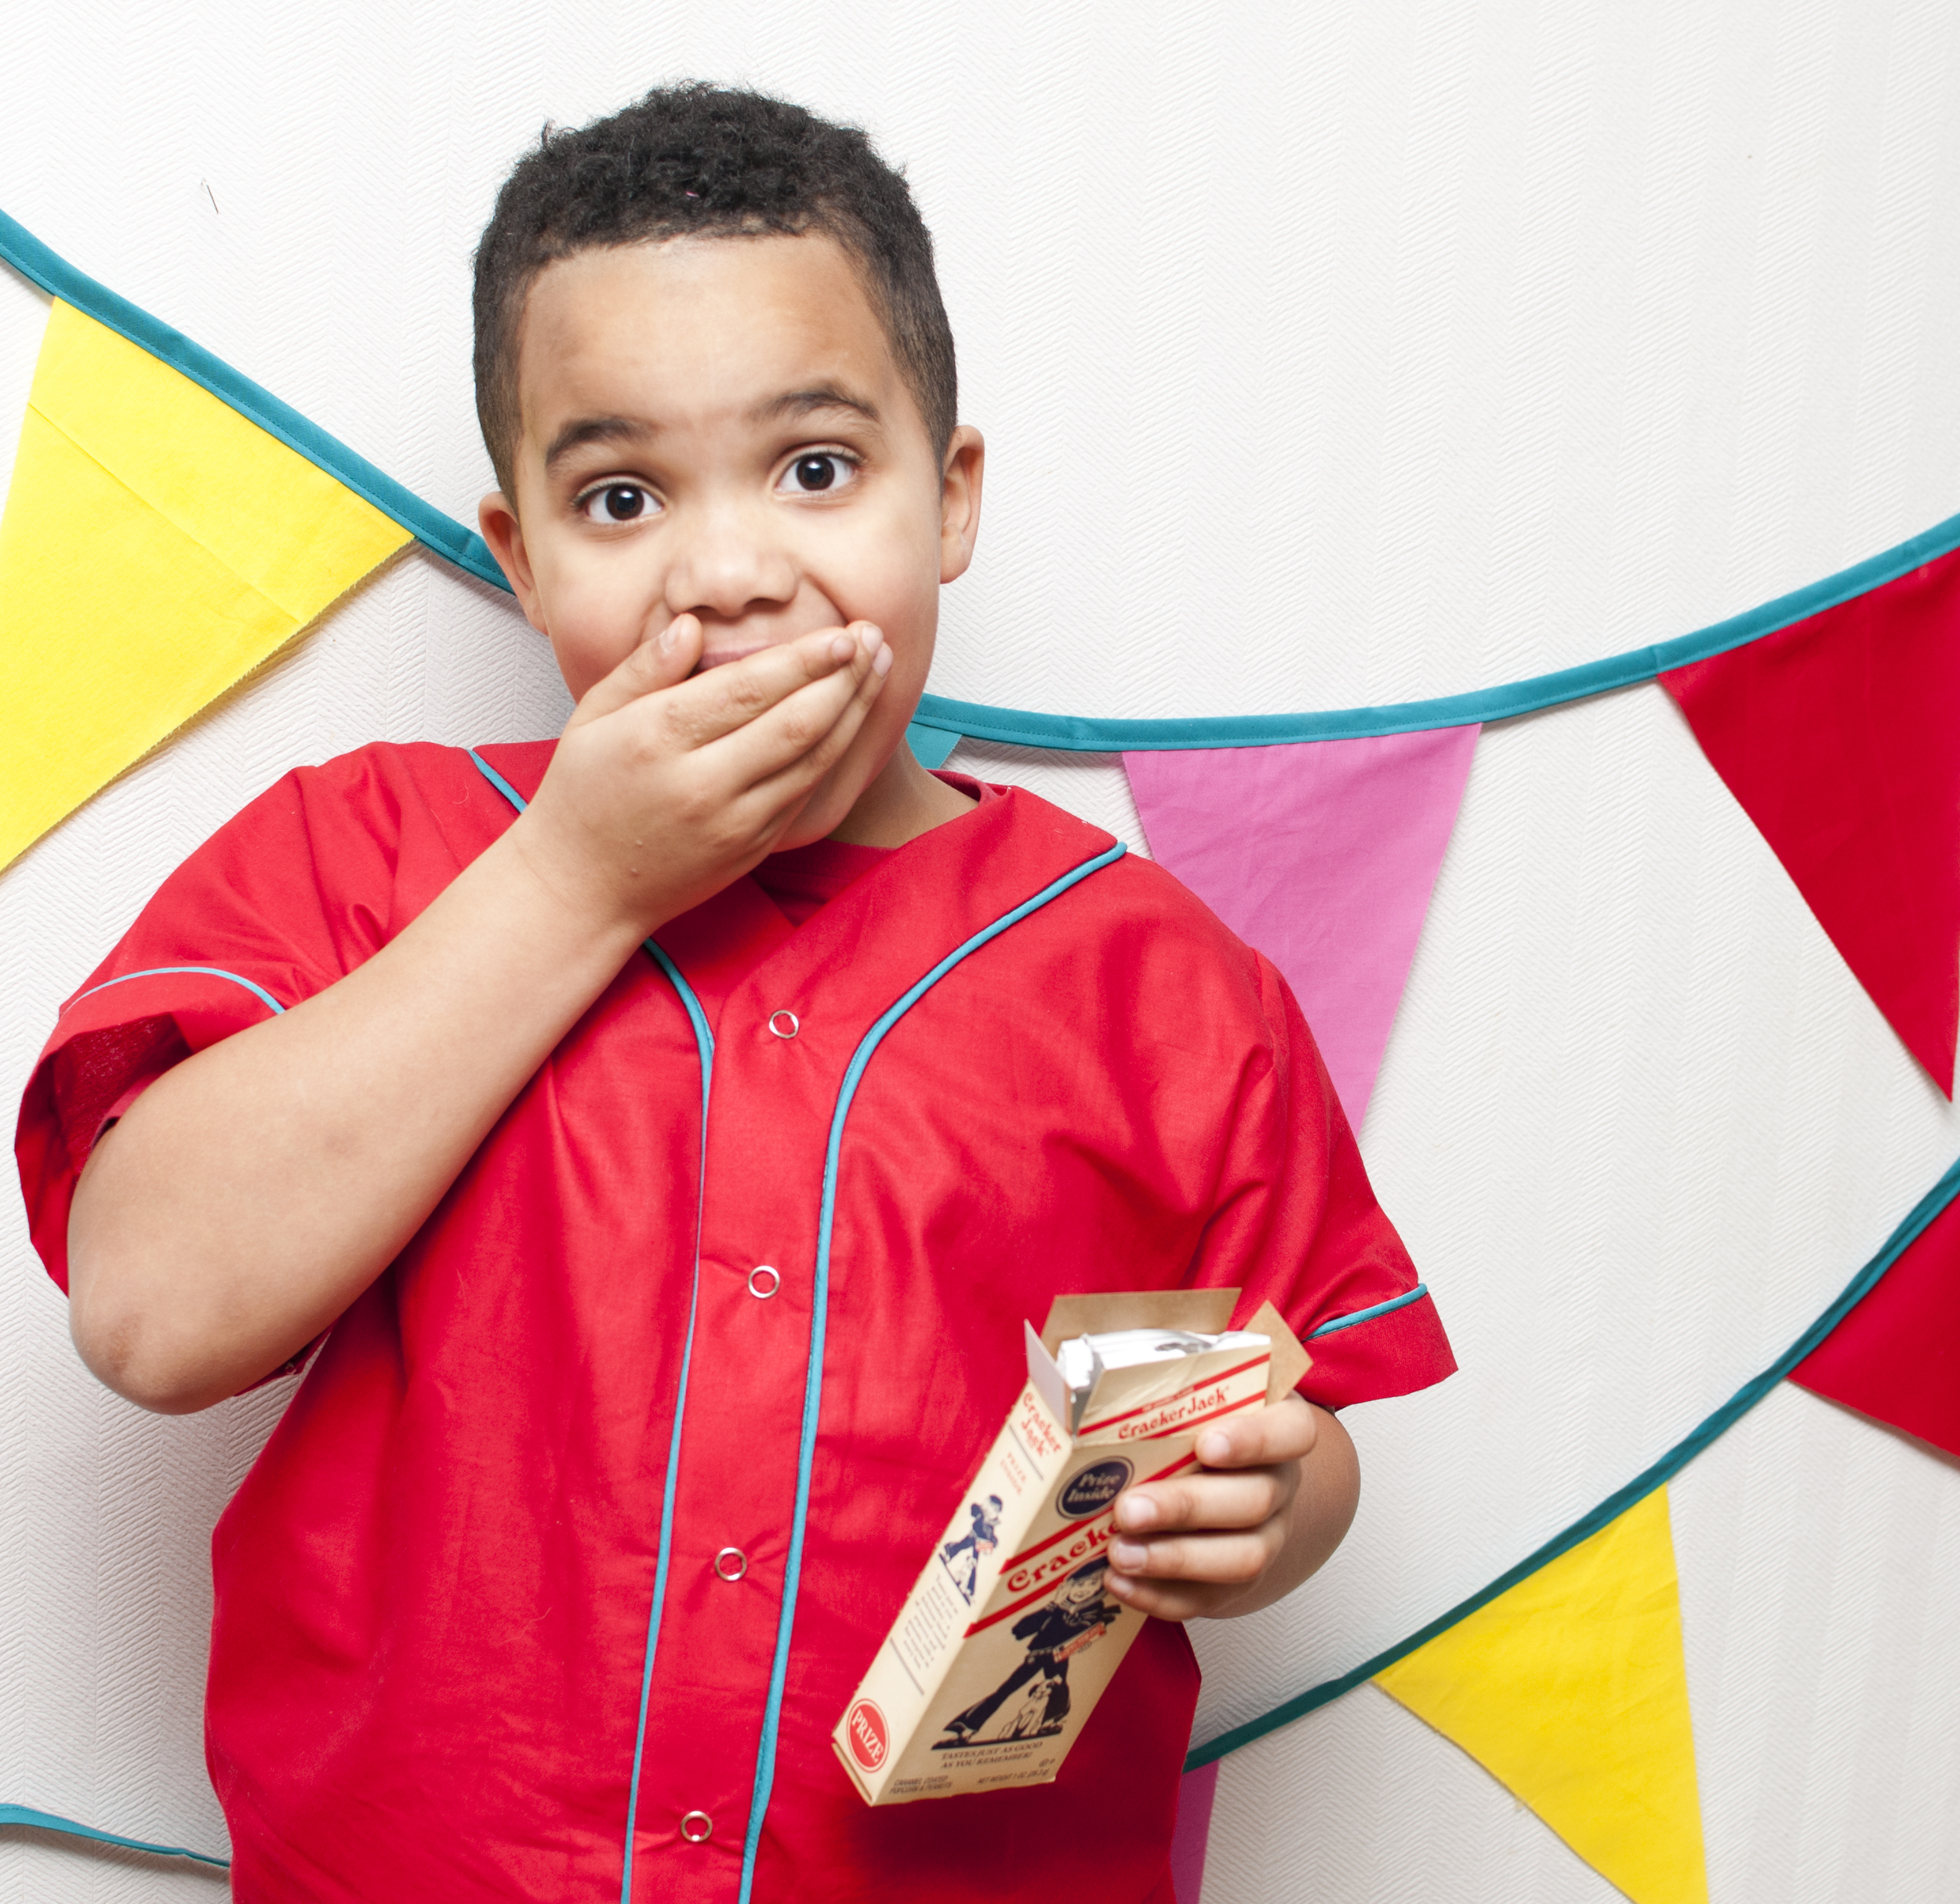 the ball game…” stuck in your head for days after making these. I know I did!