
Finally getting my girl after two boys was just great! Now I get to dress her too. If you are like me, I took full advantage of this. What exactly does that mean? Dresses, ruffles, lace, ribbons, oh my! Yes she is always dressed like a girl. After awhile though I was getting a bit tired of bows or headbands being the only option when it came to putting the final touches on an outfit. I needed some cute hats! Well Whimsy Couture answered the call.

 Last week they put out two hat patterns: The Bow Turban Hat and The Ruched Beanie. Both patterns are really fast sews which is always a plus in my book! Now add how cute they look and I knew these were going to be amazing! Let’s take a closer look at them shall we?

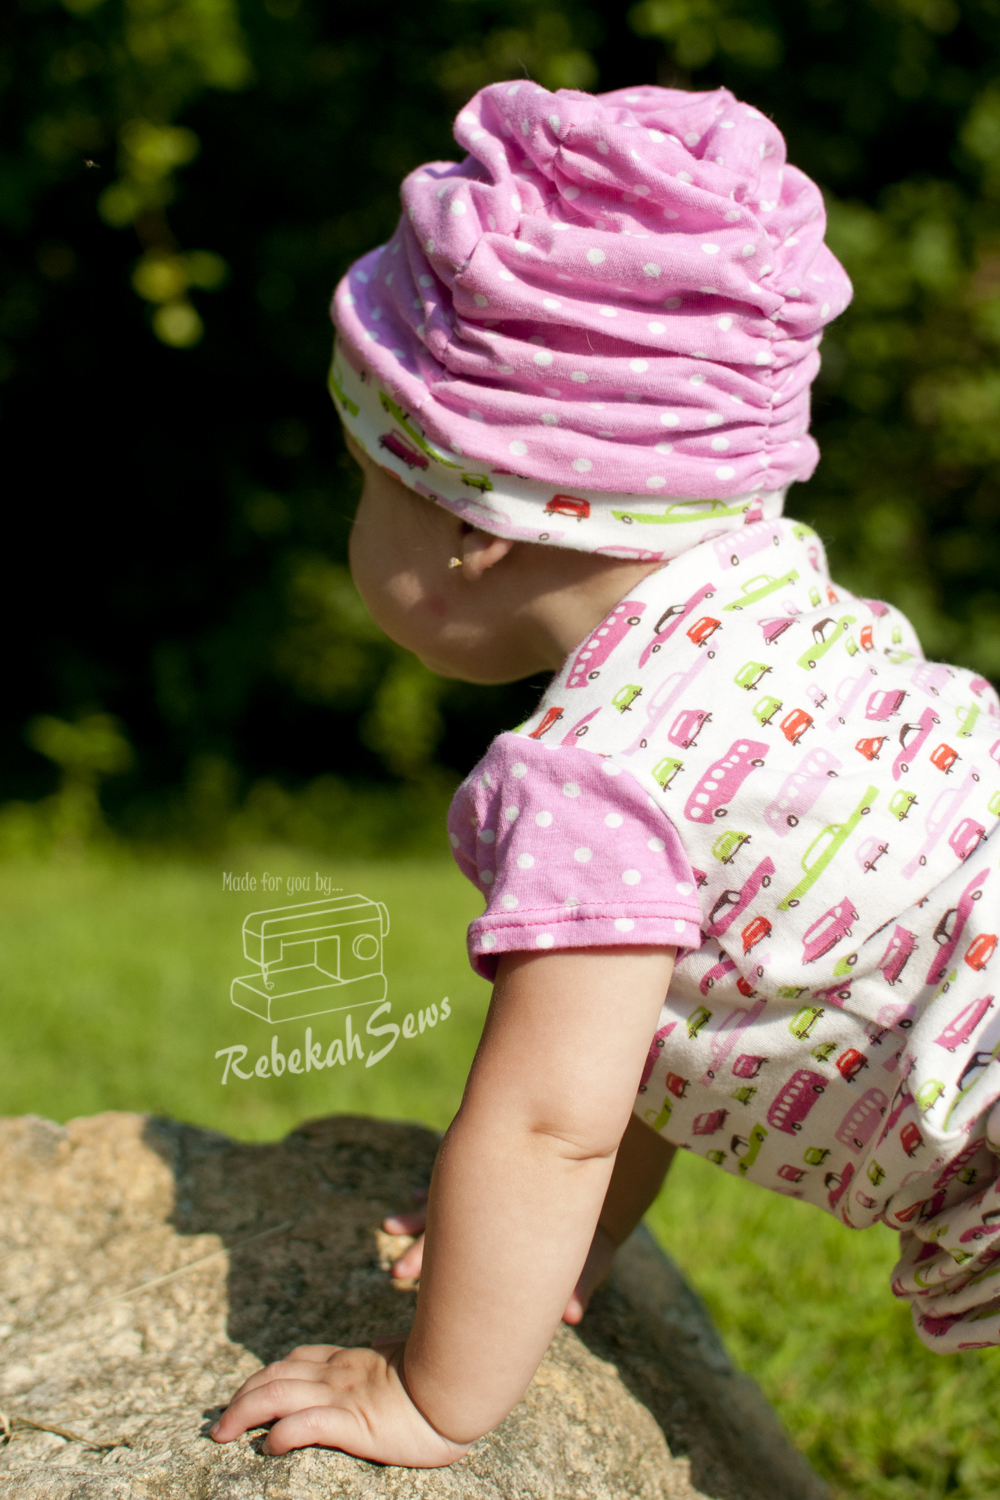
First let’s look at the Ruched Beanie. This comes in sizes NB-Ladies.  Perfect for coordinating mother/daughter outfits. For this pattern you do need to know how to shirr as that is what gives the beanie that ruching. The tutorial walks you through shirring though, so if you have never taken the plunge, now is the perfect time to do so! The top of the beanie is roomy for those growing heads or lots of hair.
 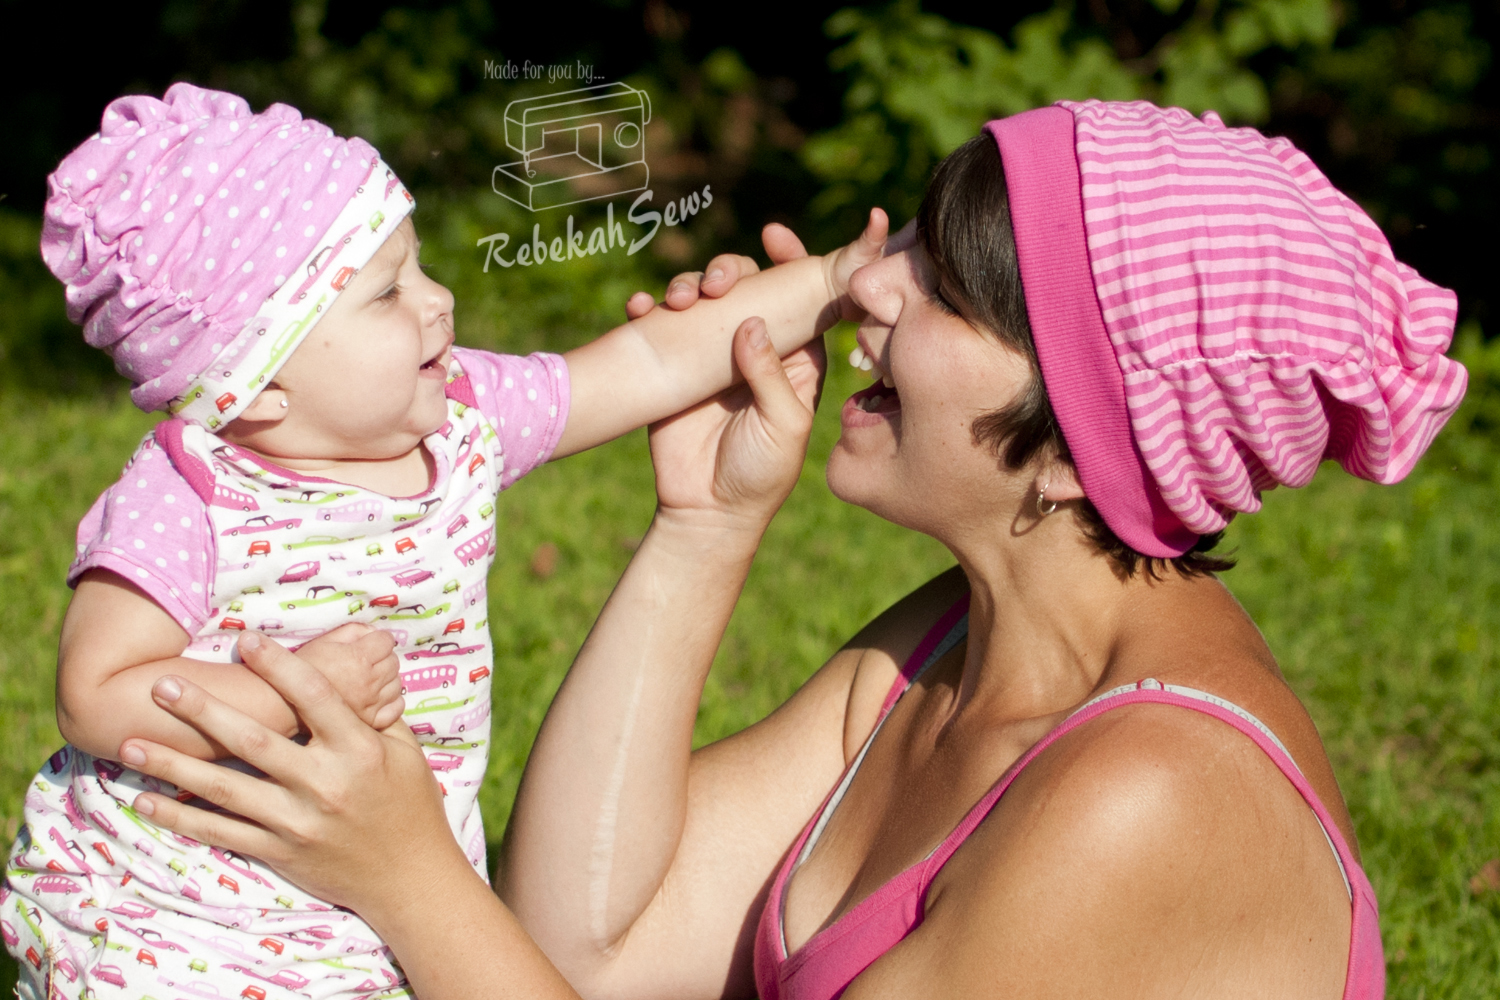 It stays securely on though with a band that fits snugly yet comfortably. In the tutorial Denise does walk you through on how to round off the beanie. I rounded off the one for my daughter but kept it more pointed for me. It’s just more fun that way! Comfortable yet fashionable…this is one beanie that veers away from the traditional style to make an awesome girly one!

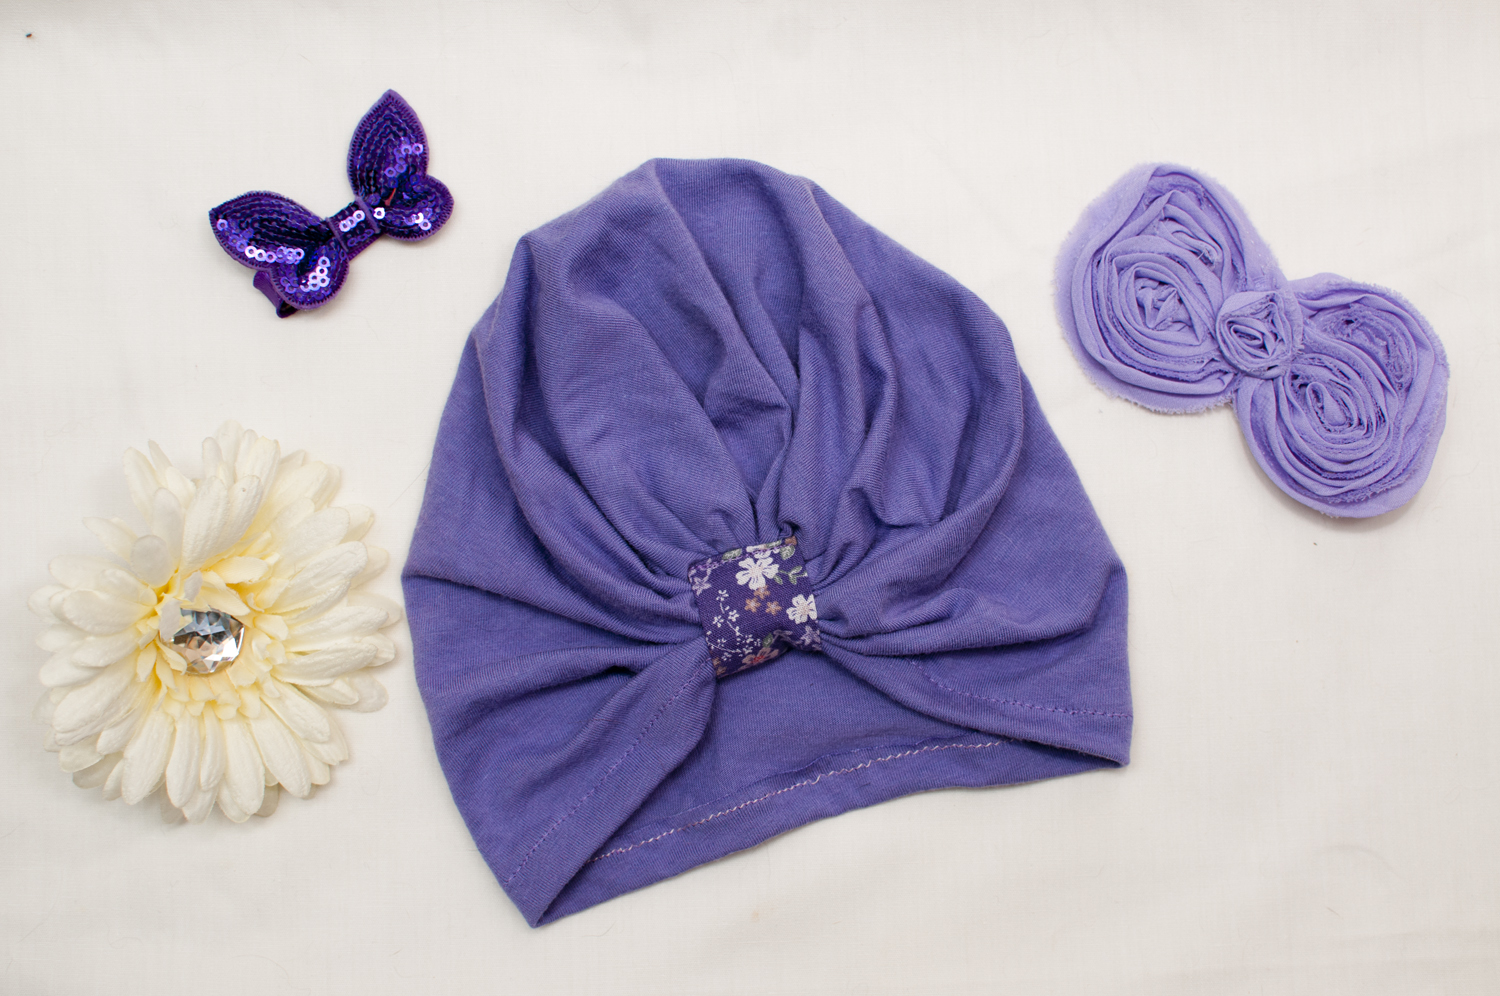
Now my favorite of the two is the Bow Turban Hat. I absolutely LOVE this one. Perhaps it’s the vintage feel (remember I love vintage) or the comfort. Either way this is a win in my book! This one ranges in sizes 3months-Ladies. Again mother/daughter matching is a must!
 The tutorial walks you through how to make the turban and the bow with easy to follow steps. Hand sewing is involved in this one. Actually, you could make the whole thing with hand sewing if your machine was out of commission or if you just wanted to. Or perhaps you have a young one wanting to learn to sew?
  This would also be a great first sewing project for the beginner seamstress whether young or old! Now the tutorial has you sew the bow right to the turban. I decided to add a band over the knot instead in order to be able to attach any clip I desire. Why be limited to just a bow?

Would you like to learn how to add the band too? I knew you would and that is why I created this tutorial at the end of the post just for you! Before I begin the tutorial though let me tell you how you can get your own copies of these amazing hats. Head on over to the Whimsy Couture website to pick up both the Ruched Beanie and the Bow Turban Hat. These are on sale right now for $2.50 each!!!!! With the ease of construction, range of sizes, and cuteness factor…well you just can’t go wrong!

Tutorial for adding the band to the Bow Turban Hat:
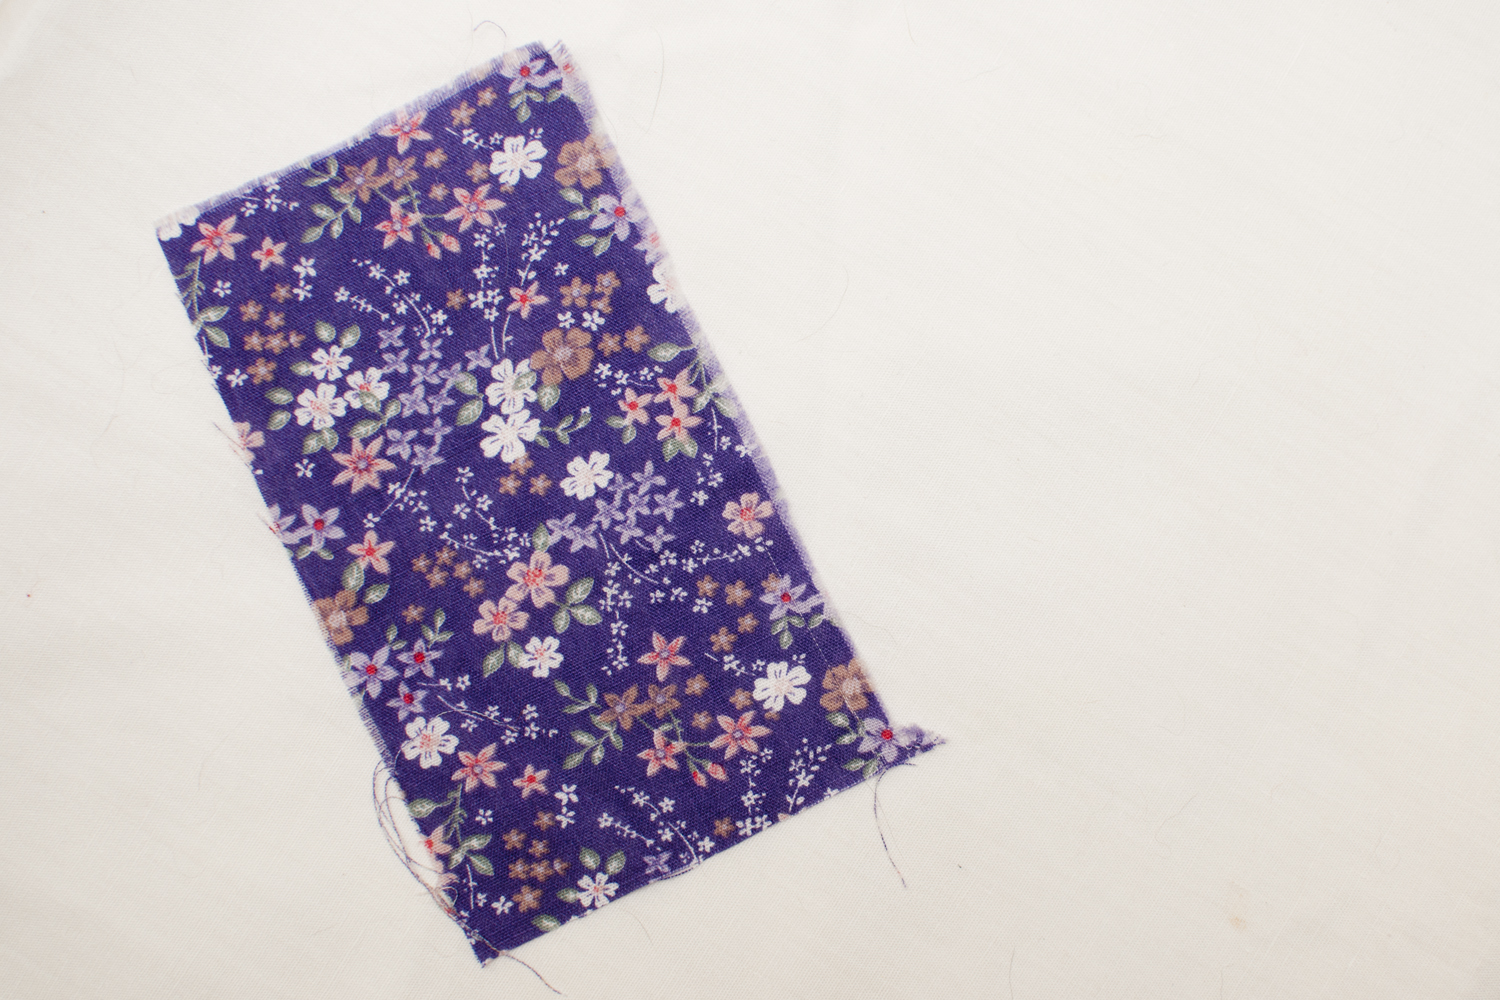
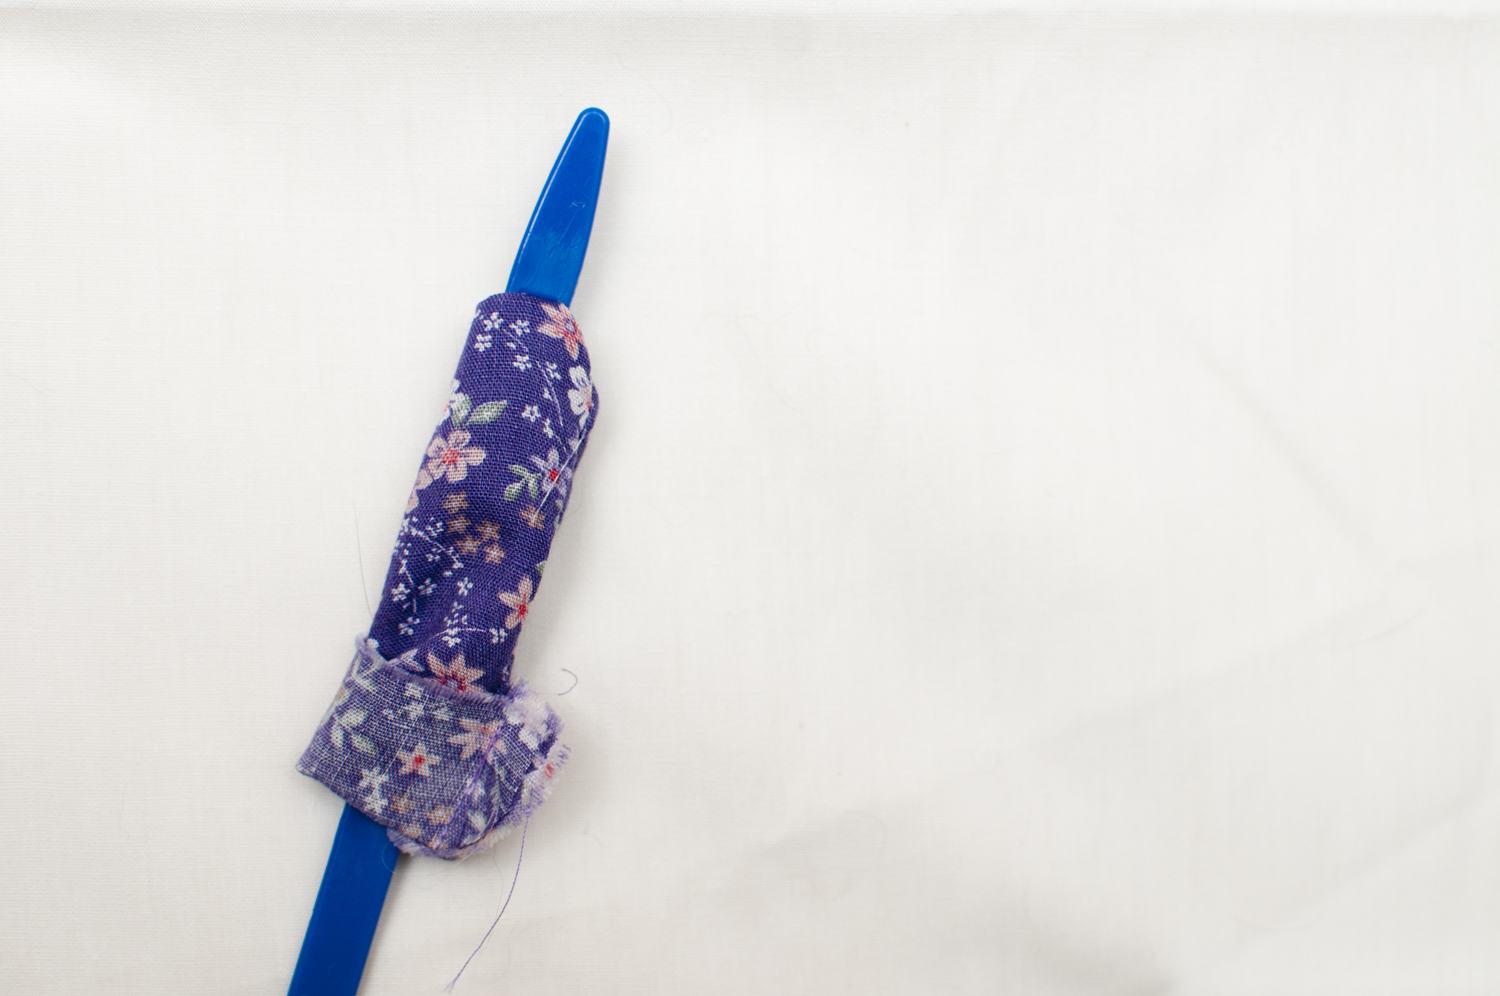
Cut a strip of your fabric for the band. Mine is 5in x 3in and I’m making the 3-12mo hat. You may have to make your strip wider depending on how big your knot is, however I used this same size for my adult hat too. I really try to get my knot as small as possible though!
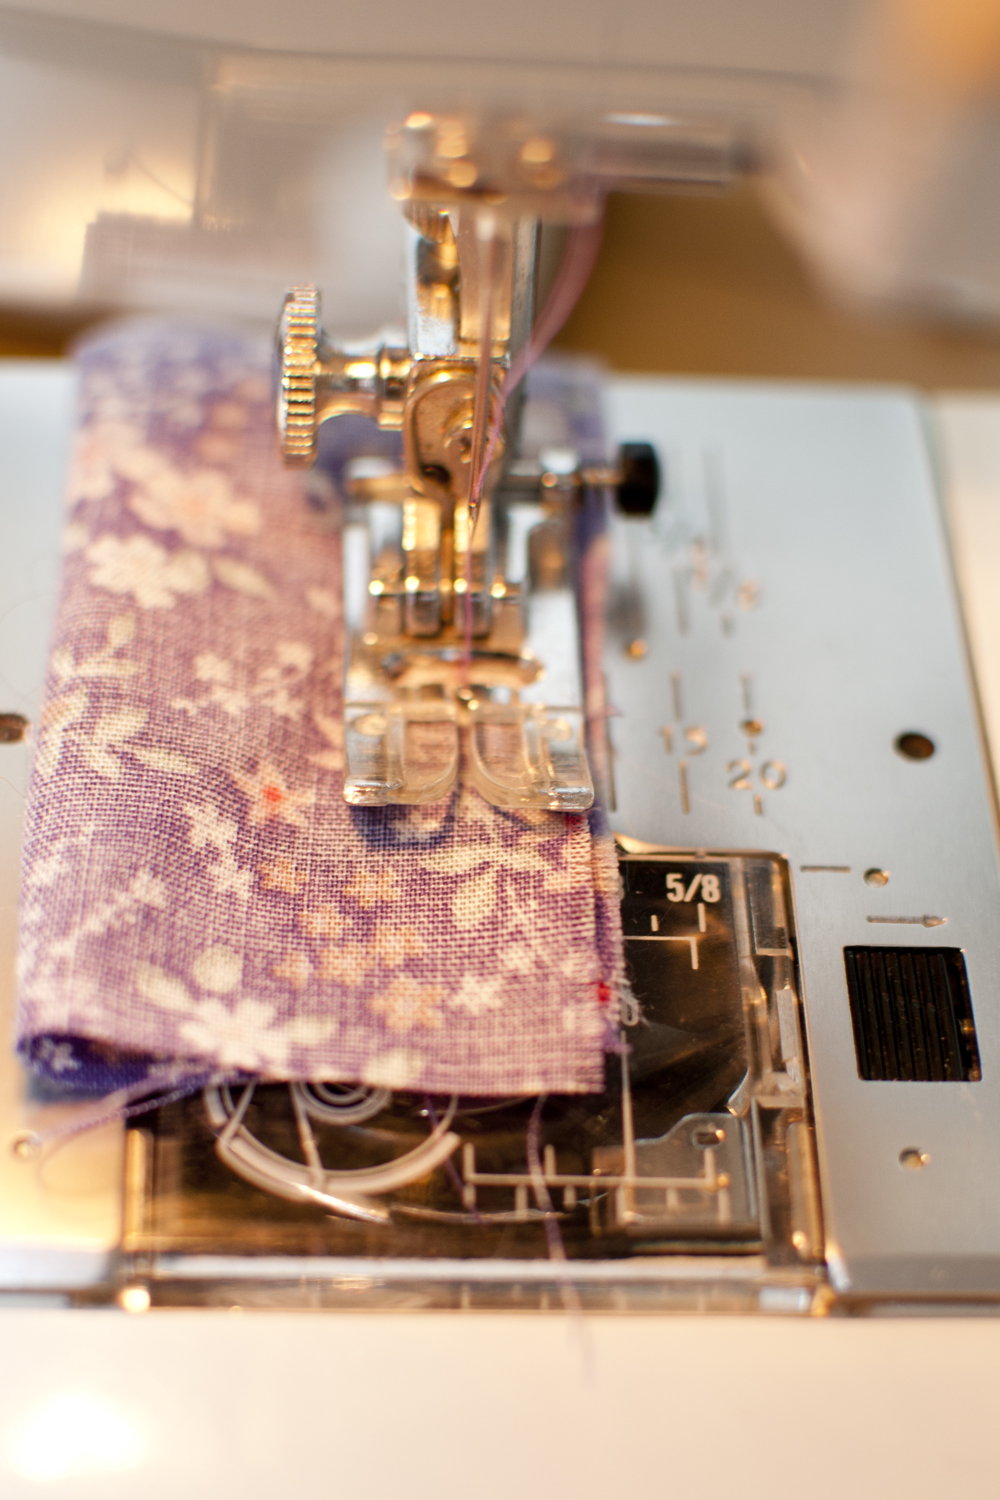
Fold strip in half RST matching the long raw edges. Sew a 3/8” seam down the raw edge.
Turn your tube and press so that the seam is in the middle.

Take one raw end and fold it down 1/4” and press. Fold another 1/4” and press again.

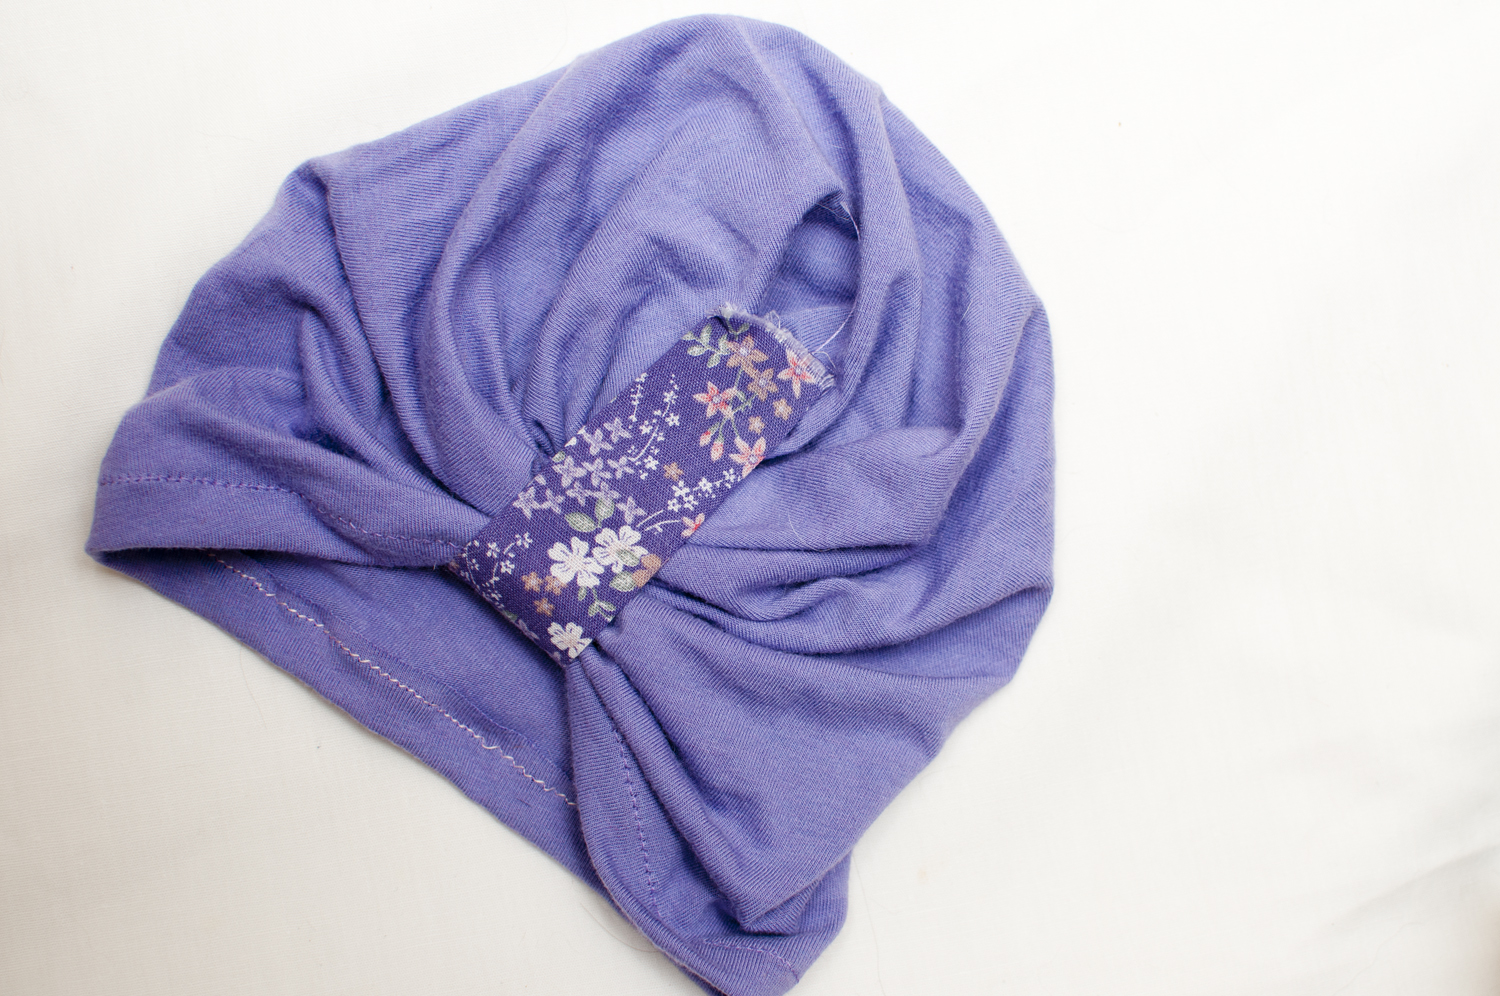
Turn your hat inside out. We will be attaching the strip to the inside of the hat first. Align the folded edge of the strip on top of the knot making sure it covers all the edges of the knot. You can adjust the gathers on the hat if you want in order to make sure they look even. Don’t smooth them out though! You want the gathers under the strip. Pin in place.


Sew a 1/8” seam on the top of the strip.

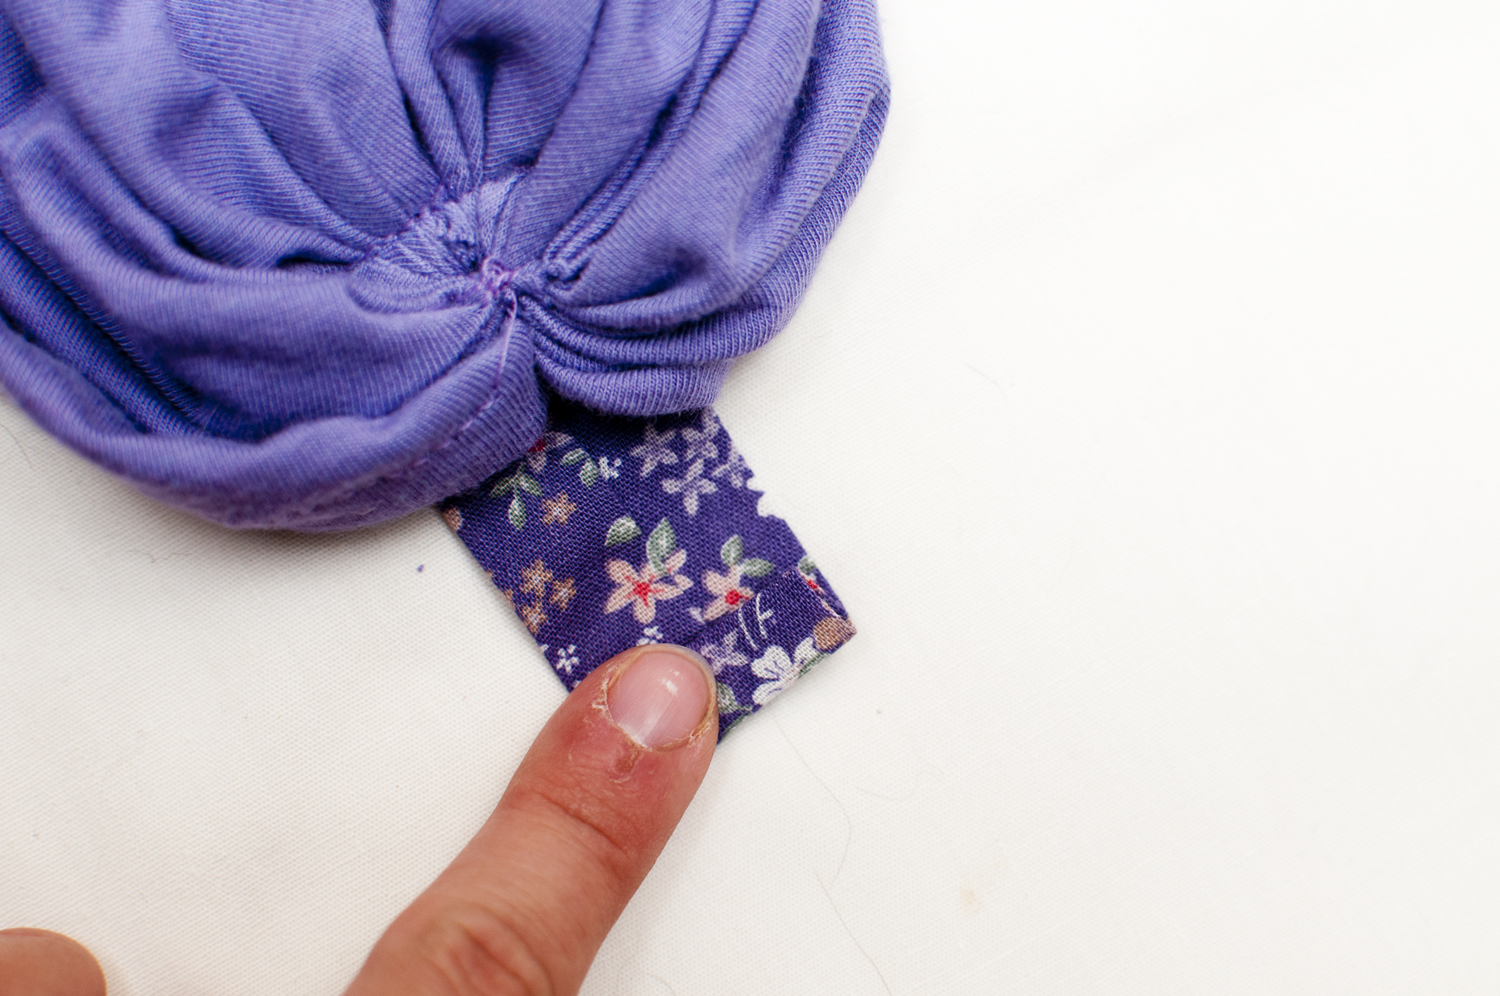
Turn your hat right side out and pull the strip towards the front of the hat. My strip is longer than I need as I like to adjust it at this point. Pull your strip as tight or loose as you want it and see where it hits the top of the front knot. Now measure 1/2” beyond that point and cut your strip there.
Now fold the small raw edge of the strip 1/4” and press. Fold another 1/4” and press again.
Align your folded edge right over your previous stitches. Pin in place.

Sew 1/8” from the edge. Cut your threads and you are done!
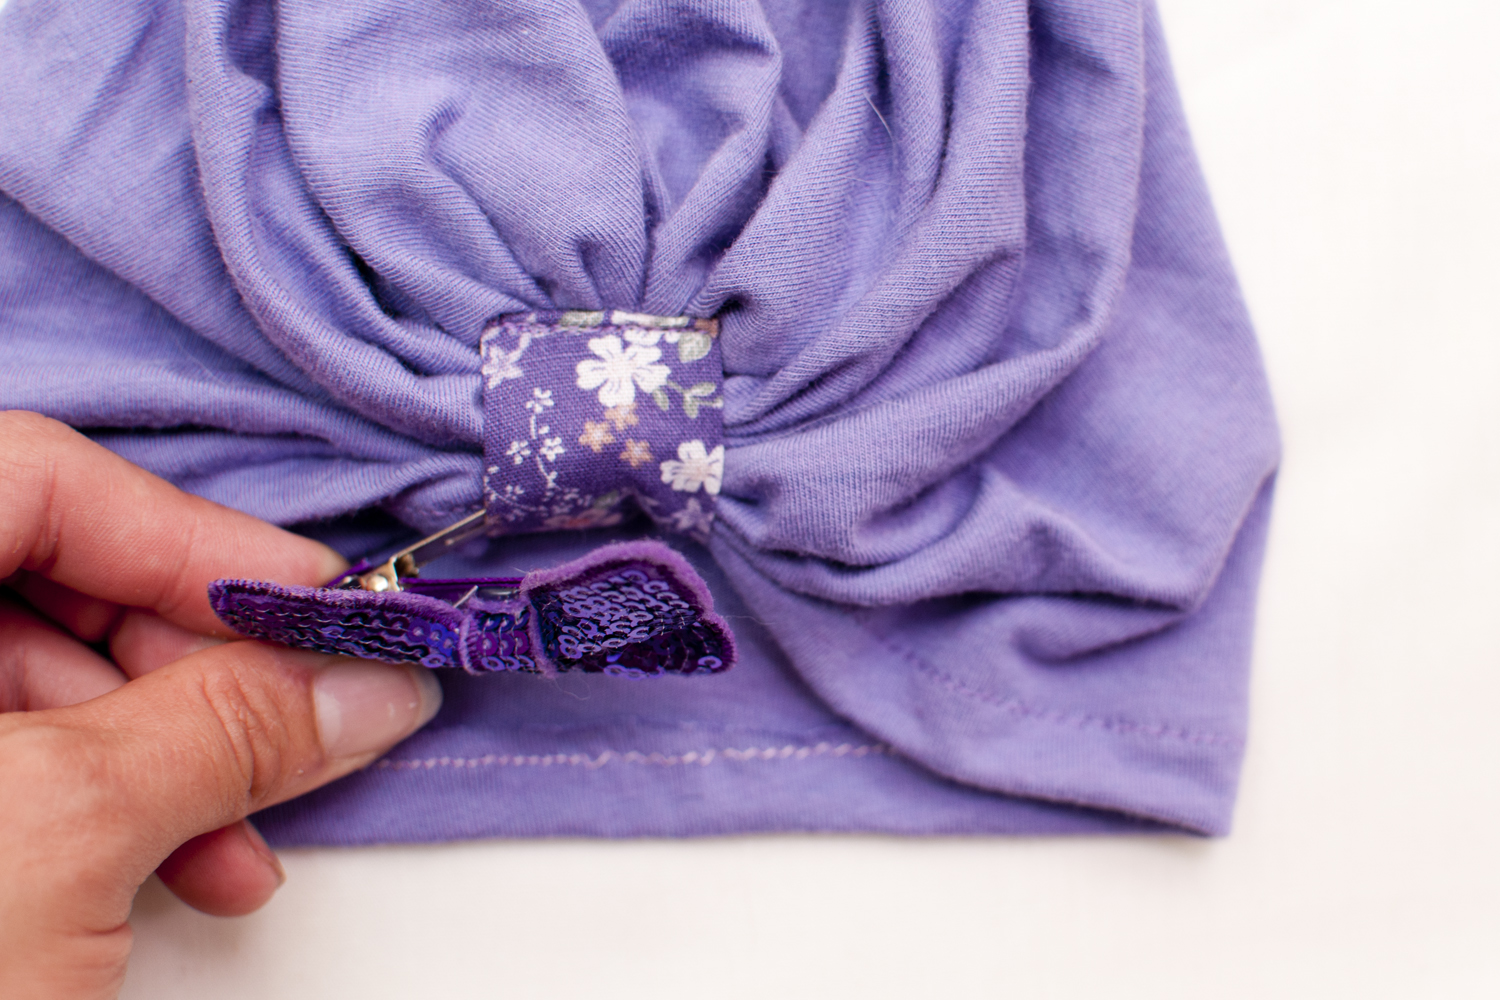
Now you can insert any clip you would like through the loop! Bow, flower, nothing…the possibilities are endless!

Really cute
Pingback: Review Of The Bow Turban Hat From Whimsy Couture - Plus A Free Add On Tutorial - Whimsy Couture
Pingback: How To Sew A Cute Bow - DIY Crush