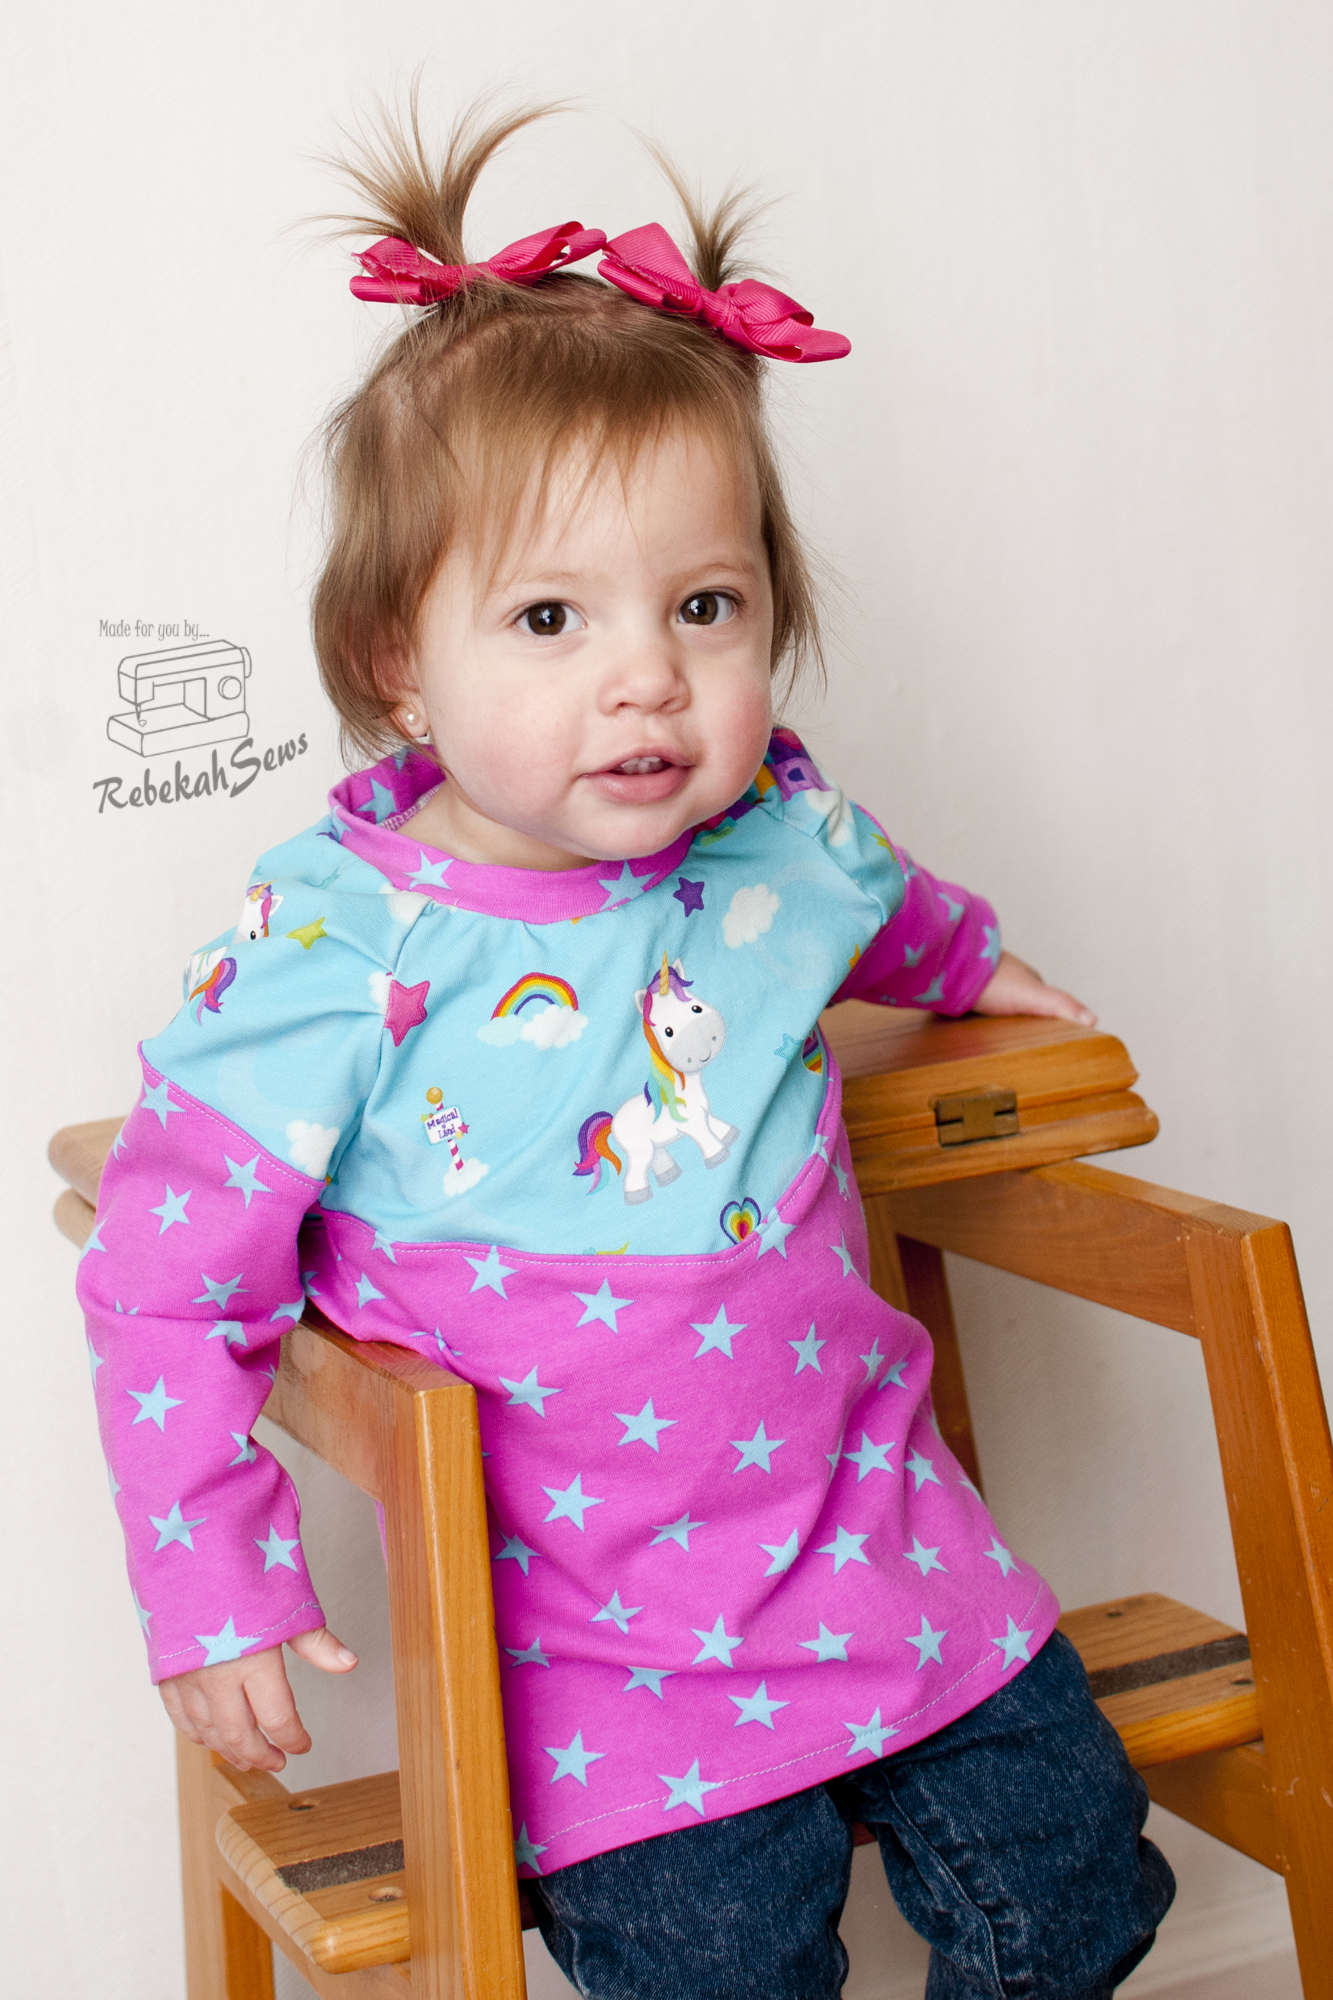
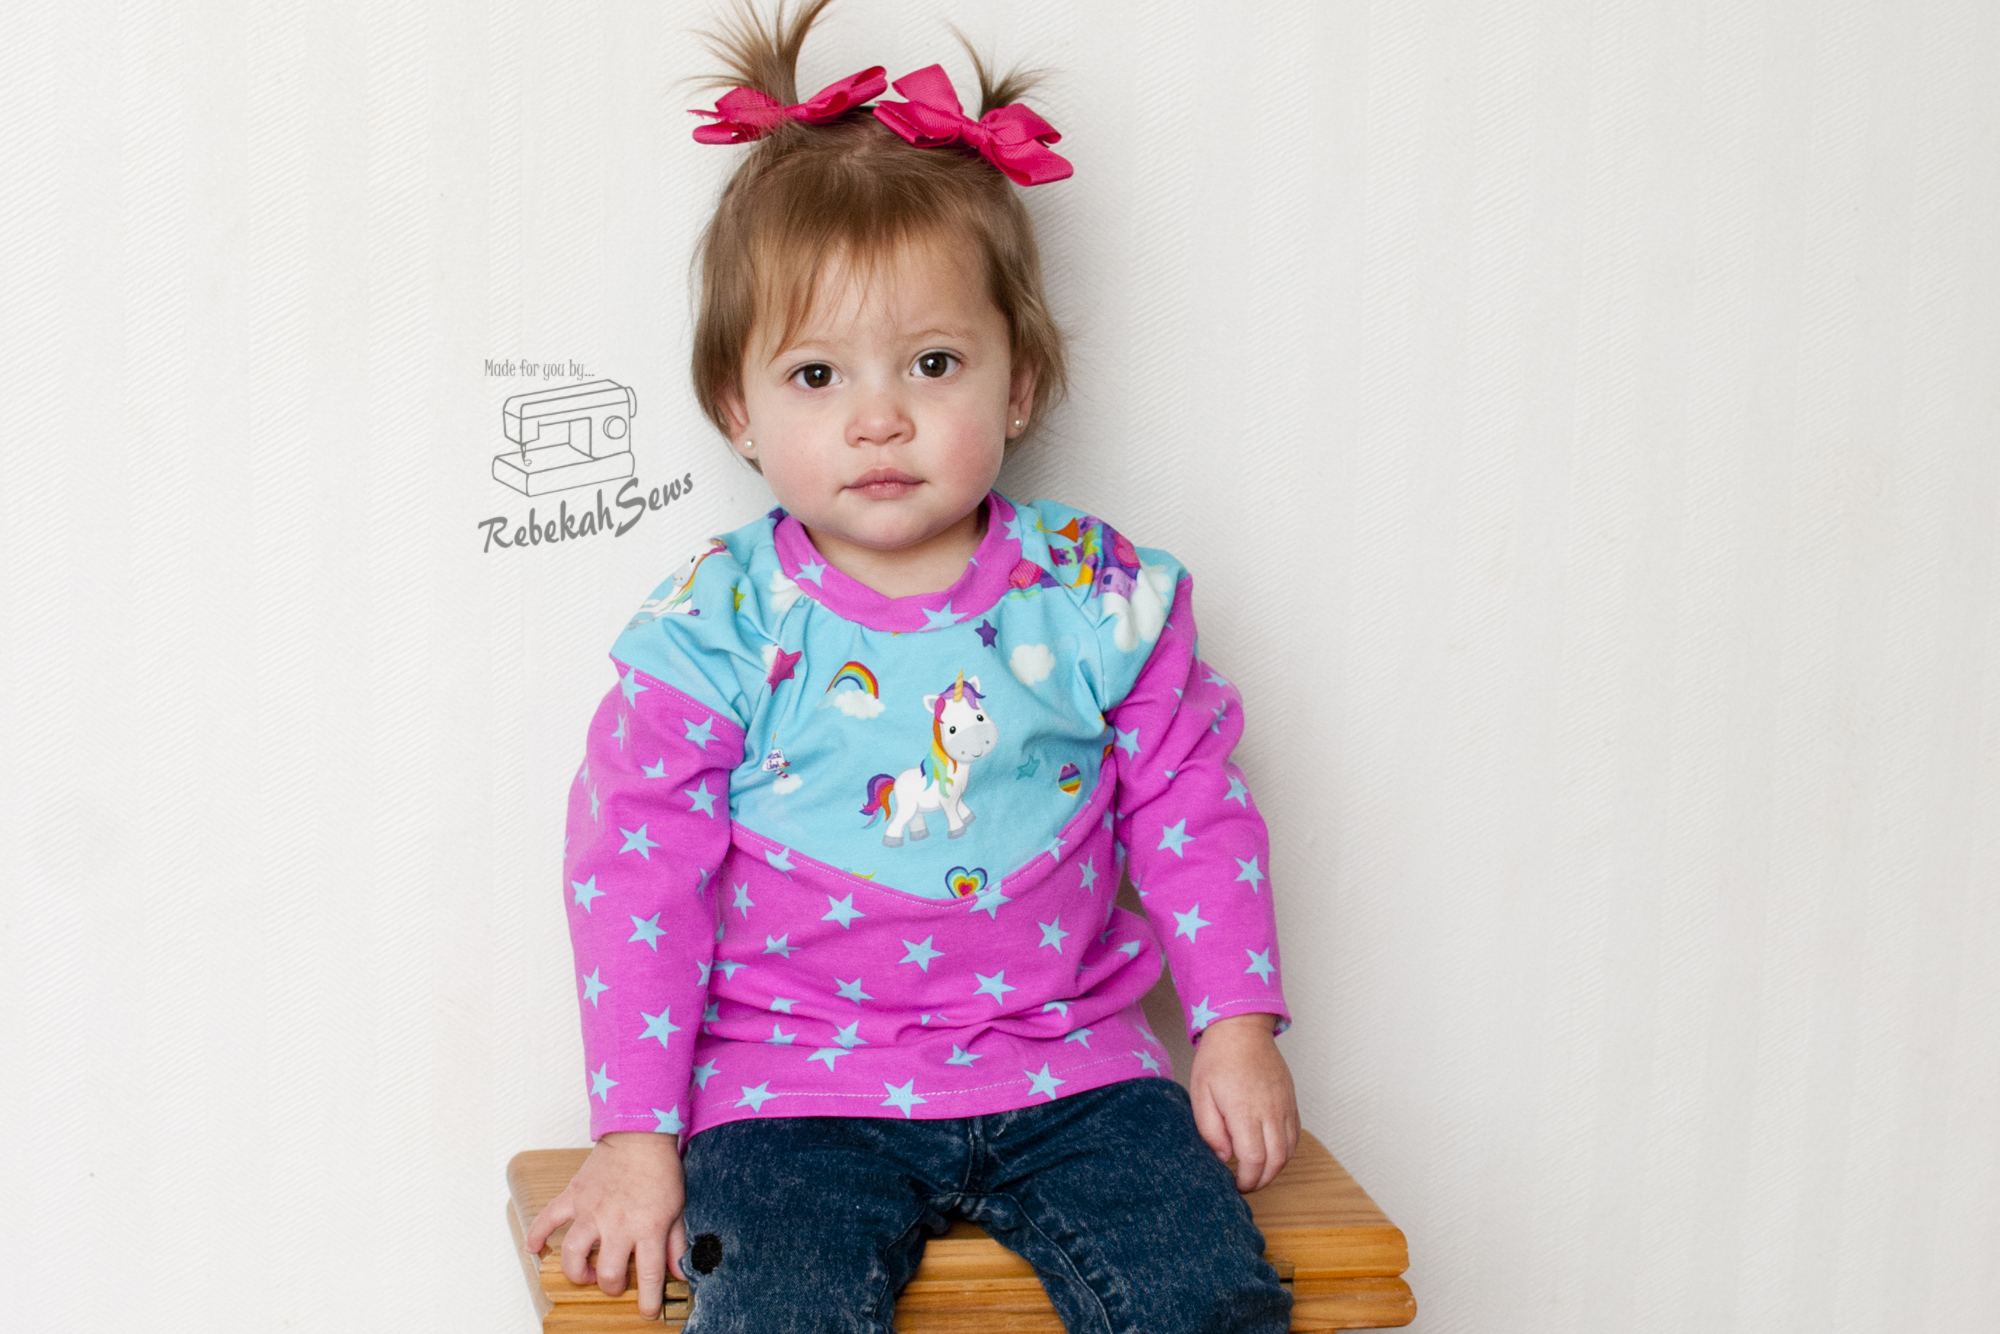
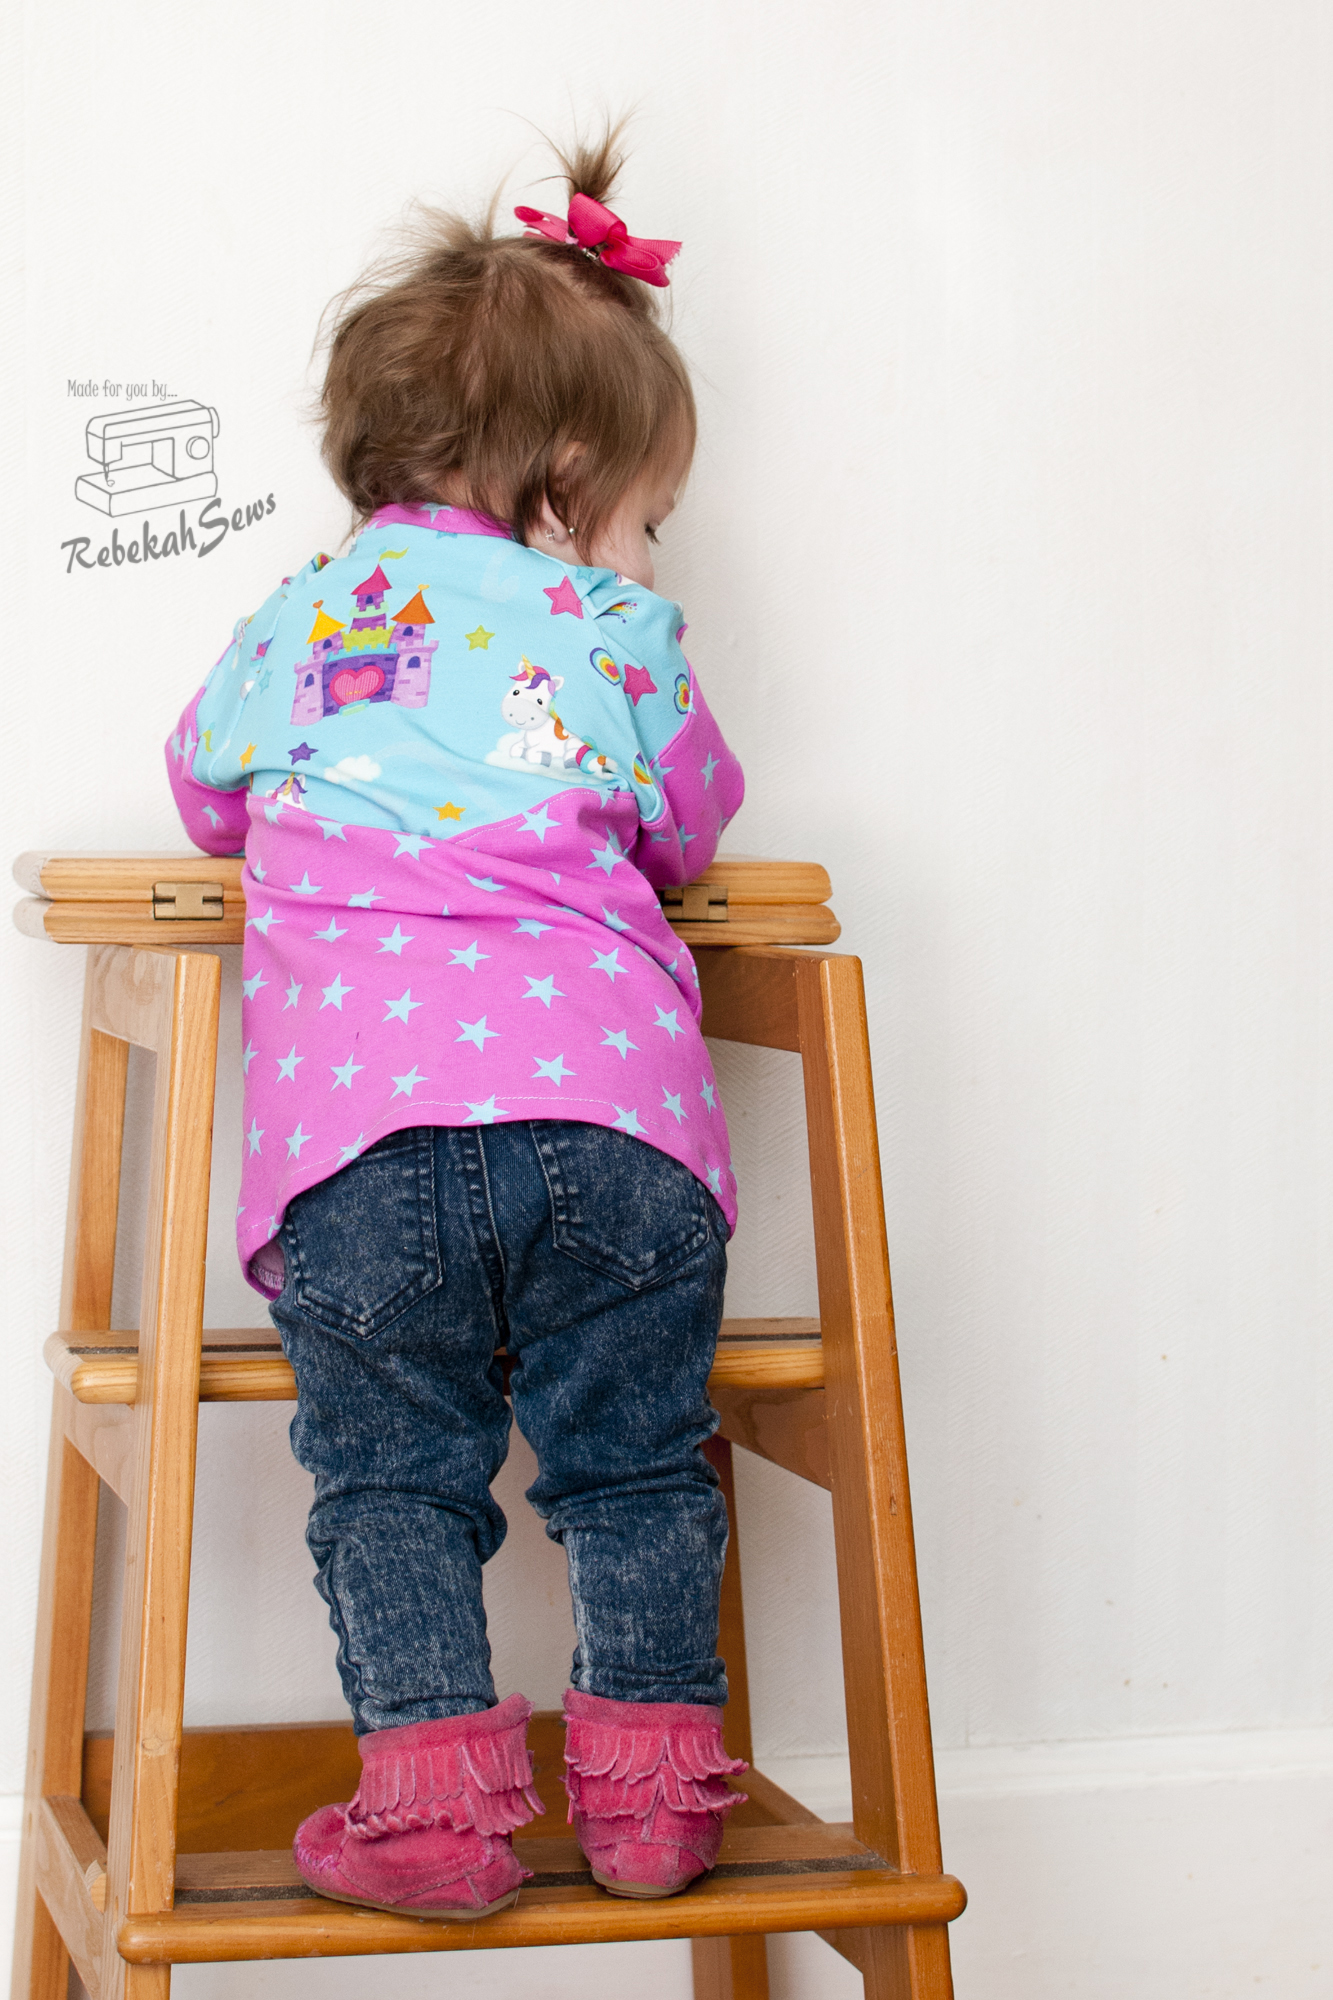
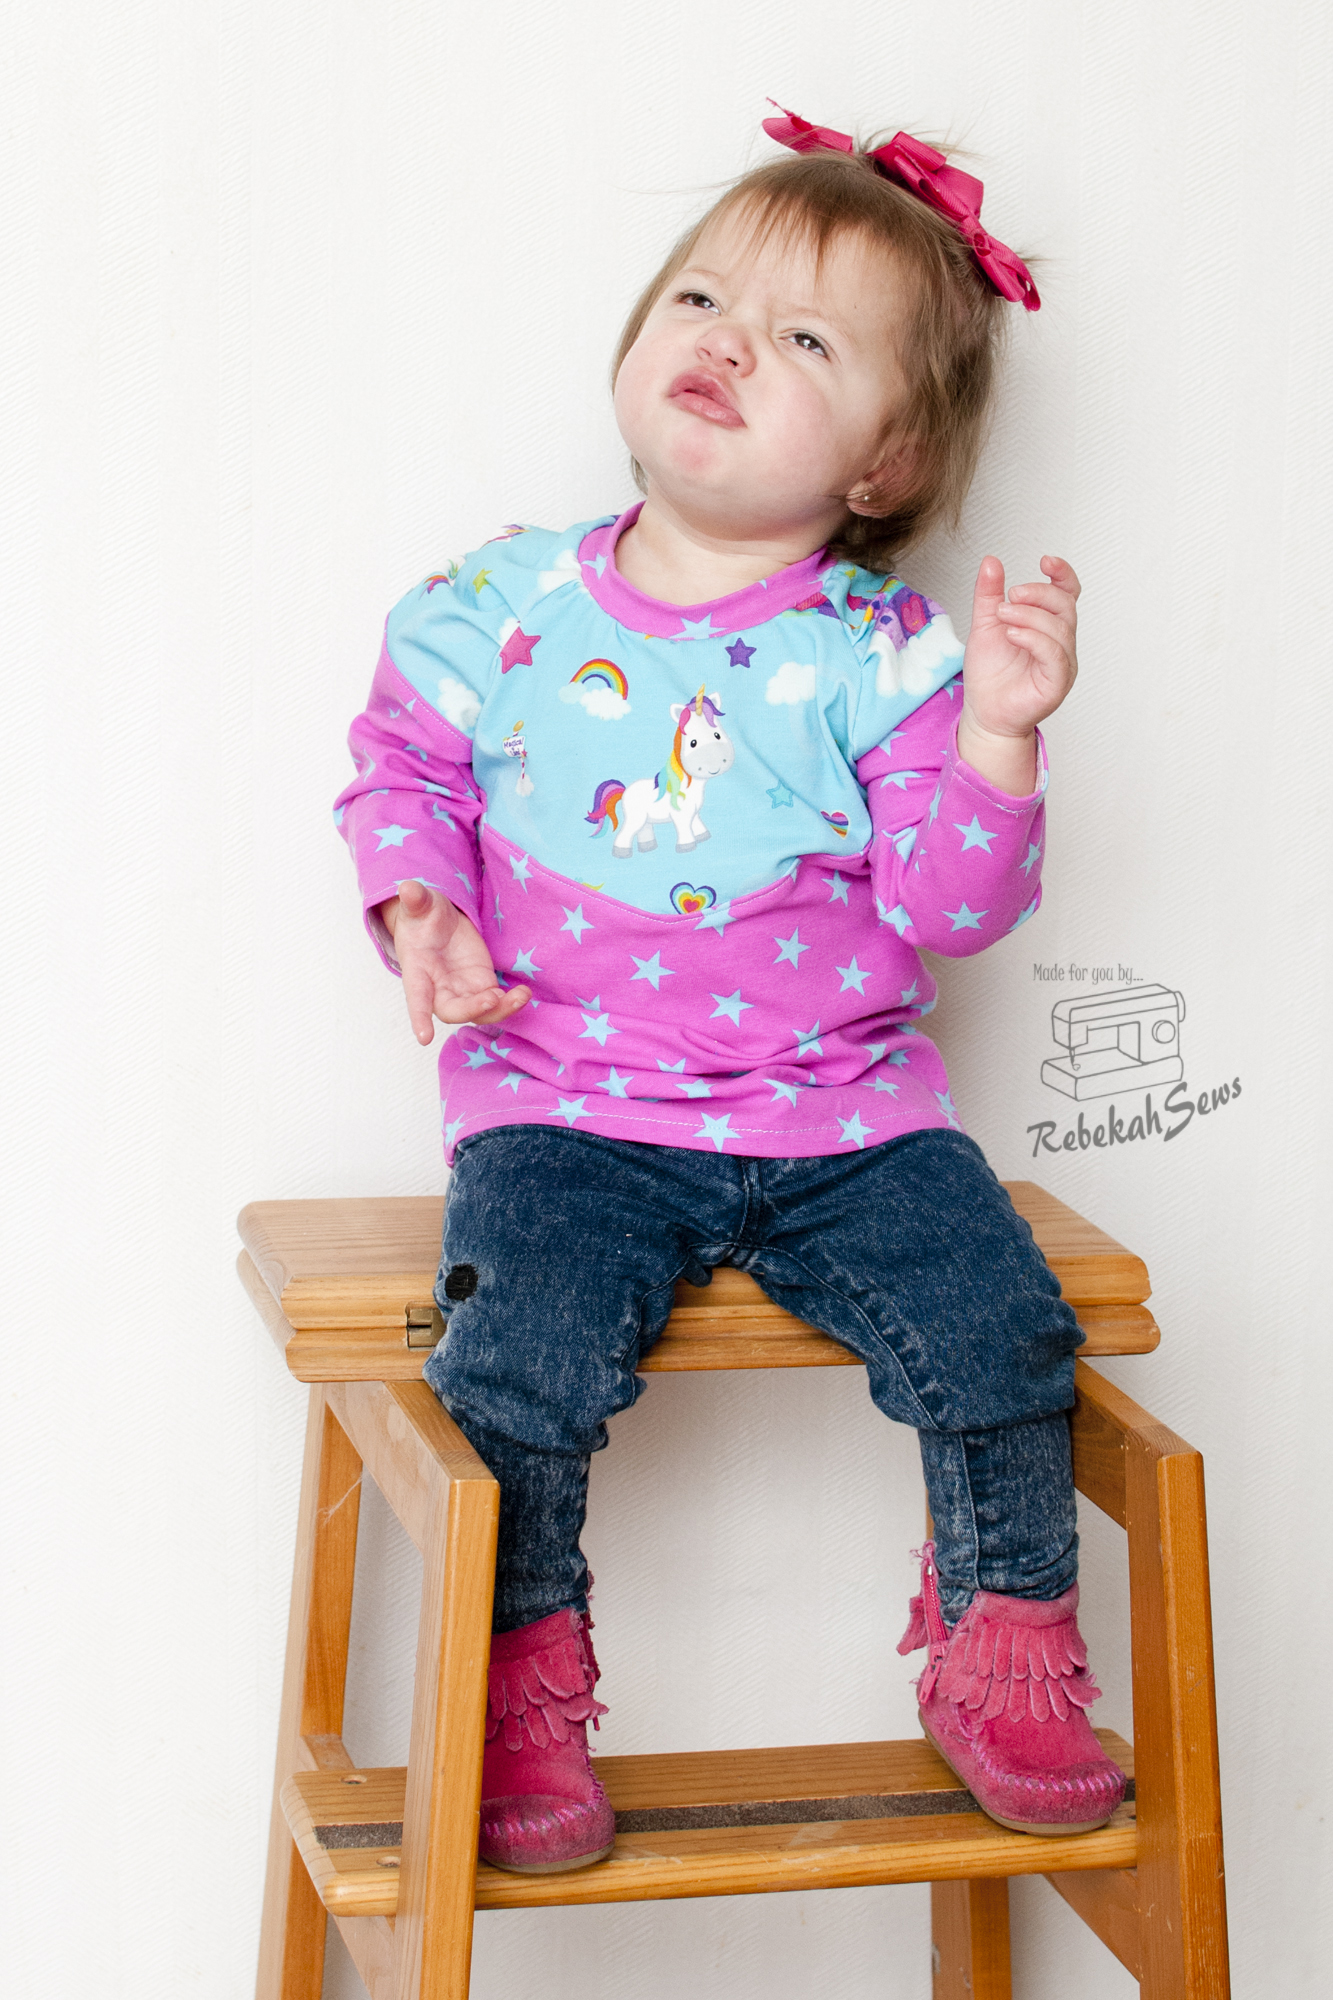
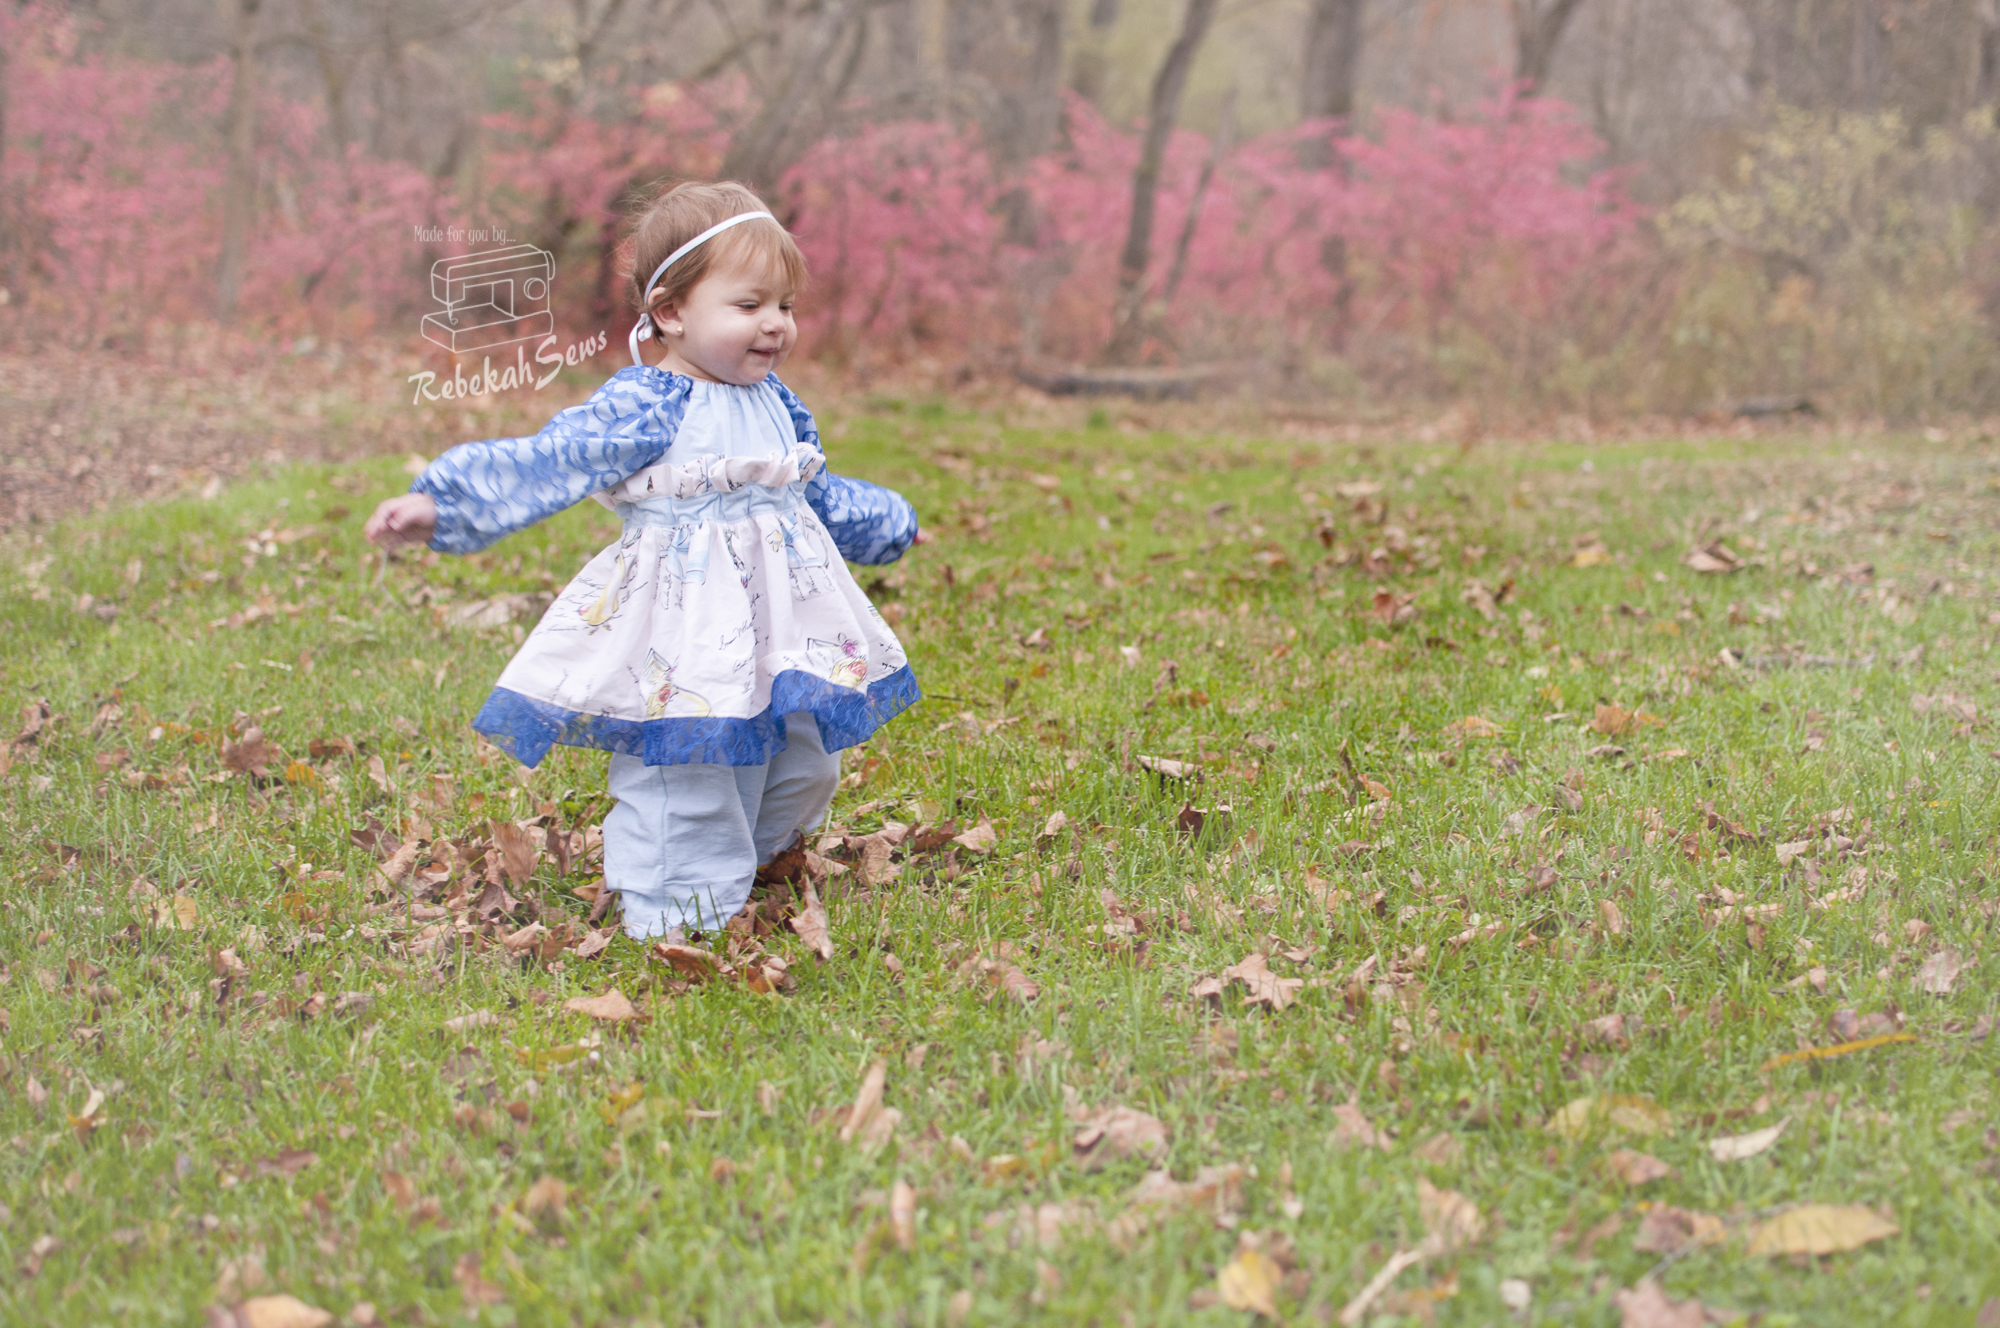
Valentine’s Day is just less than 3 weeks away! Are you ready? If you aren’t and haven’t decided what dress to make your little one, then I am here to help you out! Have you heard of Mandy K Designs? Well if you haven’t, let me introduce you to a newer yet awesome designer. She has created patterns for girls that are fun, cute, and classic, yet stylish all at the same time. Don’t just take my word for it; I think this dress speaks for itself!

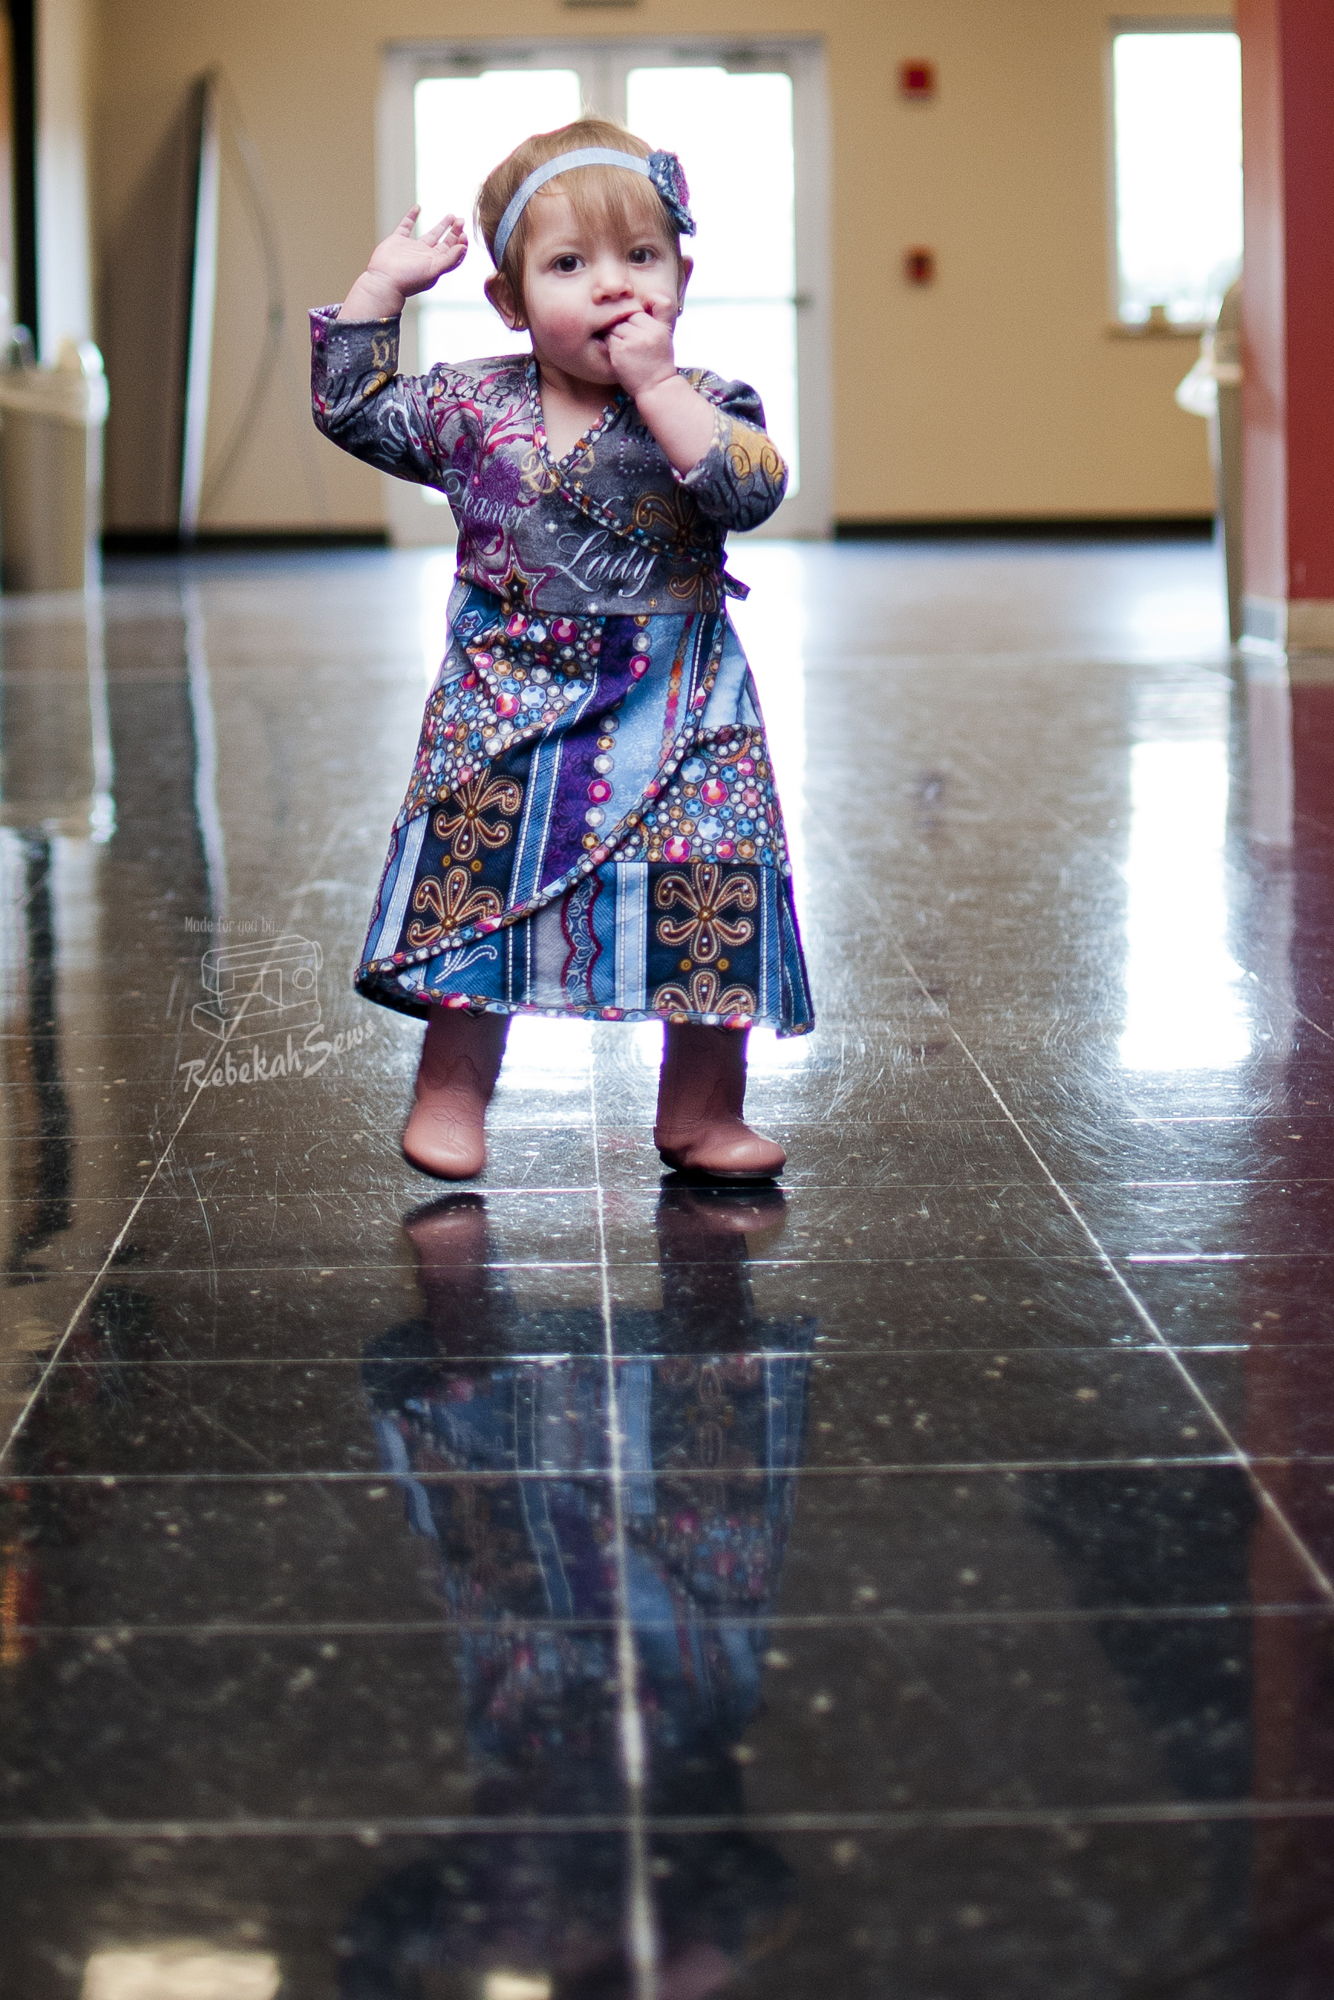
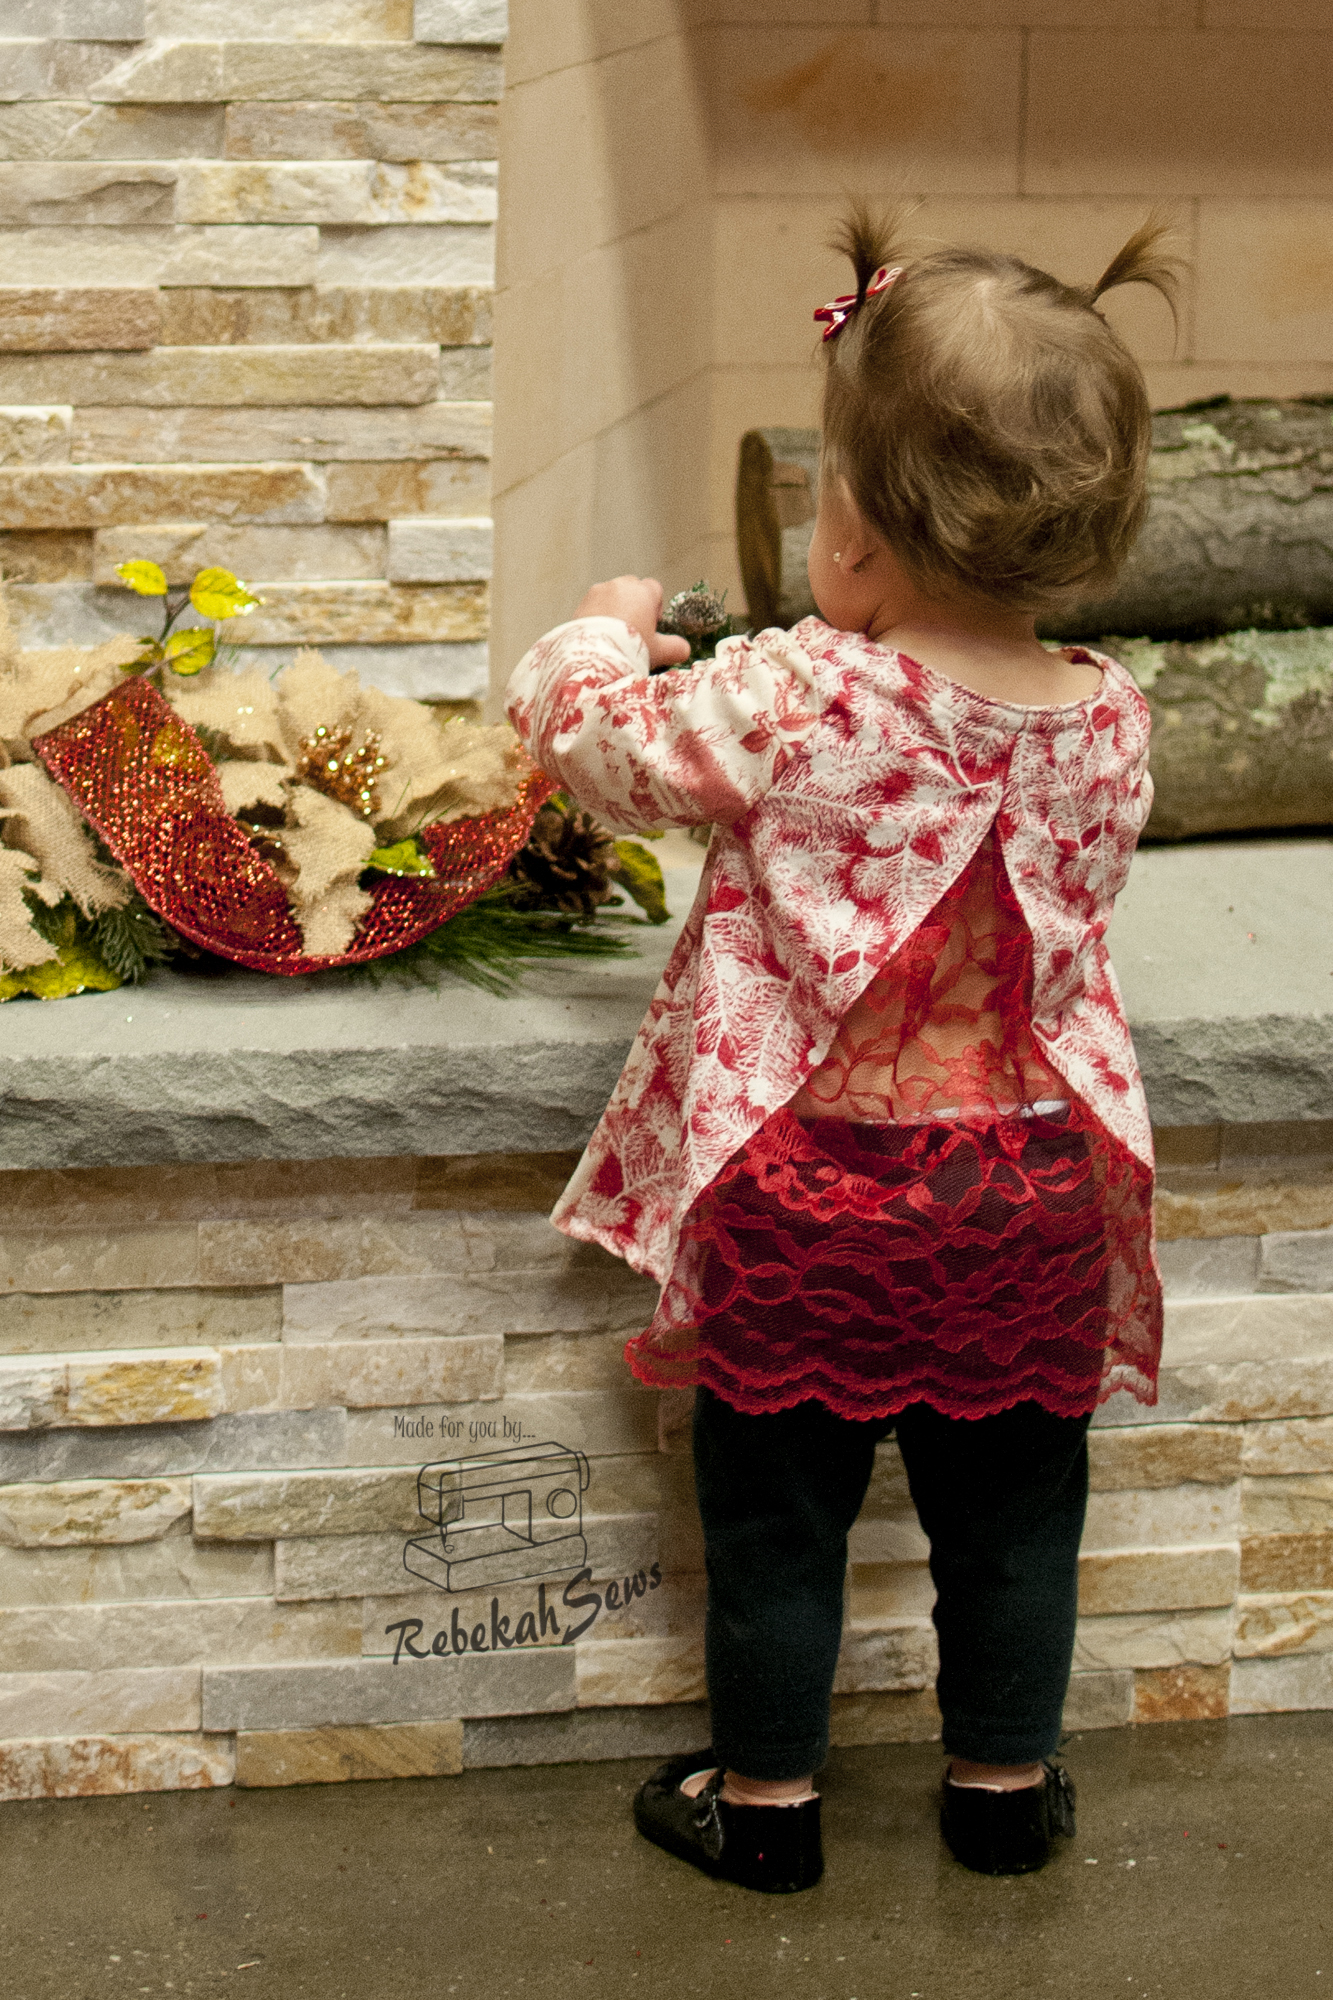
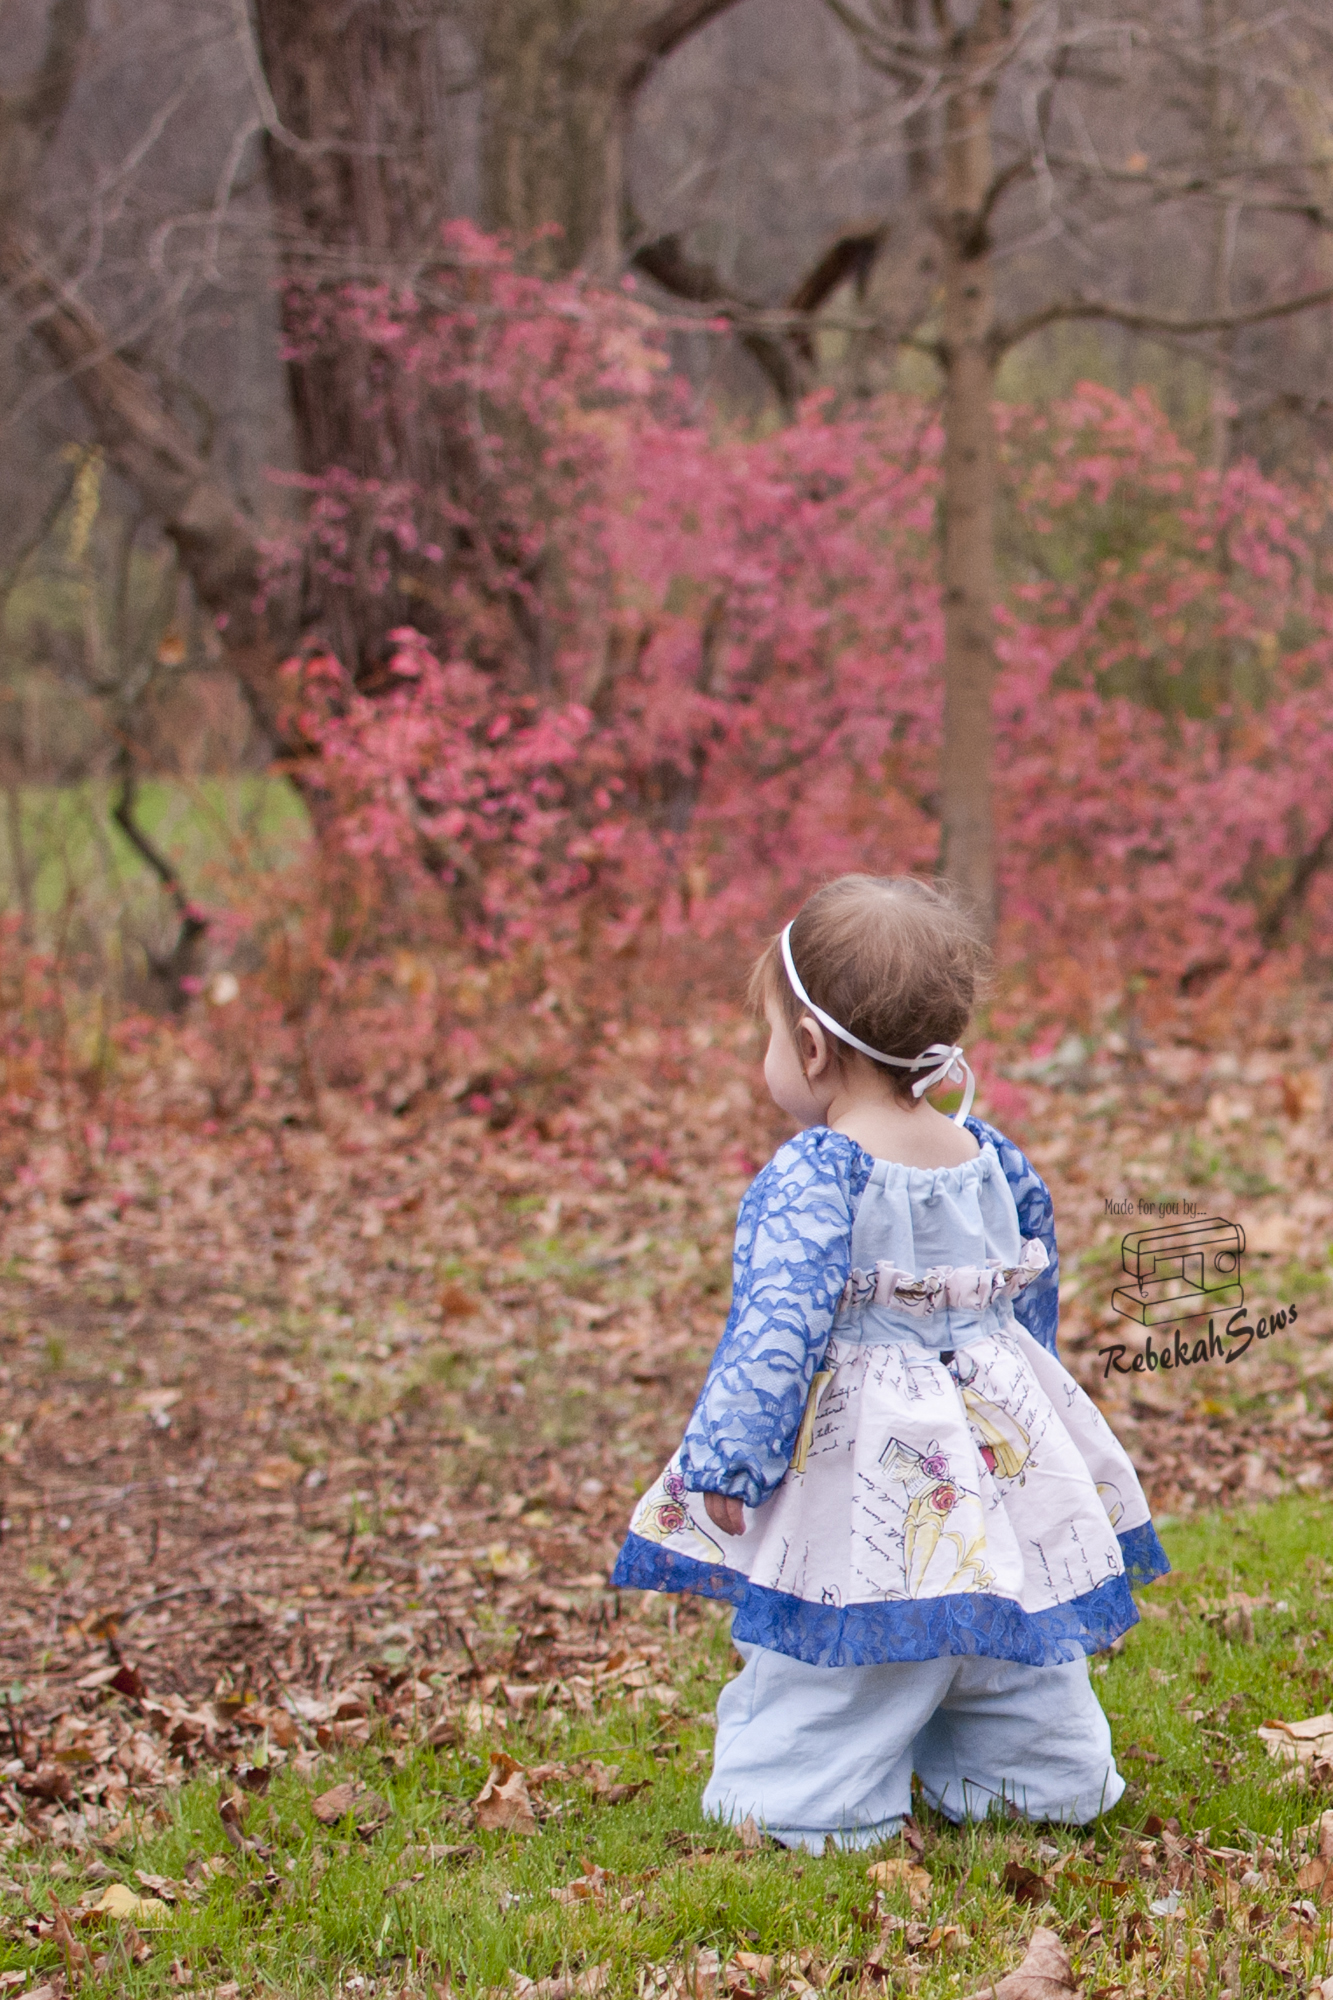
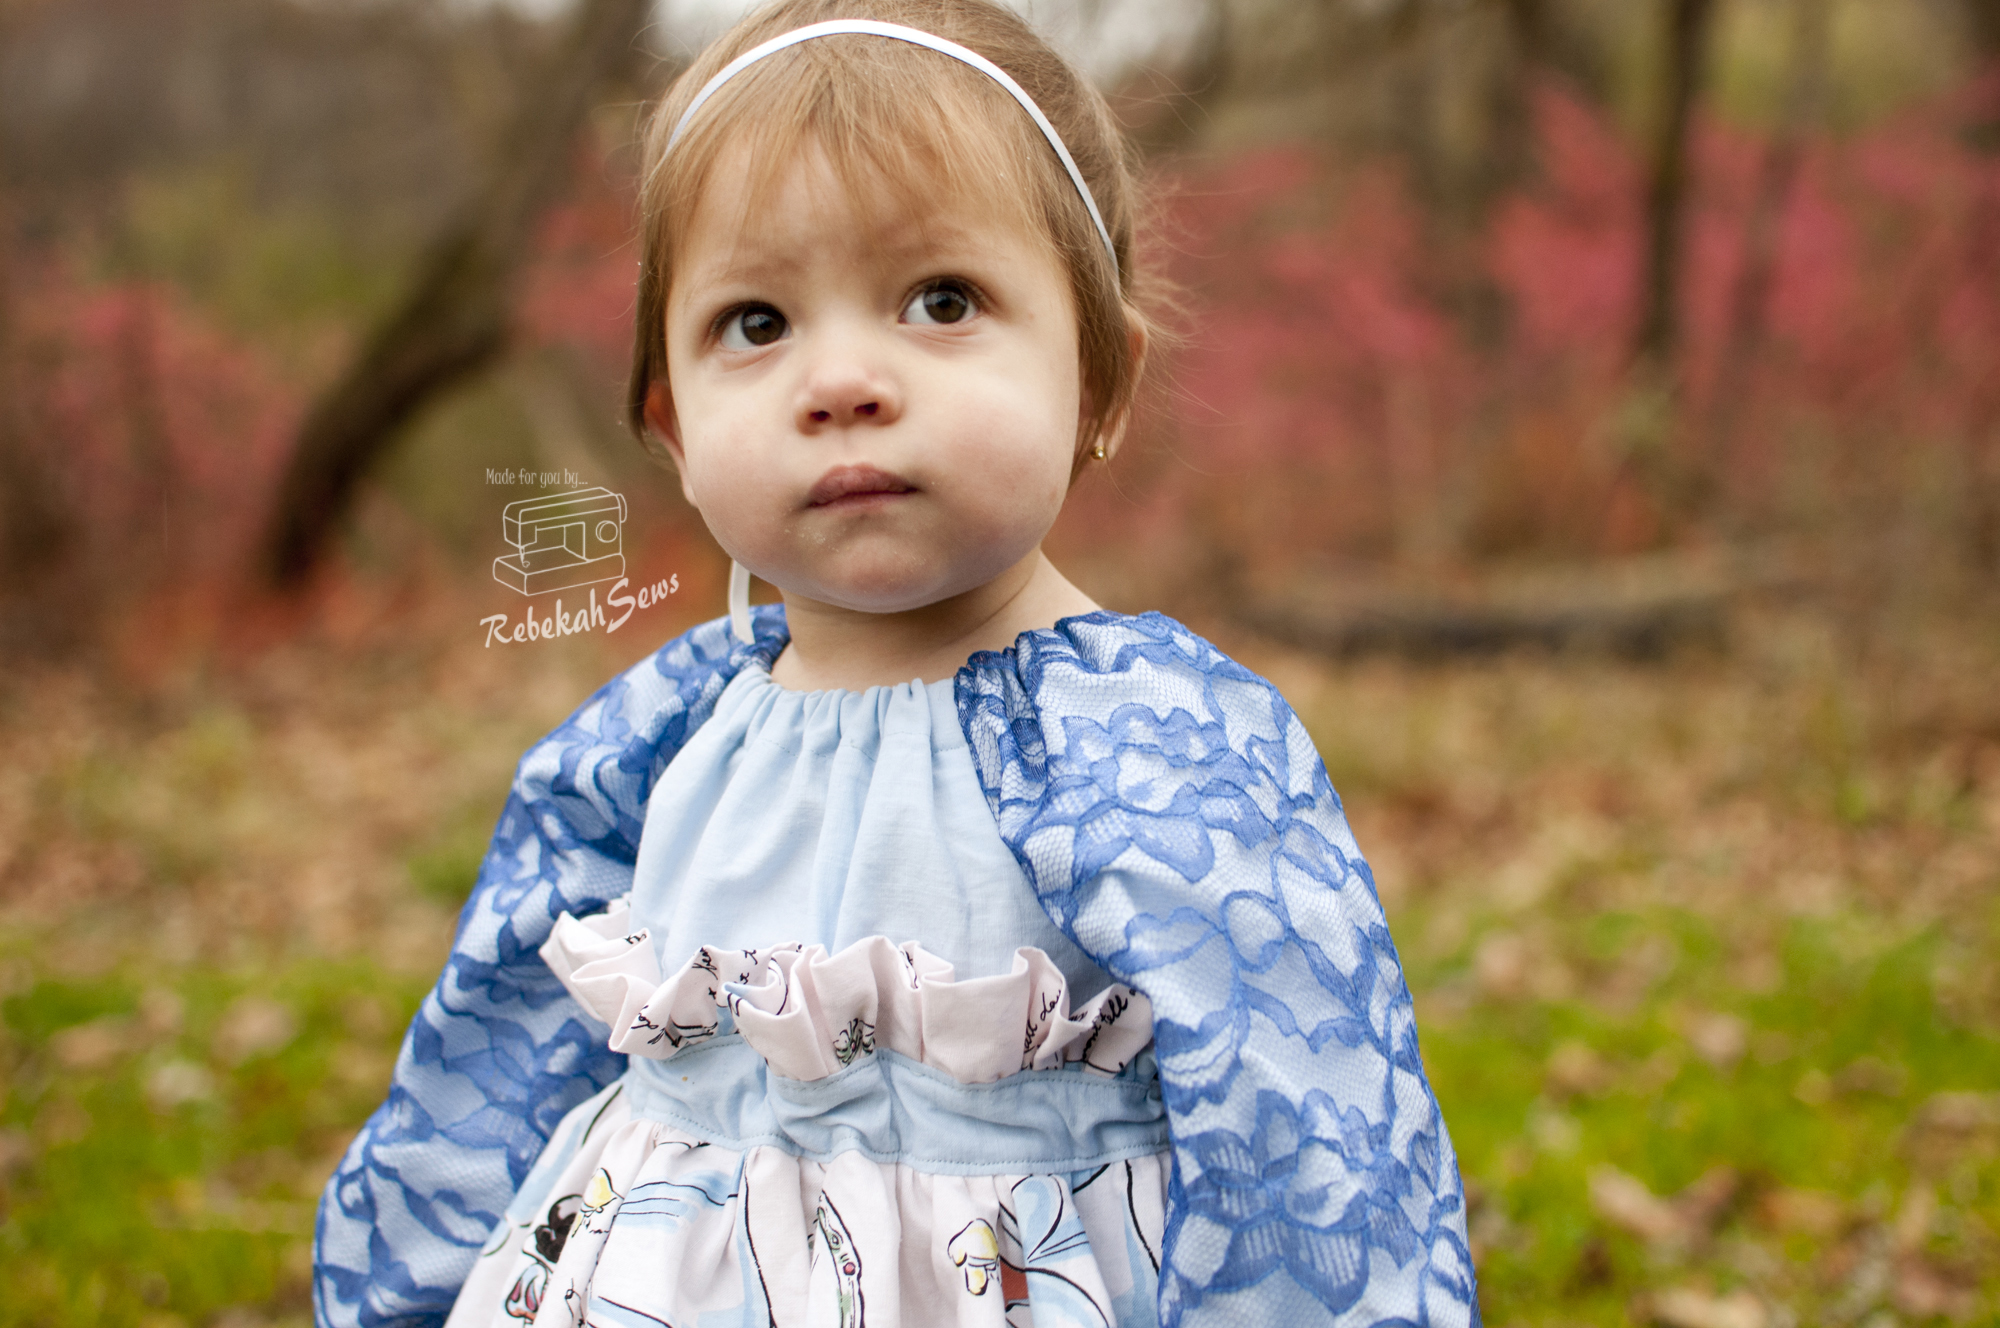
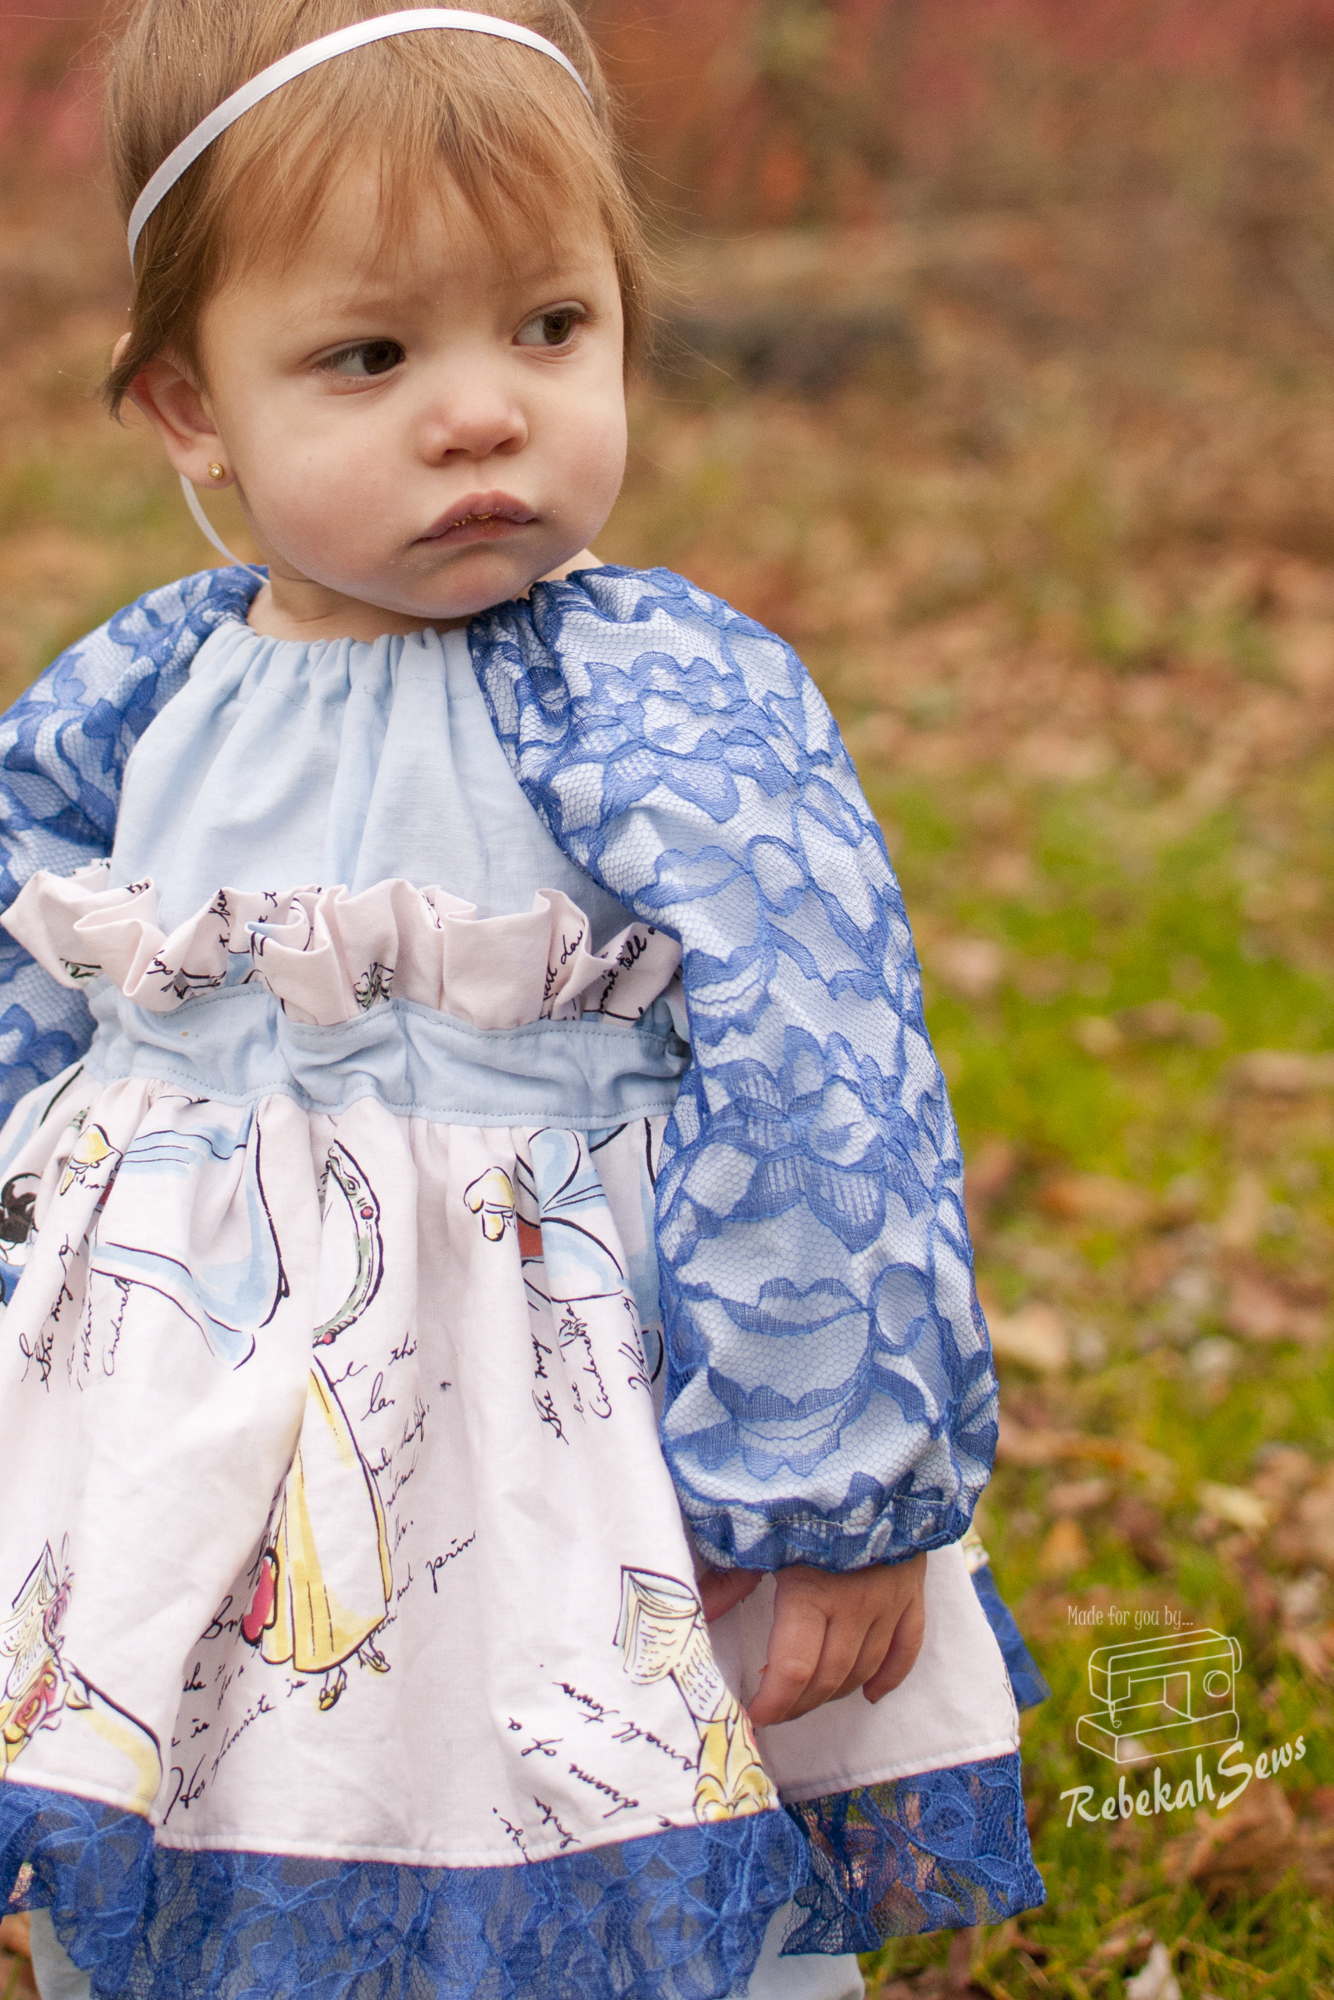
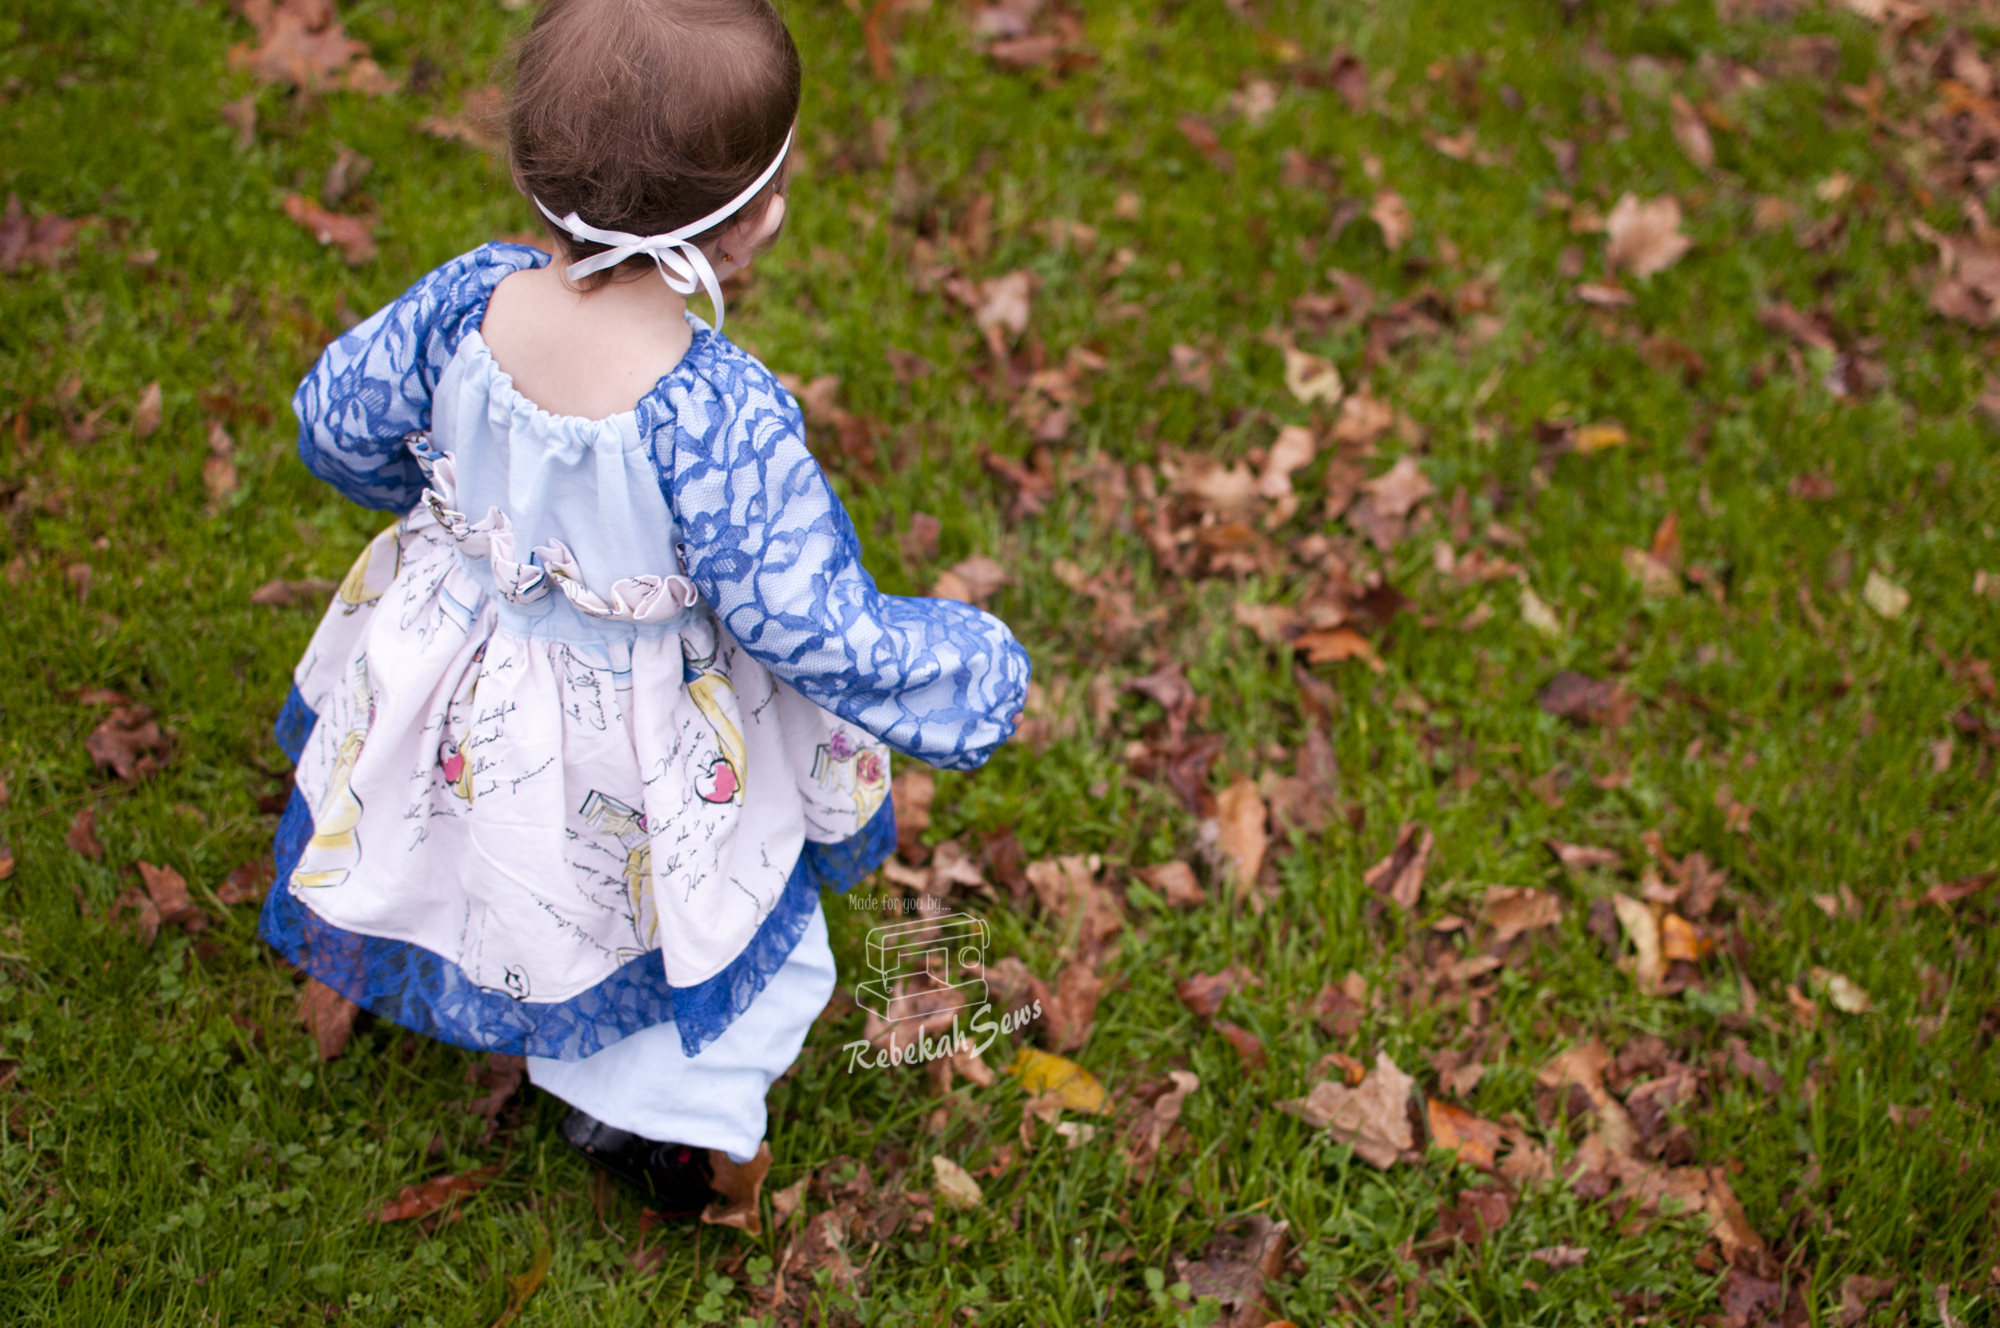
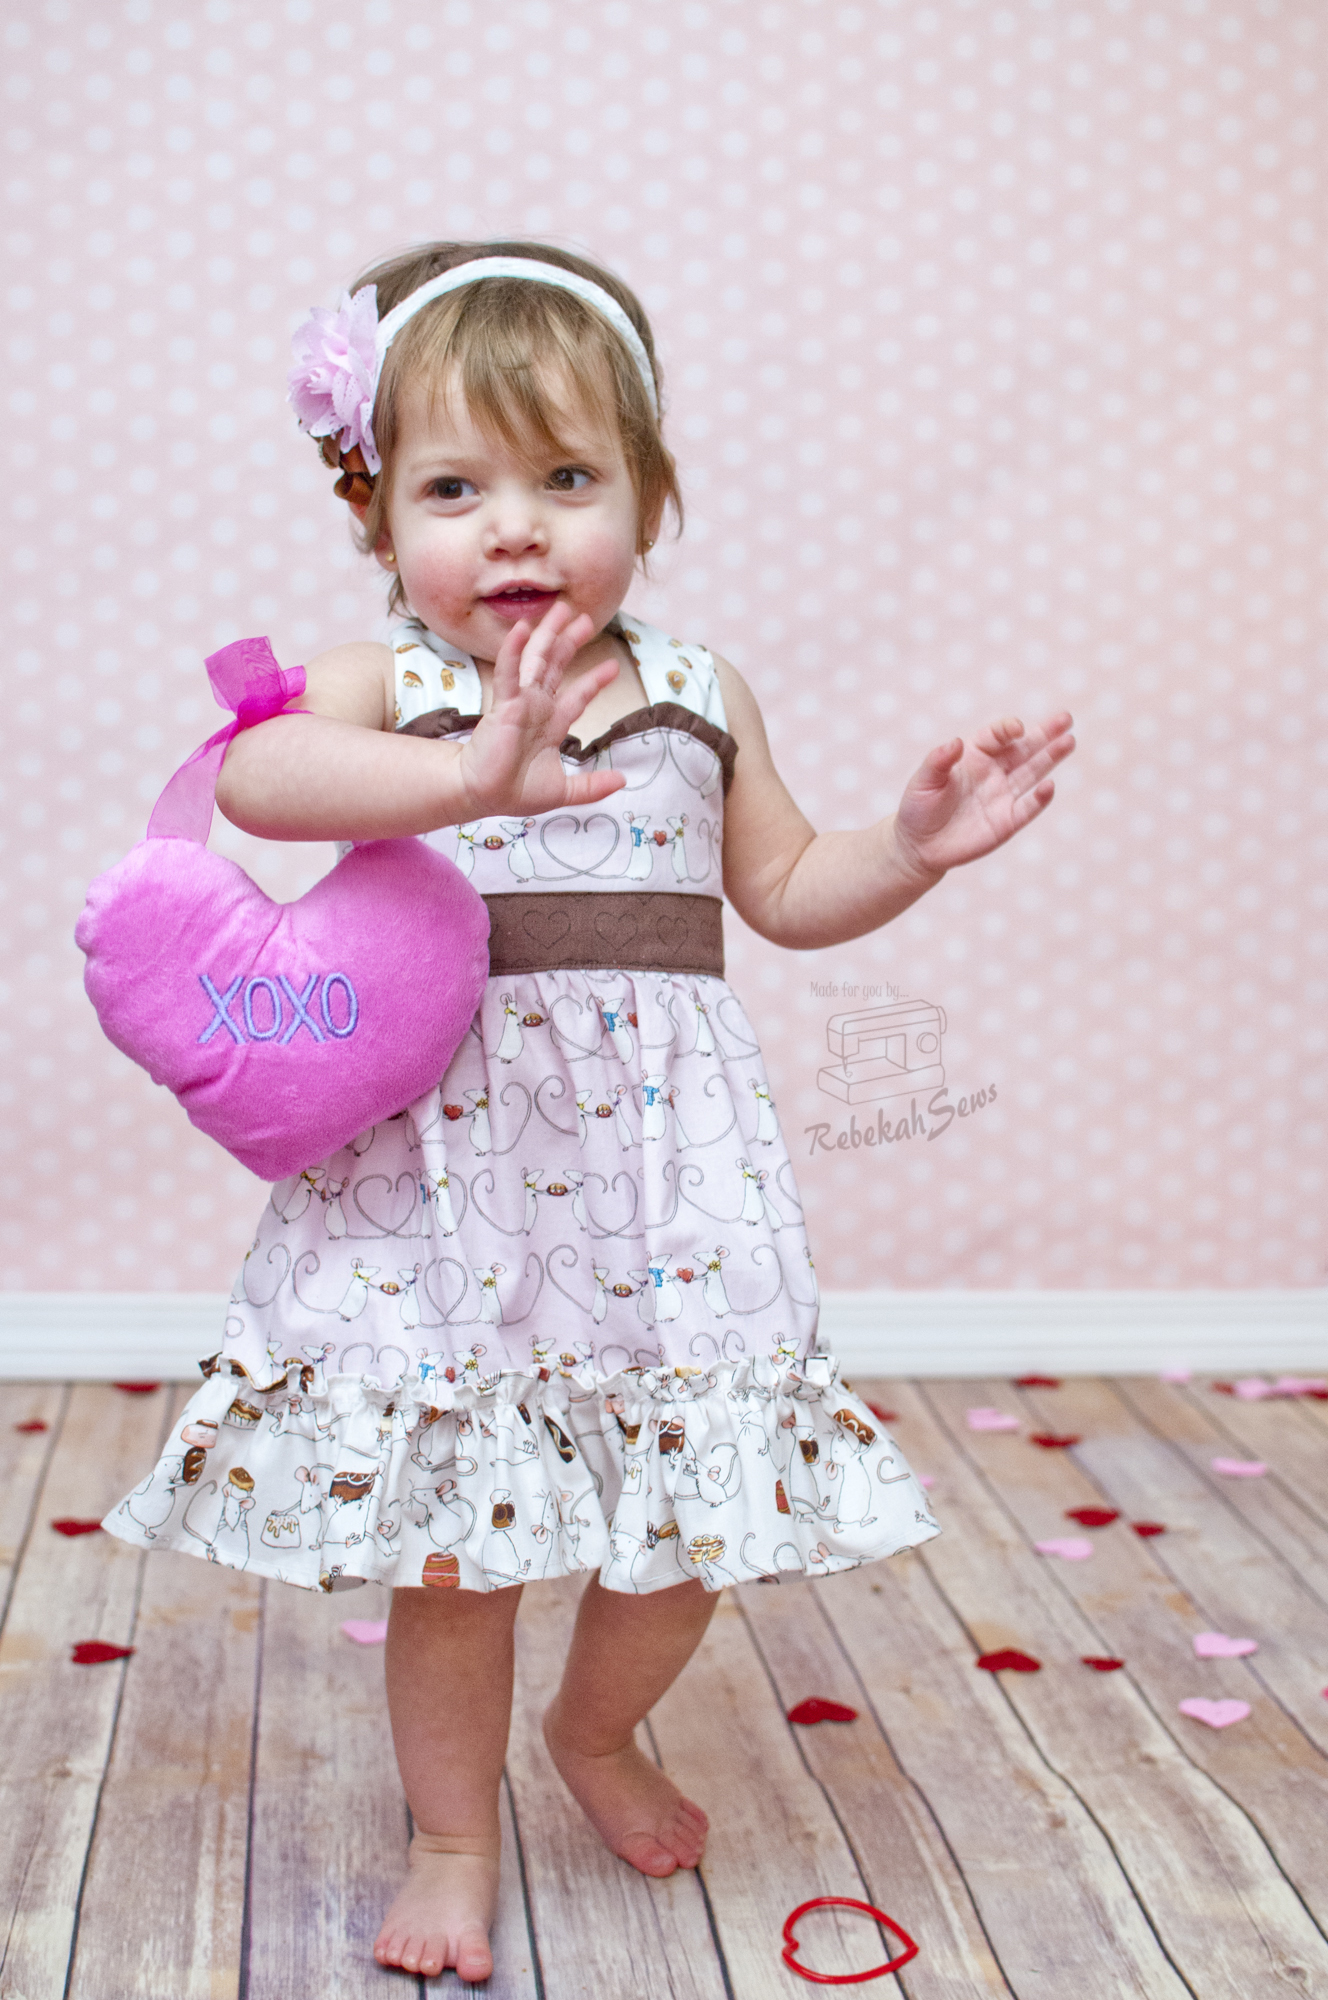
This is the XOXO dress (the name! Love it). It is the perfect dress for Valentine’s and any occasion really. Coming in sizes 12m-14yrs, this will fit your girl for many years. Did I also mention that it comes with the 18″ doll pattern included? Yes! It does! The sweetheart bodice is fully lined, so no itchy seams here. The ruffle on the bodice is optional, but I love how it adds to the girliness.
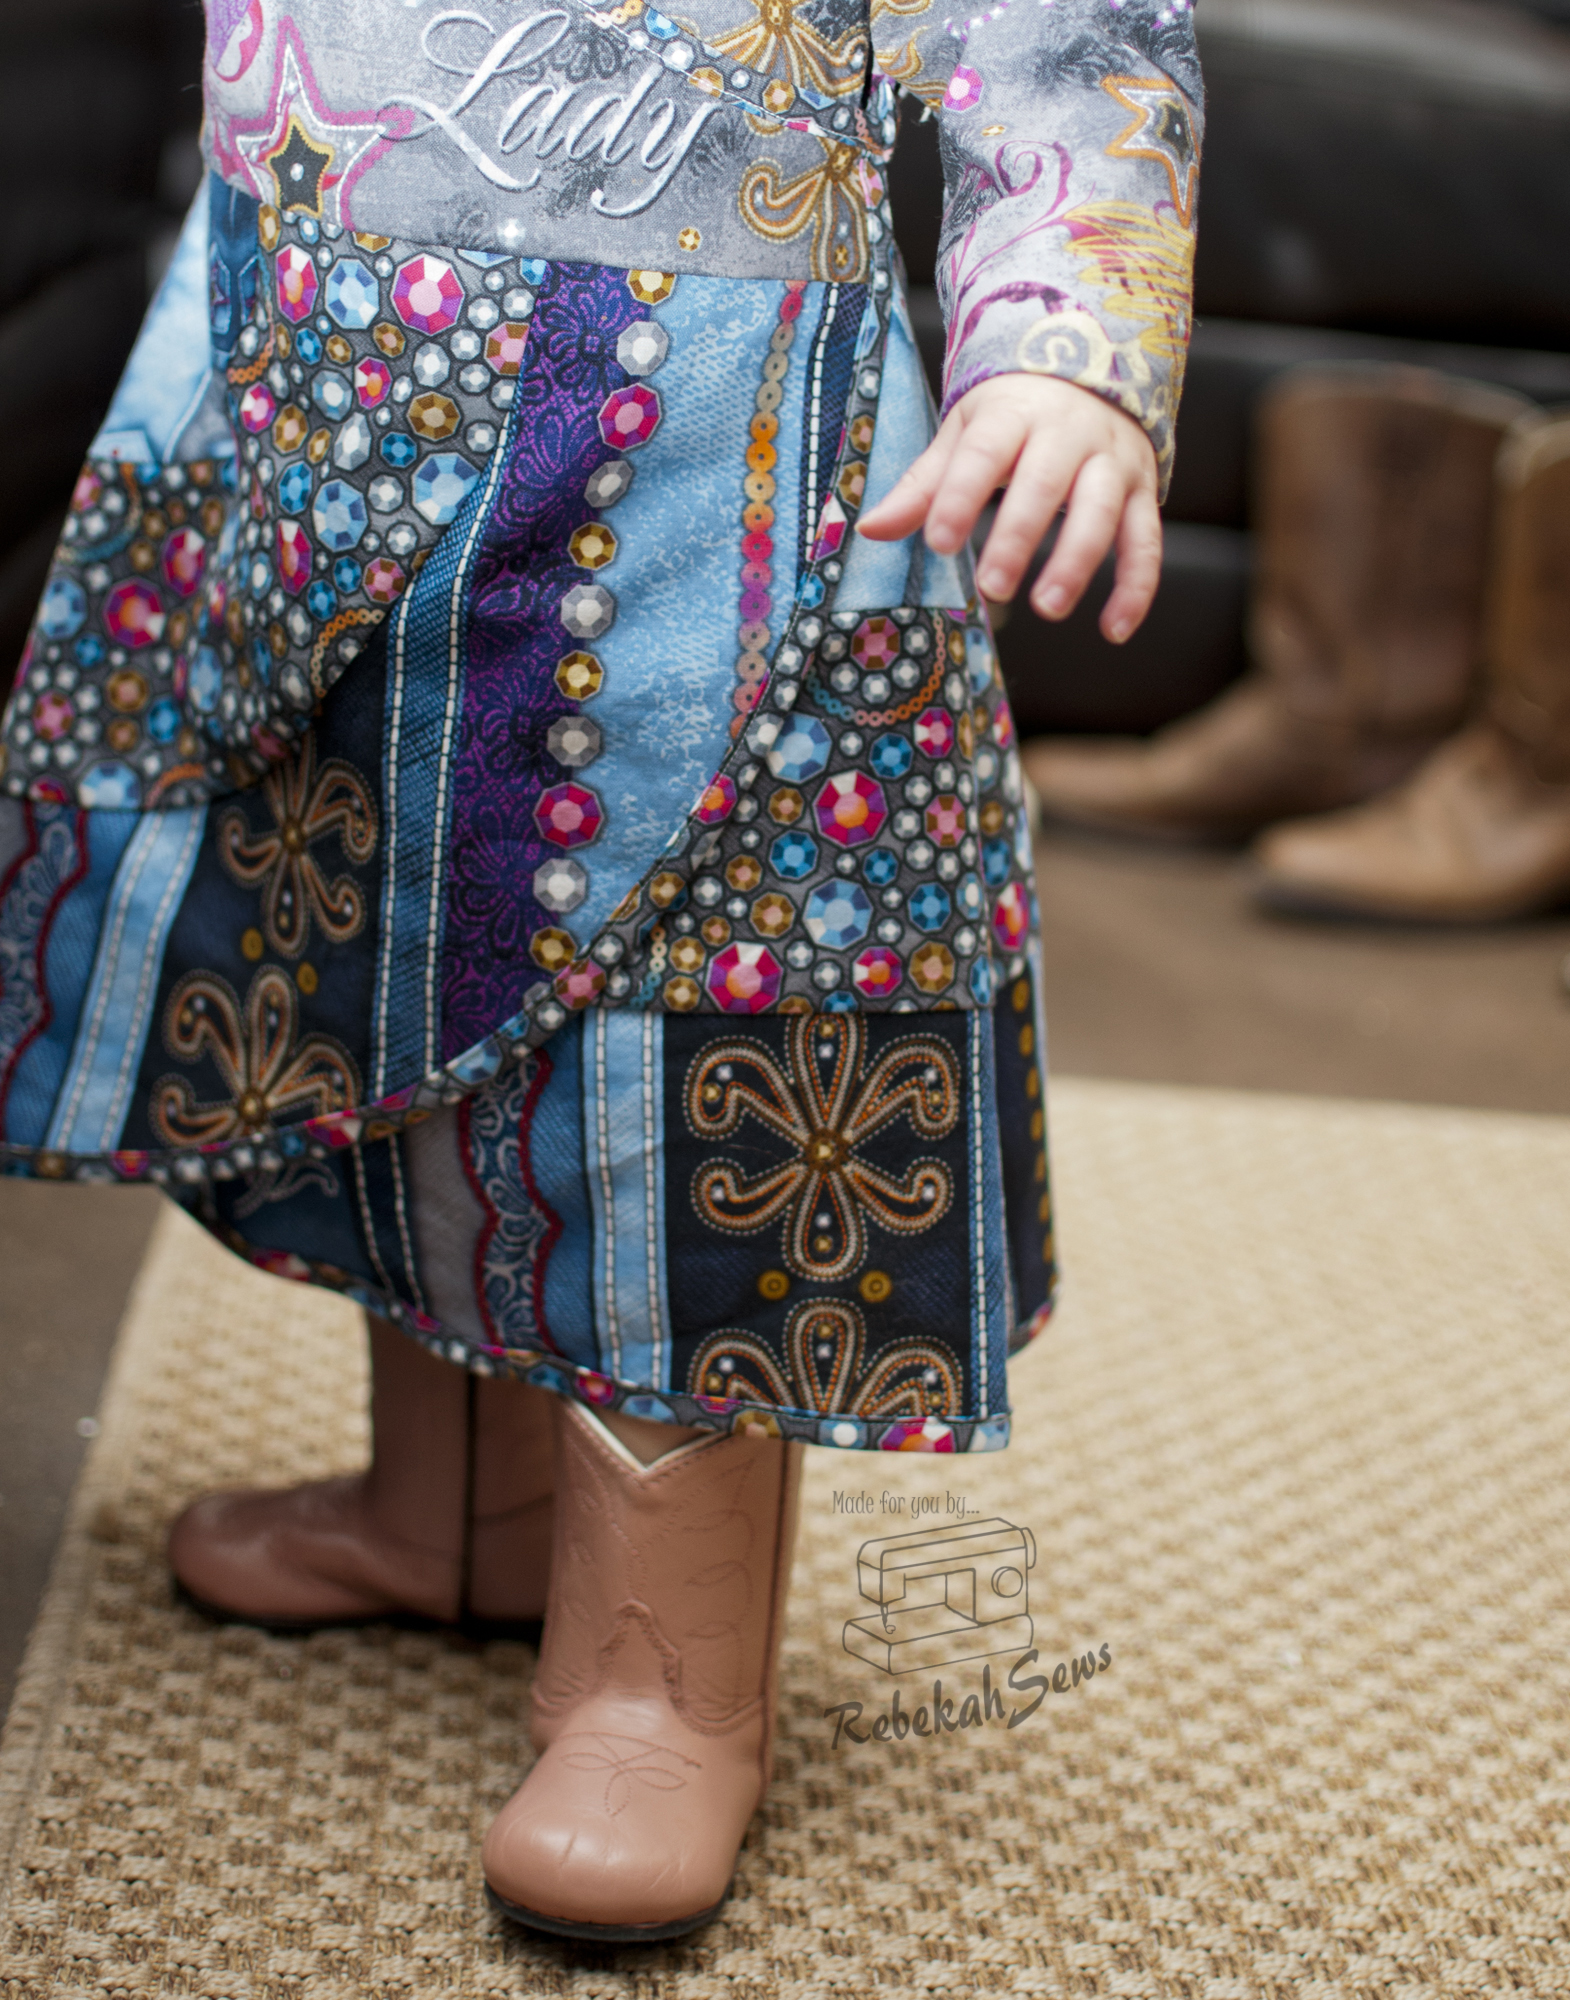
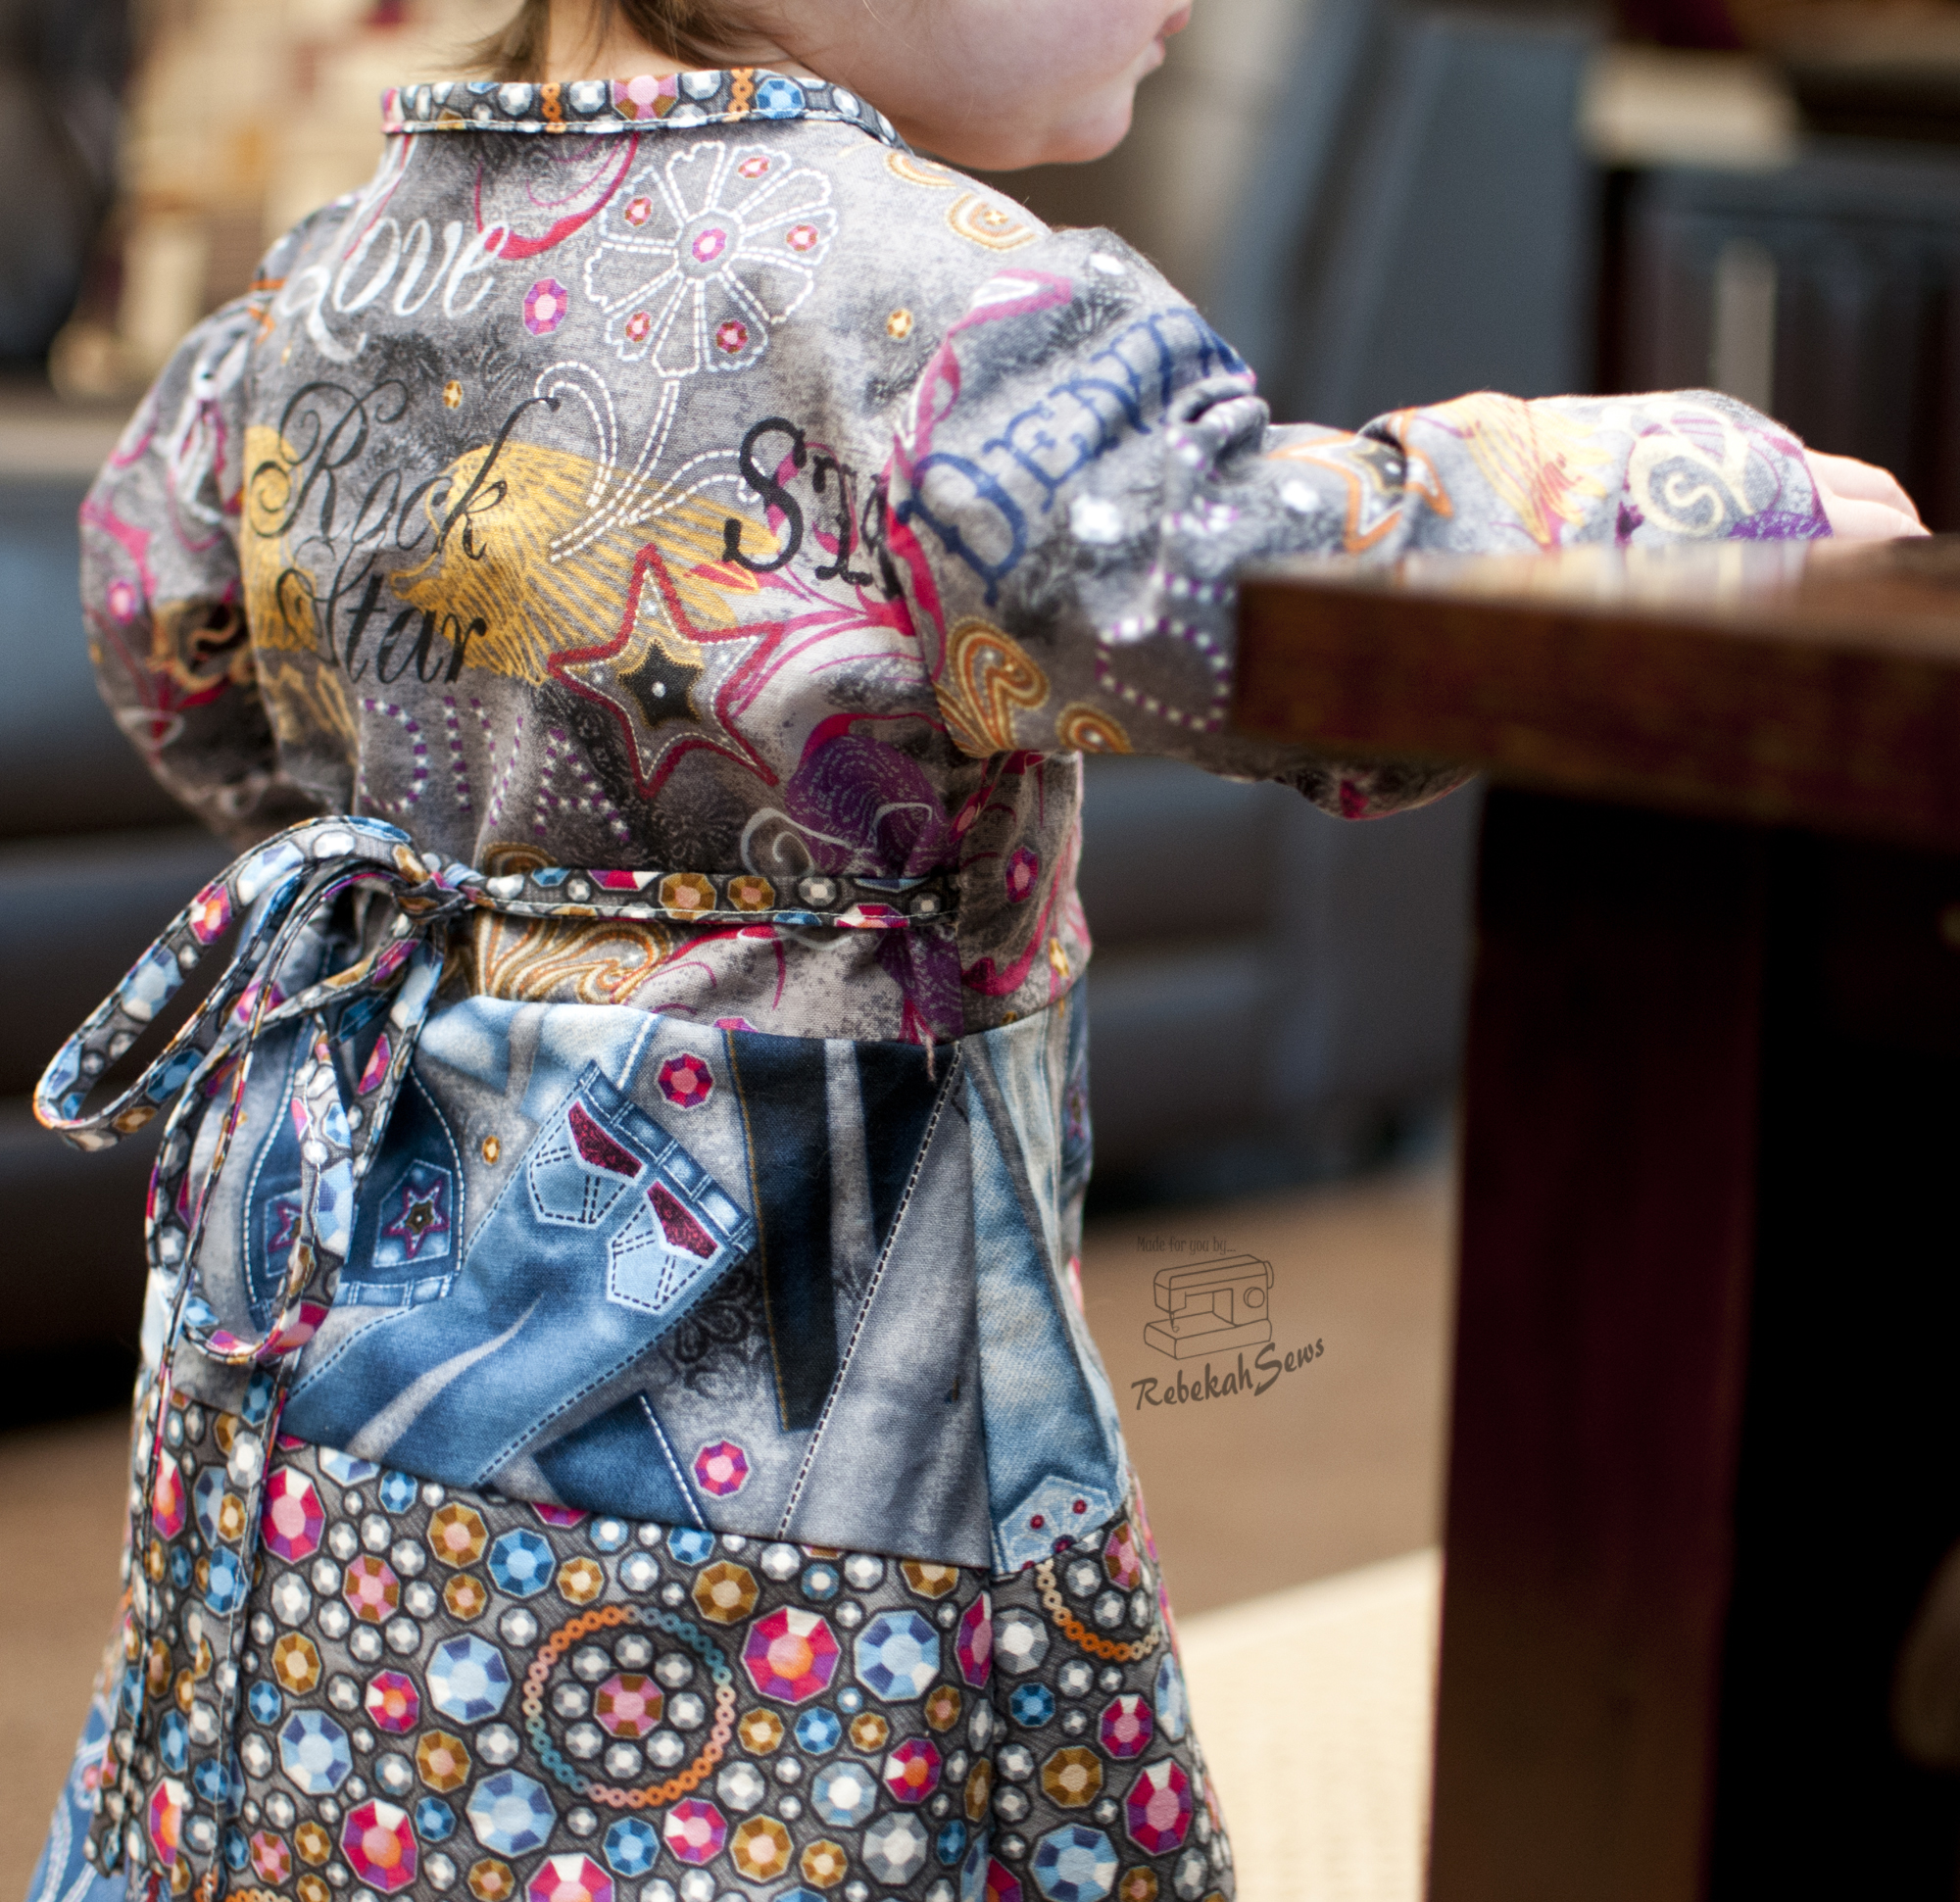
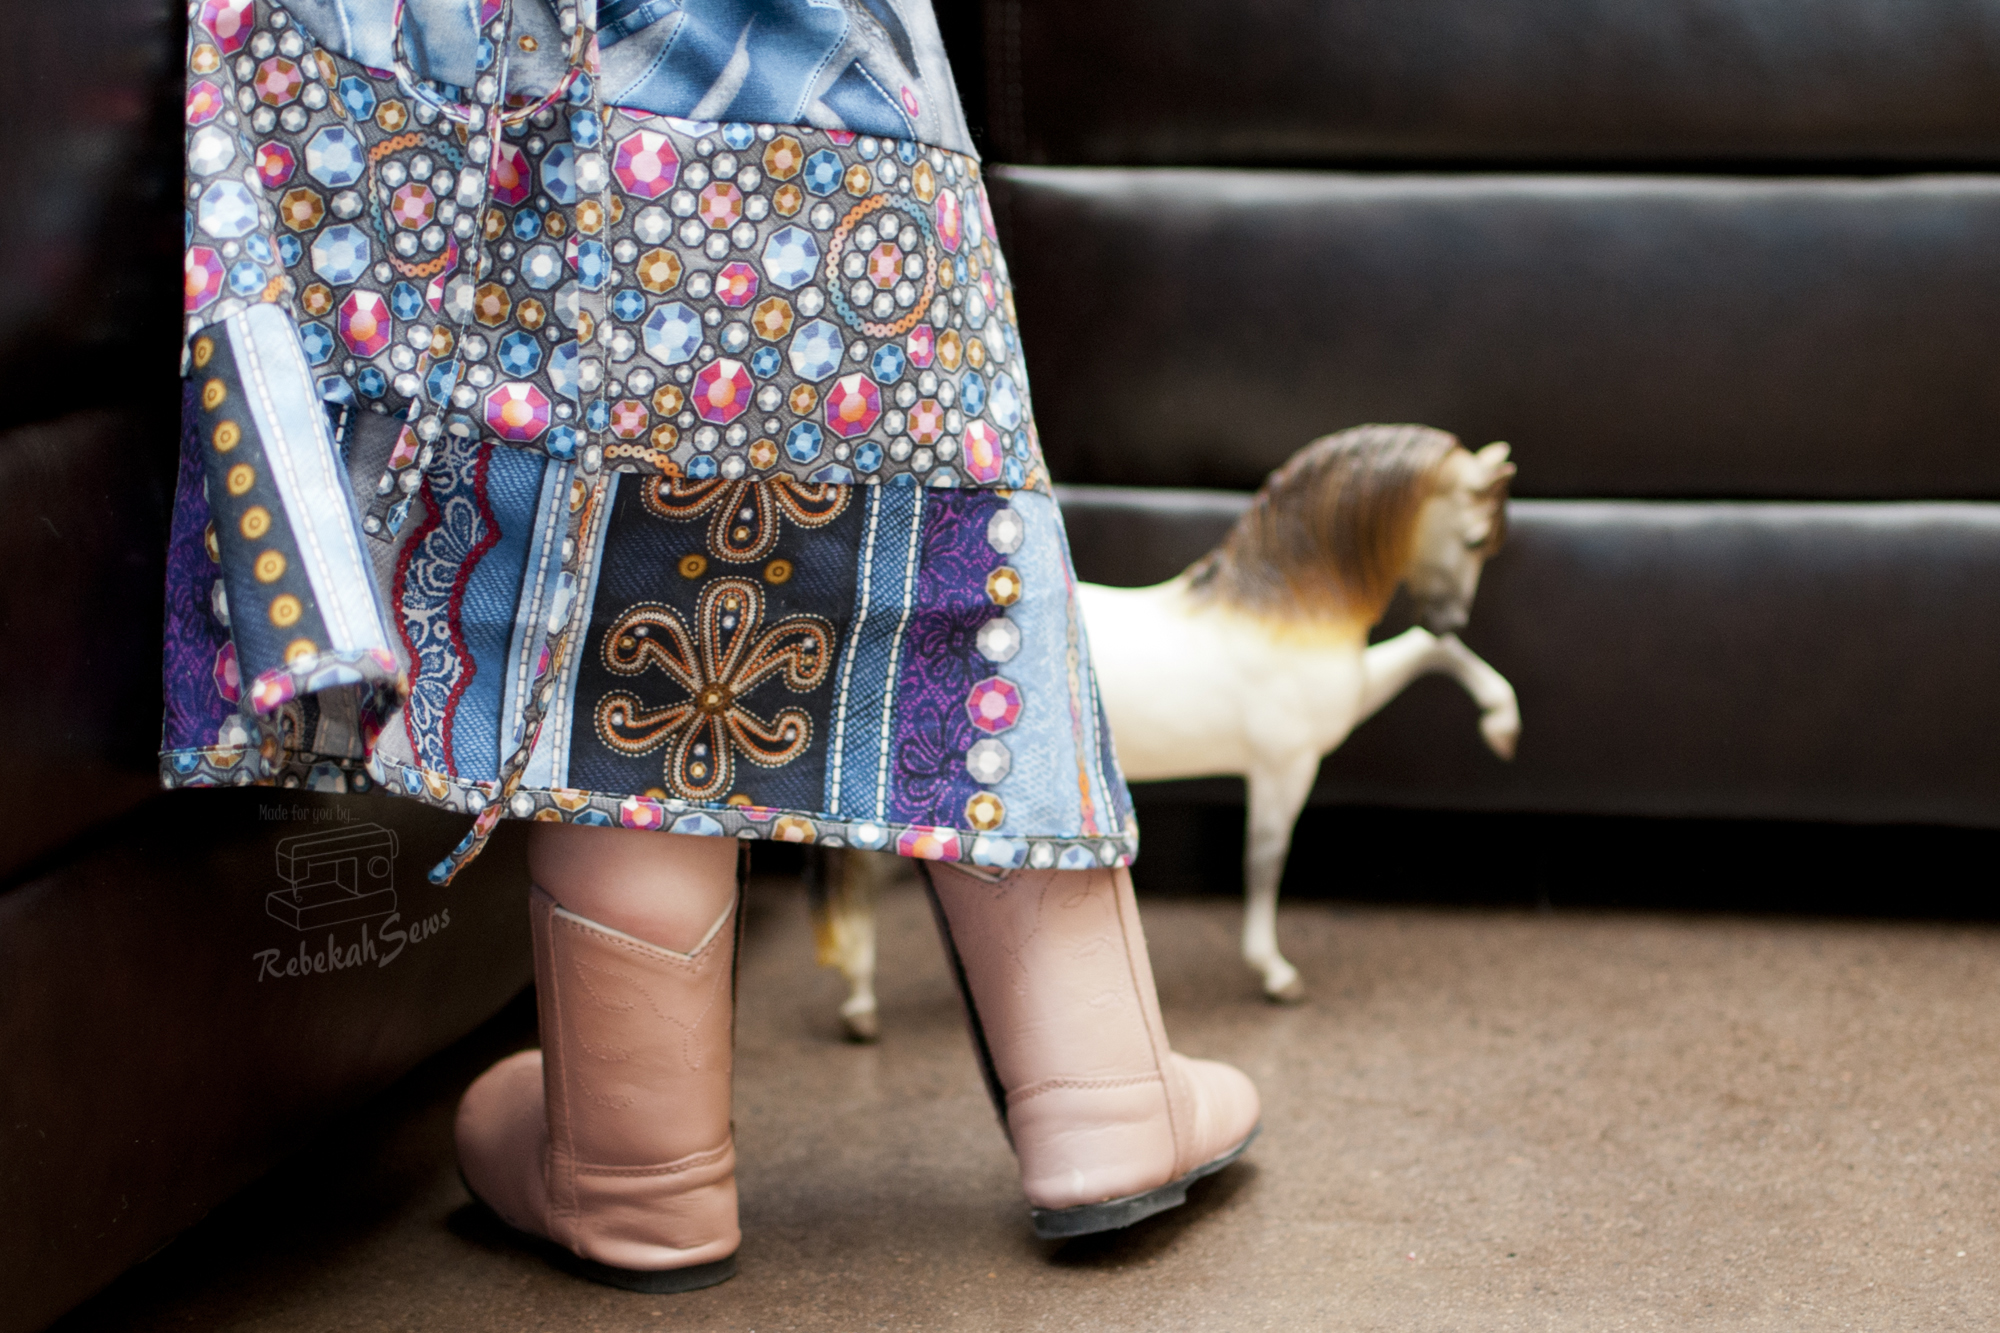
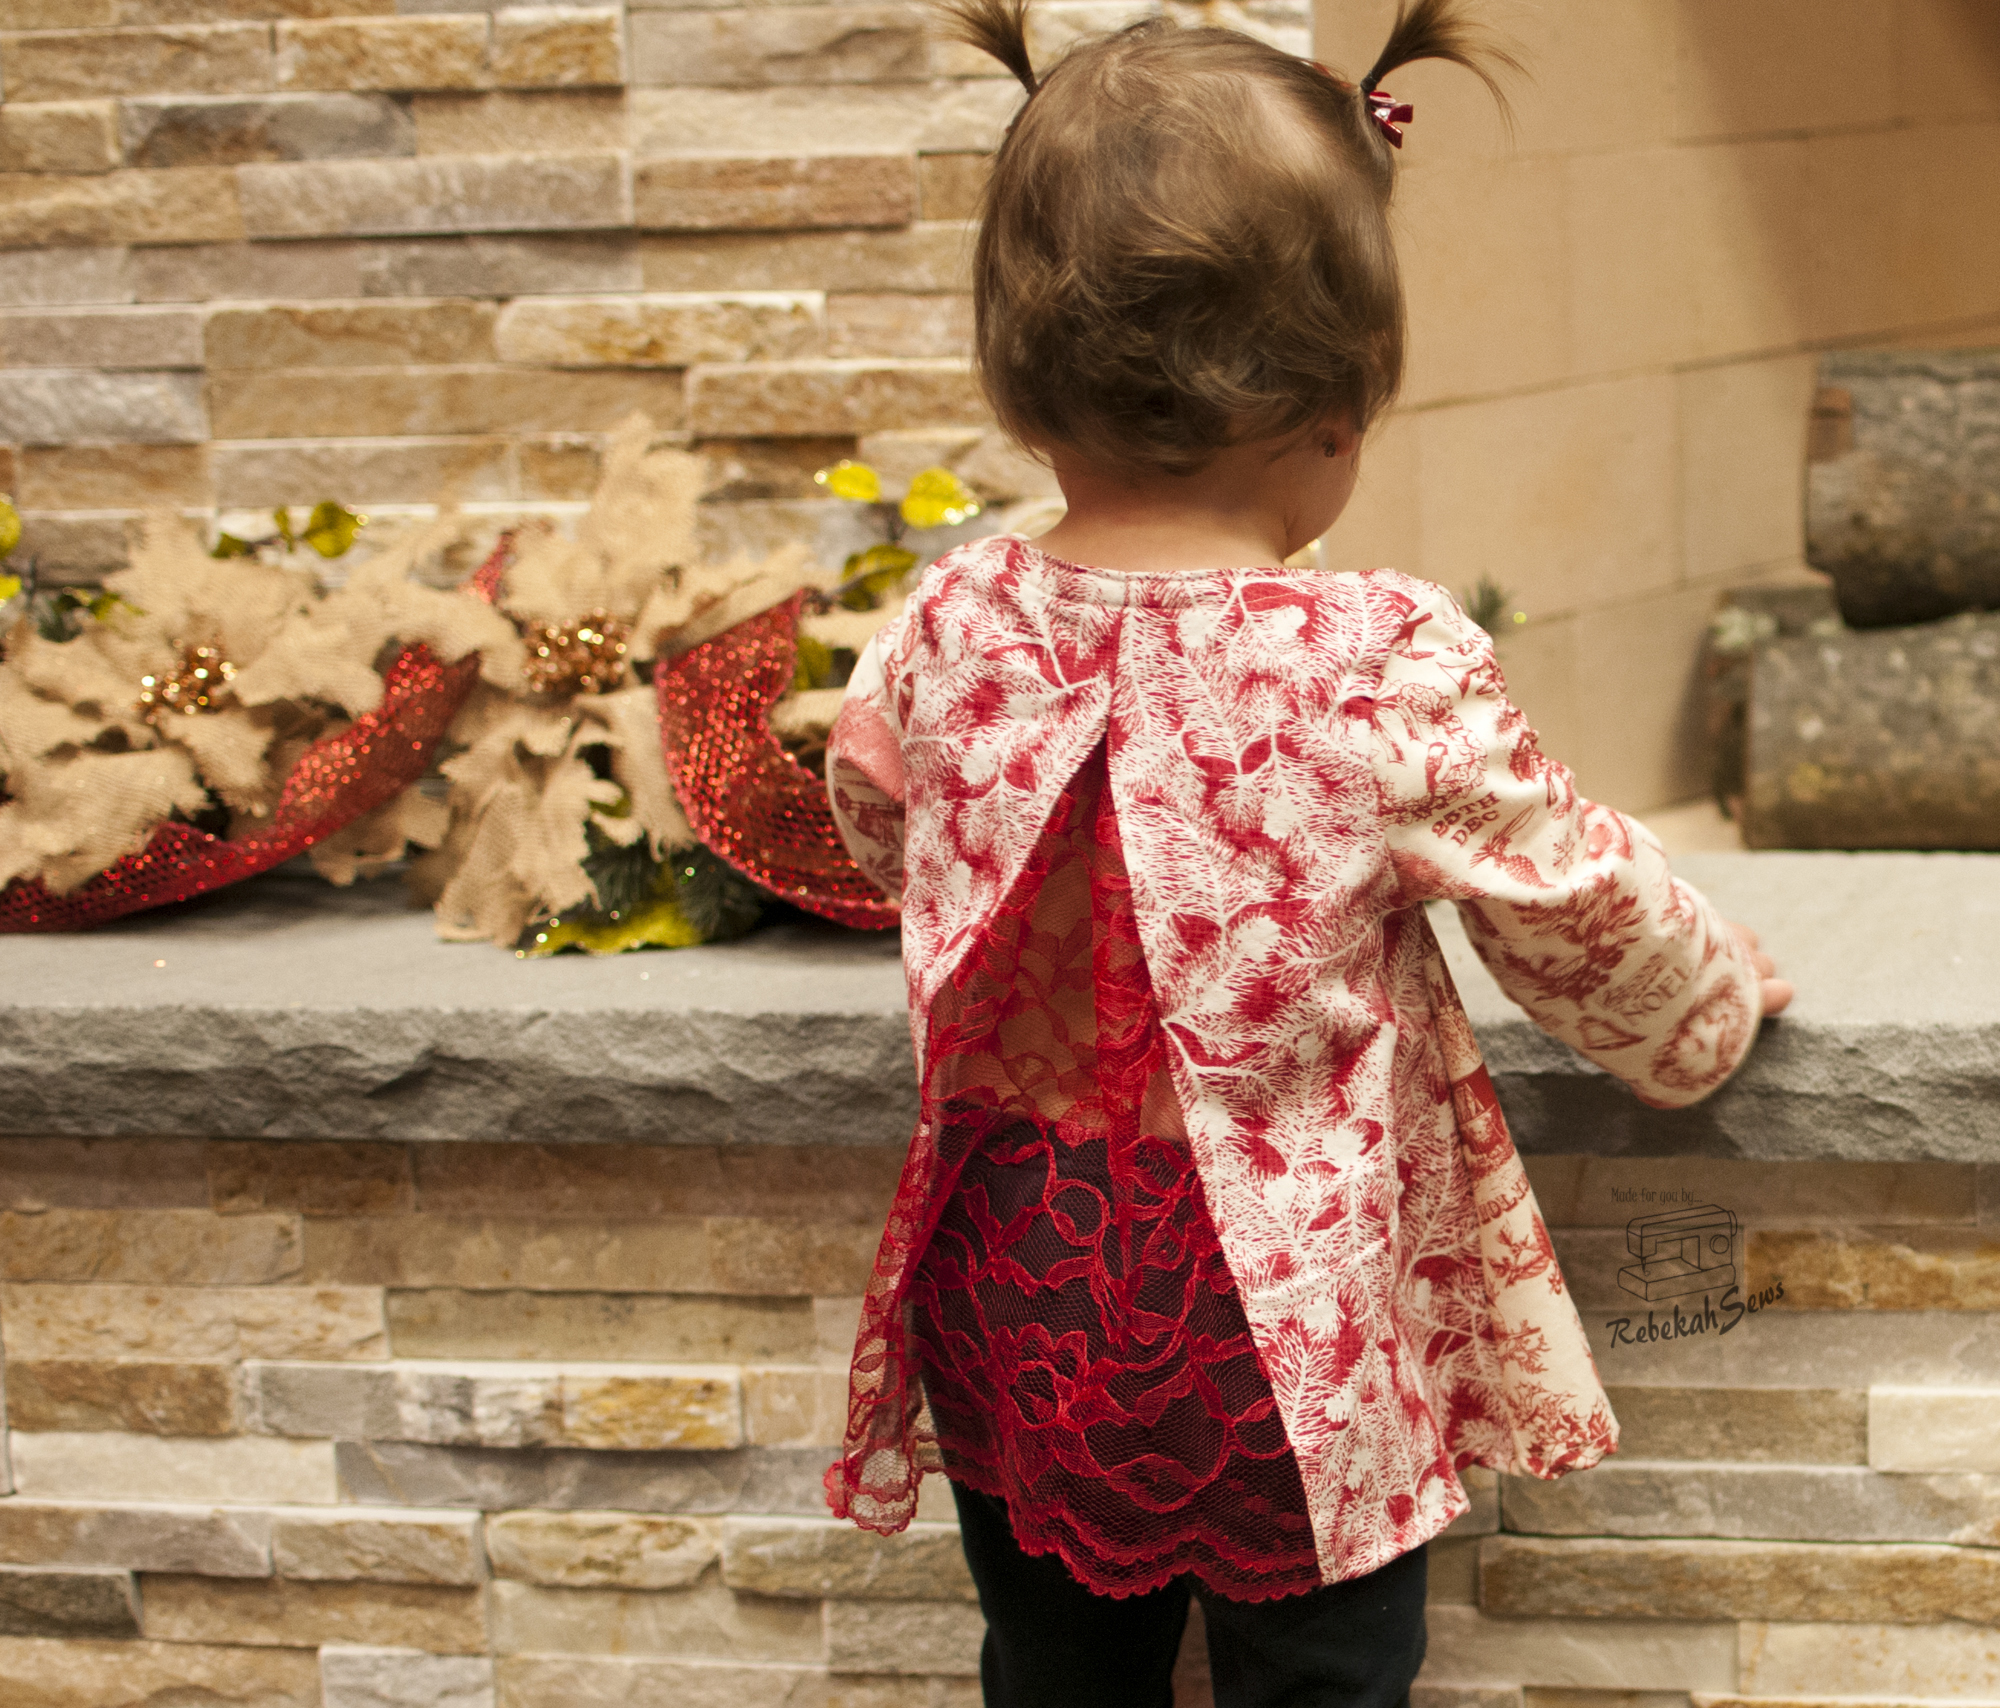
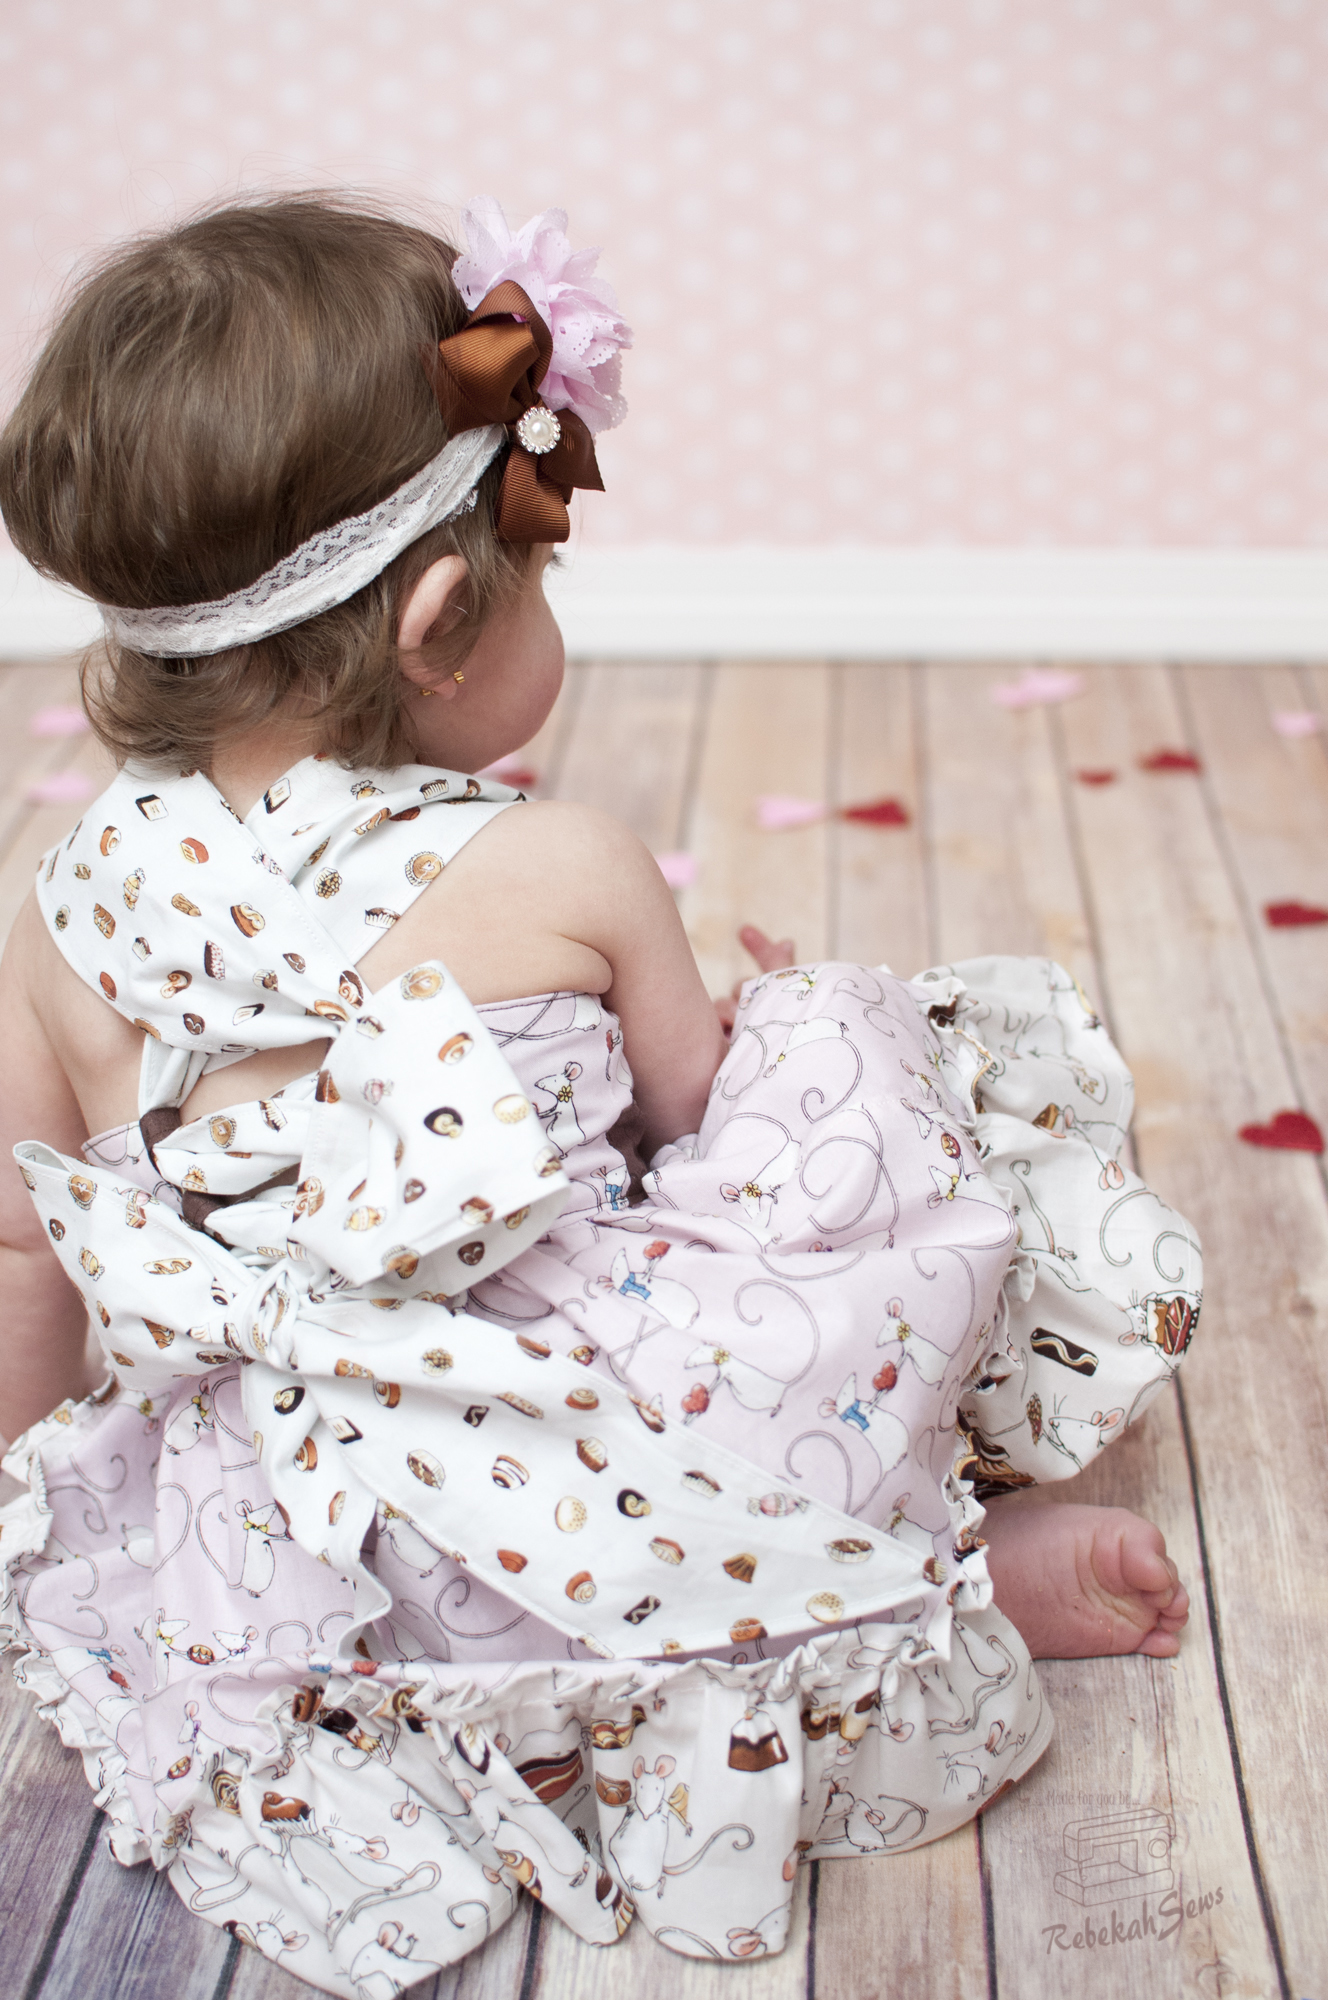
  The wide straps lace up in the back in a corset-like feel. The skirt is accented with two different kinds of ruffles. The first kind is the more traditional overlay ruffle, which can then be accented with ribbon or rick rack. The second is the more stunning and regal ruched ruffle. This is a little more time consuming but well worth it! The tutorial is well written and accompanied by clear photos. I would rate this pattern as great for an experienced beginner, but also perfect for the advanced seamstress as well due to all the options you can have with sewing this beauty. I must say I love the tip of hand sewing the bodice lining down prior to topstitching to make it easier and for a more finished look. Genius!
 Valentine’s and any occasion really. Coming in sizes 12m-14yrs, this will fit your girl for many years. Did I also mention that it comes with the 18″ doll pattern included? Yes! It does! The sweetheart bodice is fully lined, so no itchy seams here. The ruffle on the bodice is optional, but I love how it adds to the girliness.
  The wide straps lace up in the back in a corset-like feel. The skirt is accented with two different kinds of ruffles. The first kind is the more traditional overlay ruffle, which can then be accented with ribbon or rick rack. The second is the more stunning and regal ruched ruffle. This is a little more time consuming but well worth it! The tutorial is well written and accompanied by clear photos. I would rate this pattern as great for an experienced beginner, but also perfect for the advanced seamstress as well due to all the options you can have with sewing this beauty. I must say I love the tip of hand sewing the bodice lining down prior to topstitching to make it easier and for a more finished look. Genius!
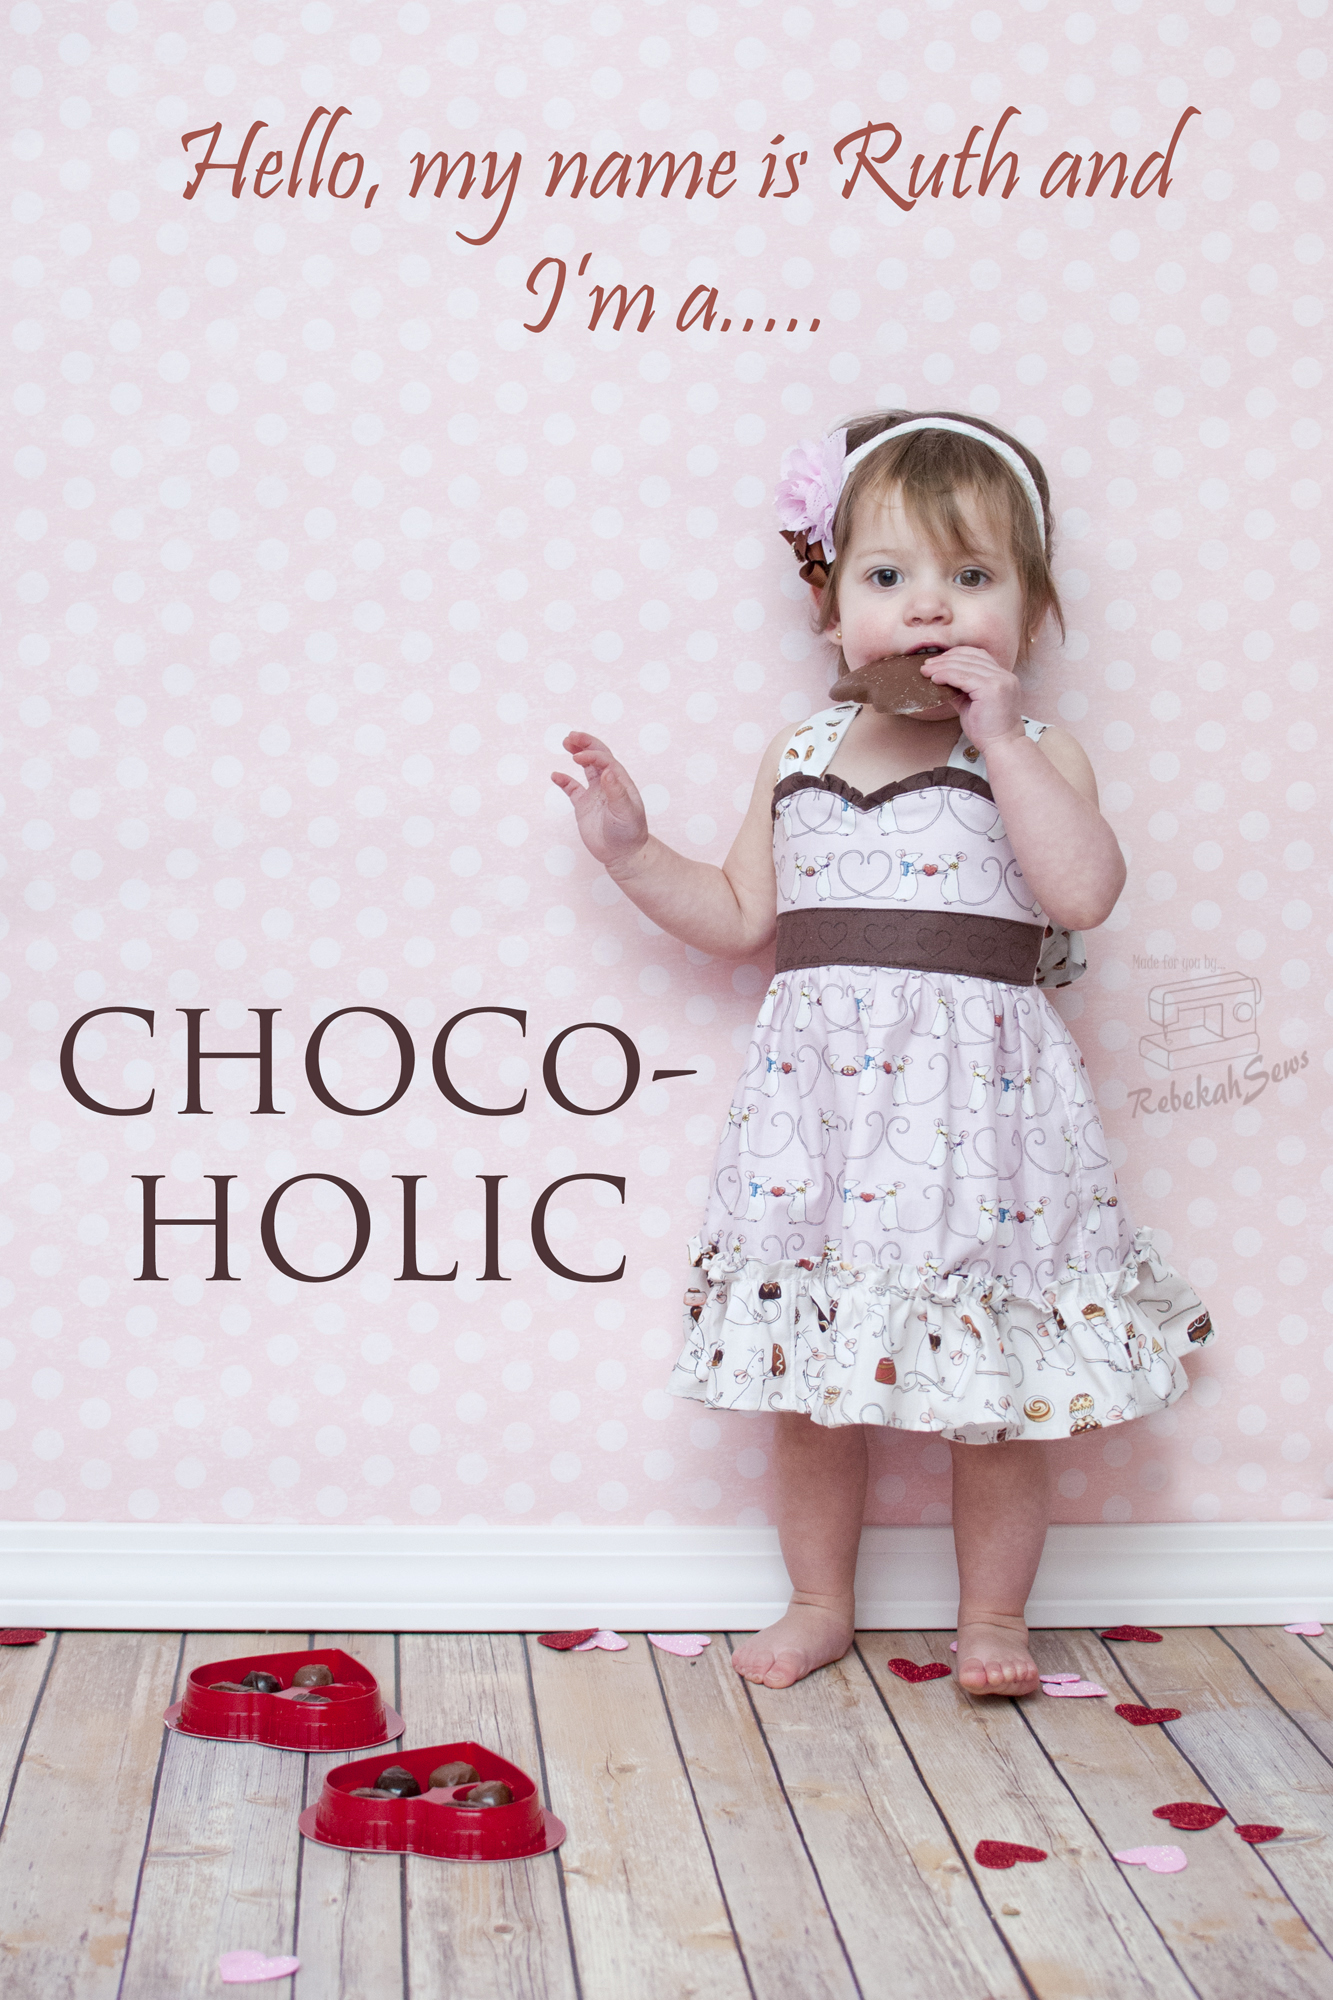

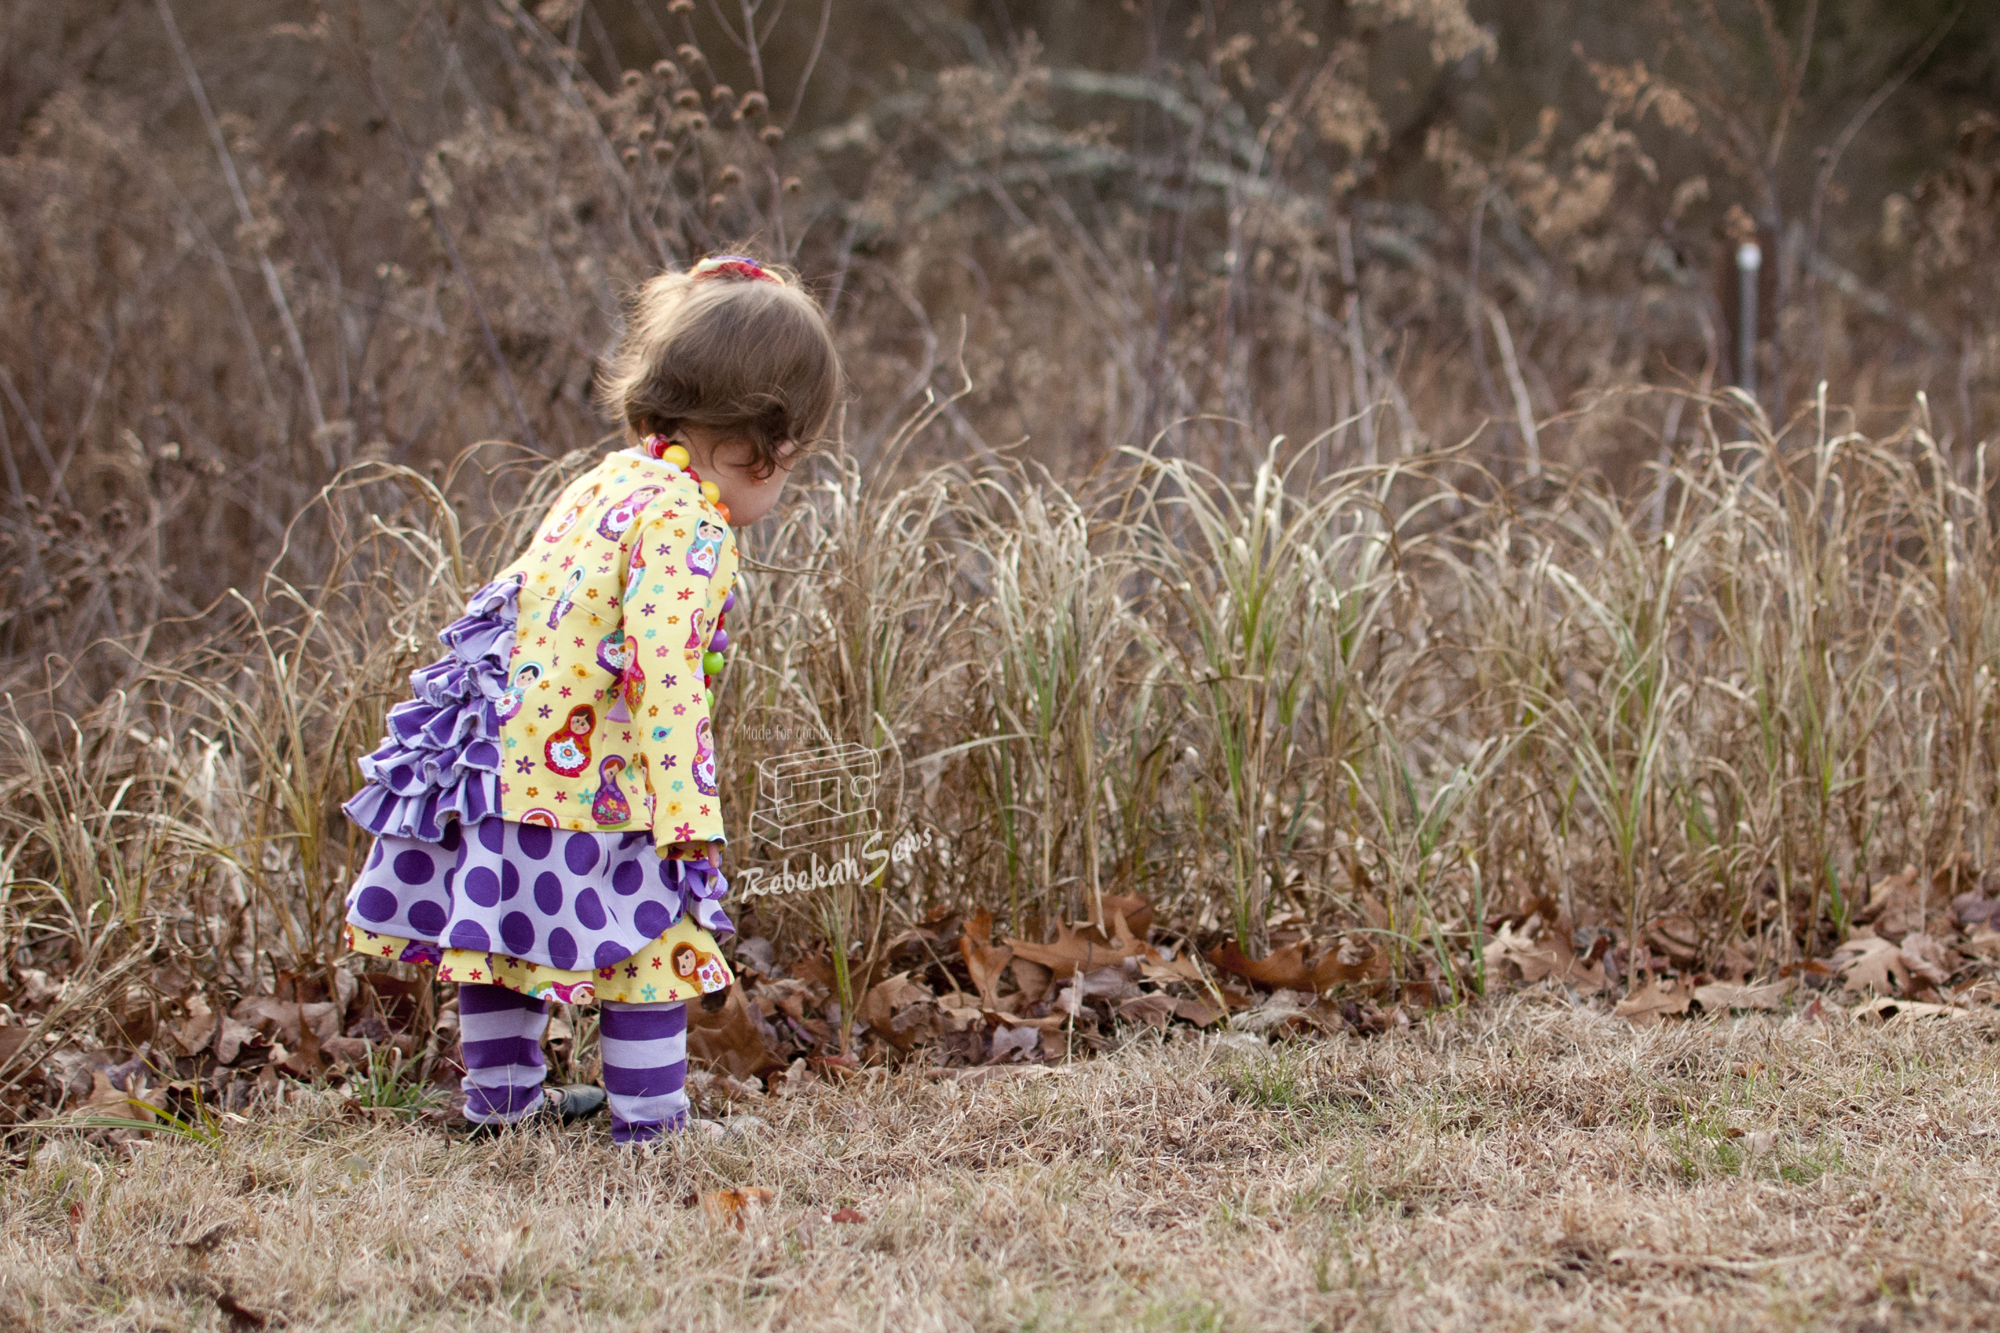
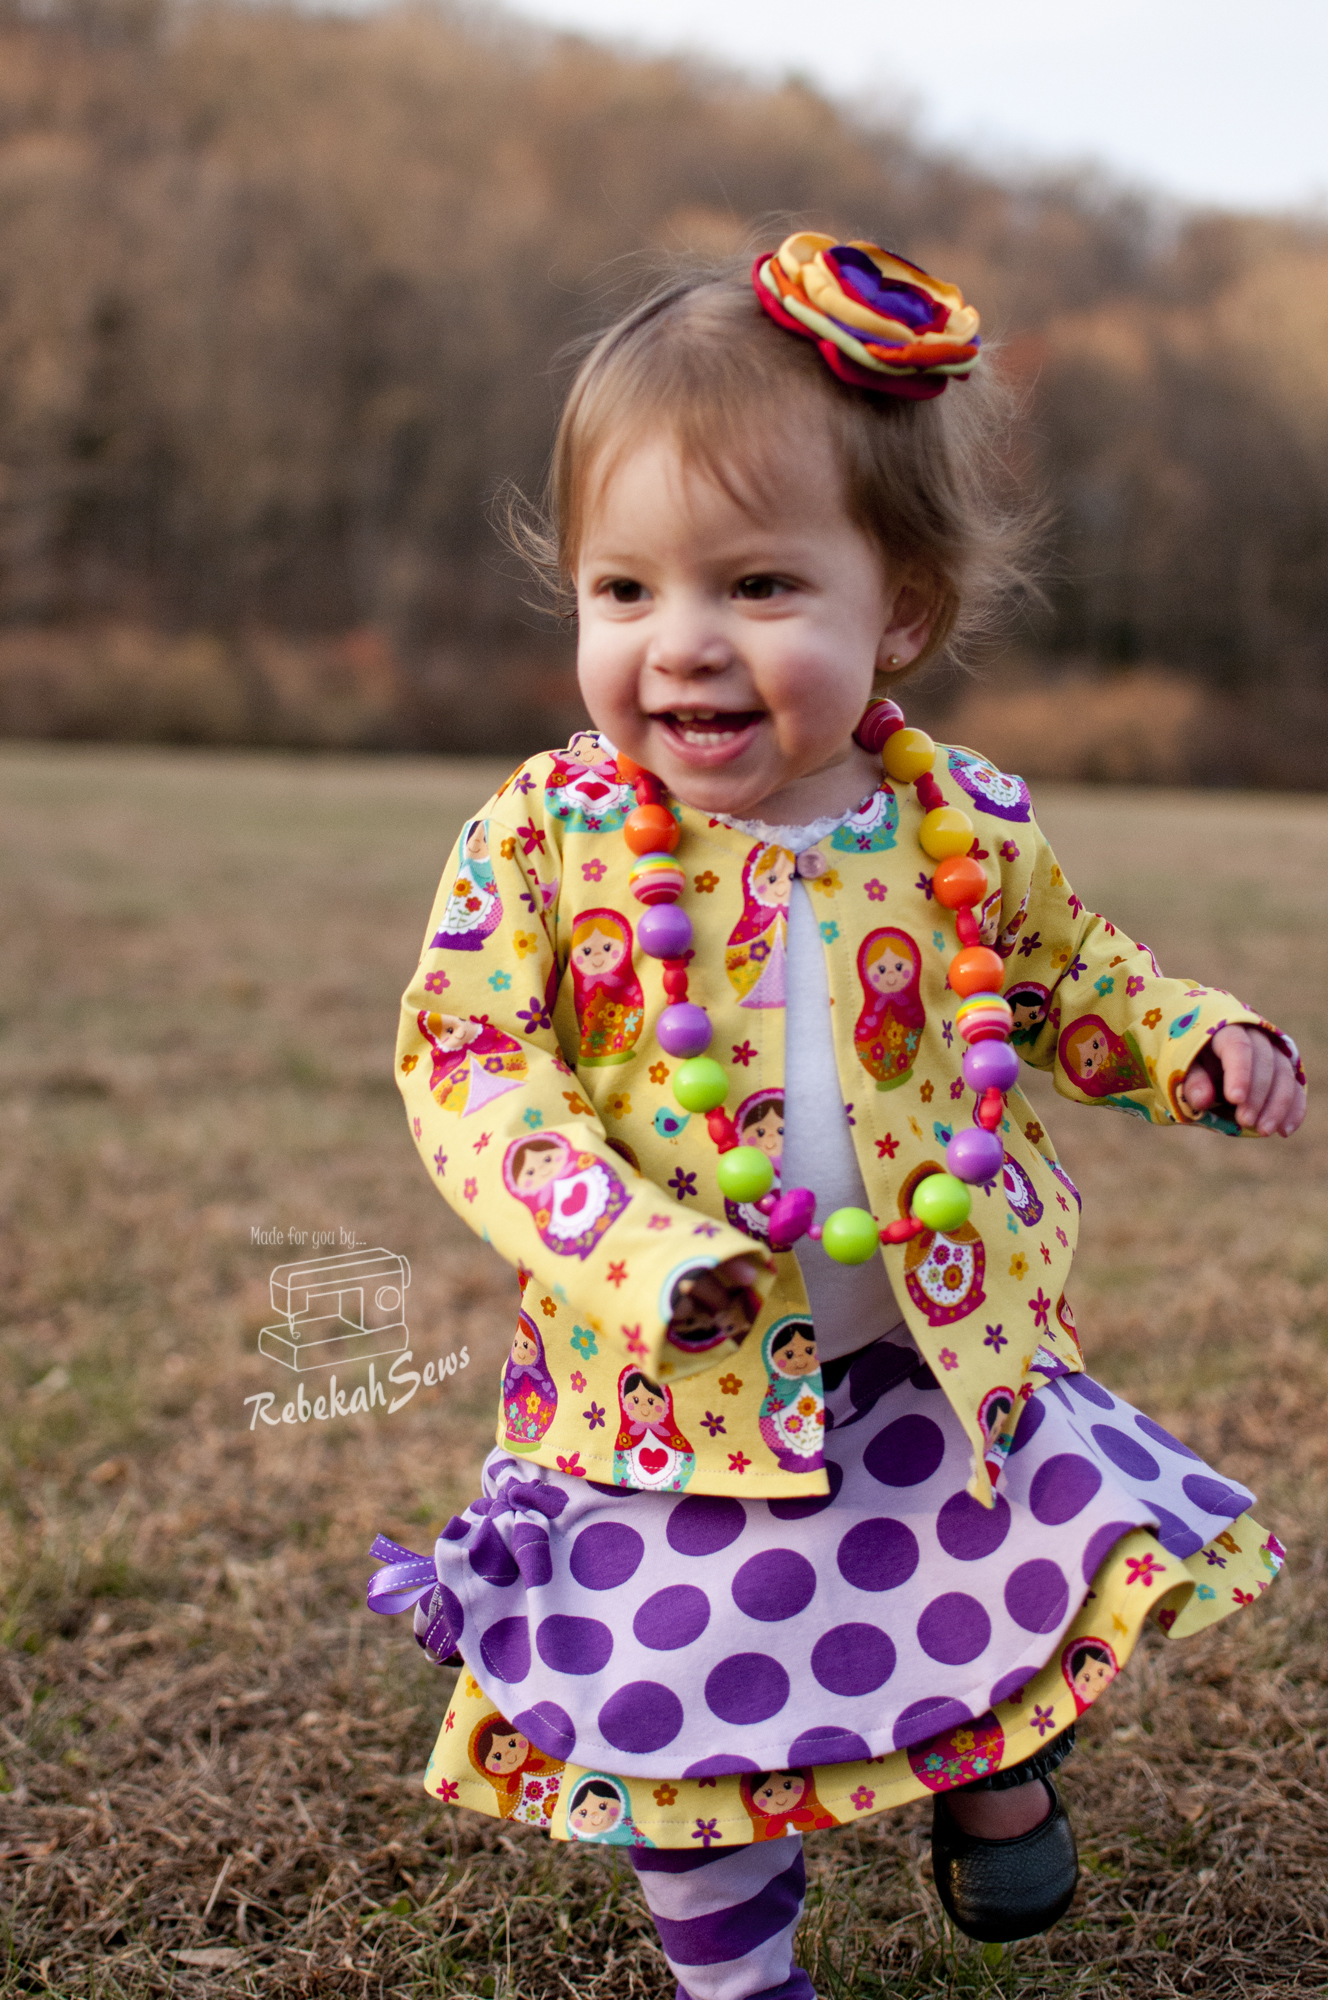
 For my girl’s Valentine dress I decided to have a bit of fun. I wanted to steer away from the more traditional looks of Valentine’s Day (hearts, roses, etc.) and feature a more uncommon theme. Can you guess it?? Chocolate!!!! When I found this fabric line called Chocoholics I knew it was perfect for my chocoholic girl. She can thank her Grammy for that. Grammy was the first one to introduce her to chocolate and she can’t get enough ever since. Bad Grammy!! LOL. I digress; back to the dresses now.
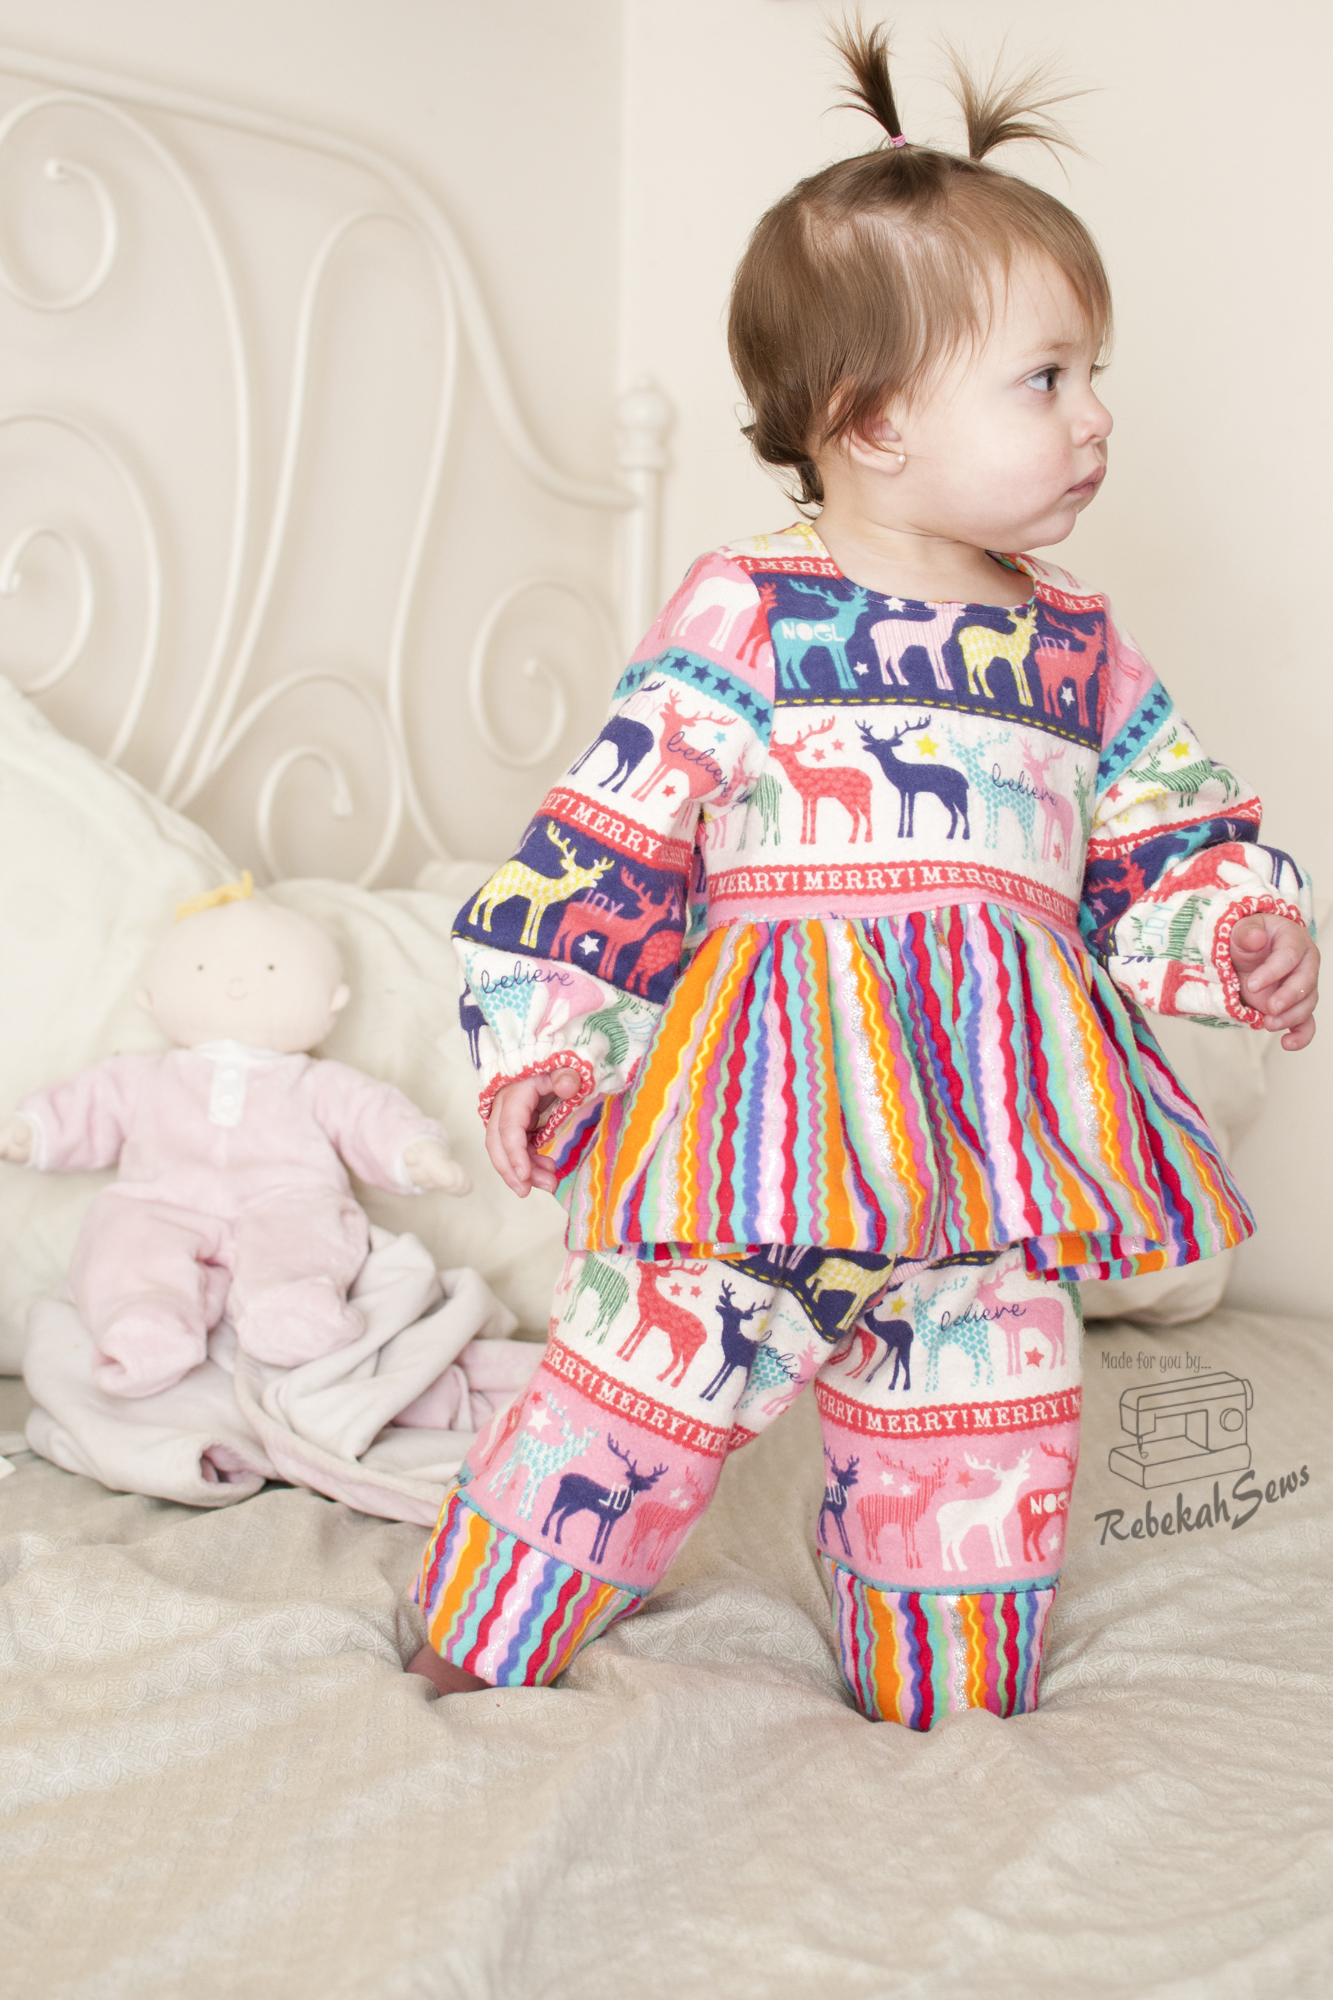
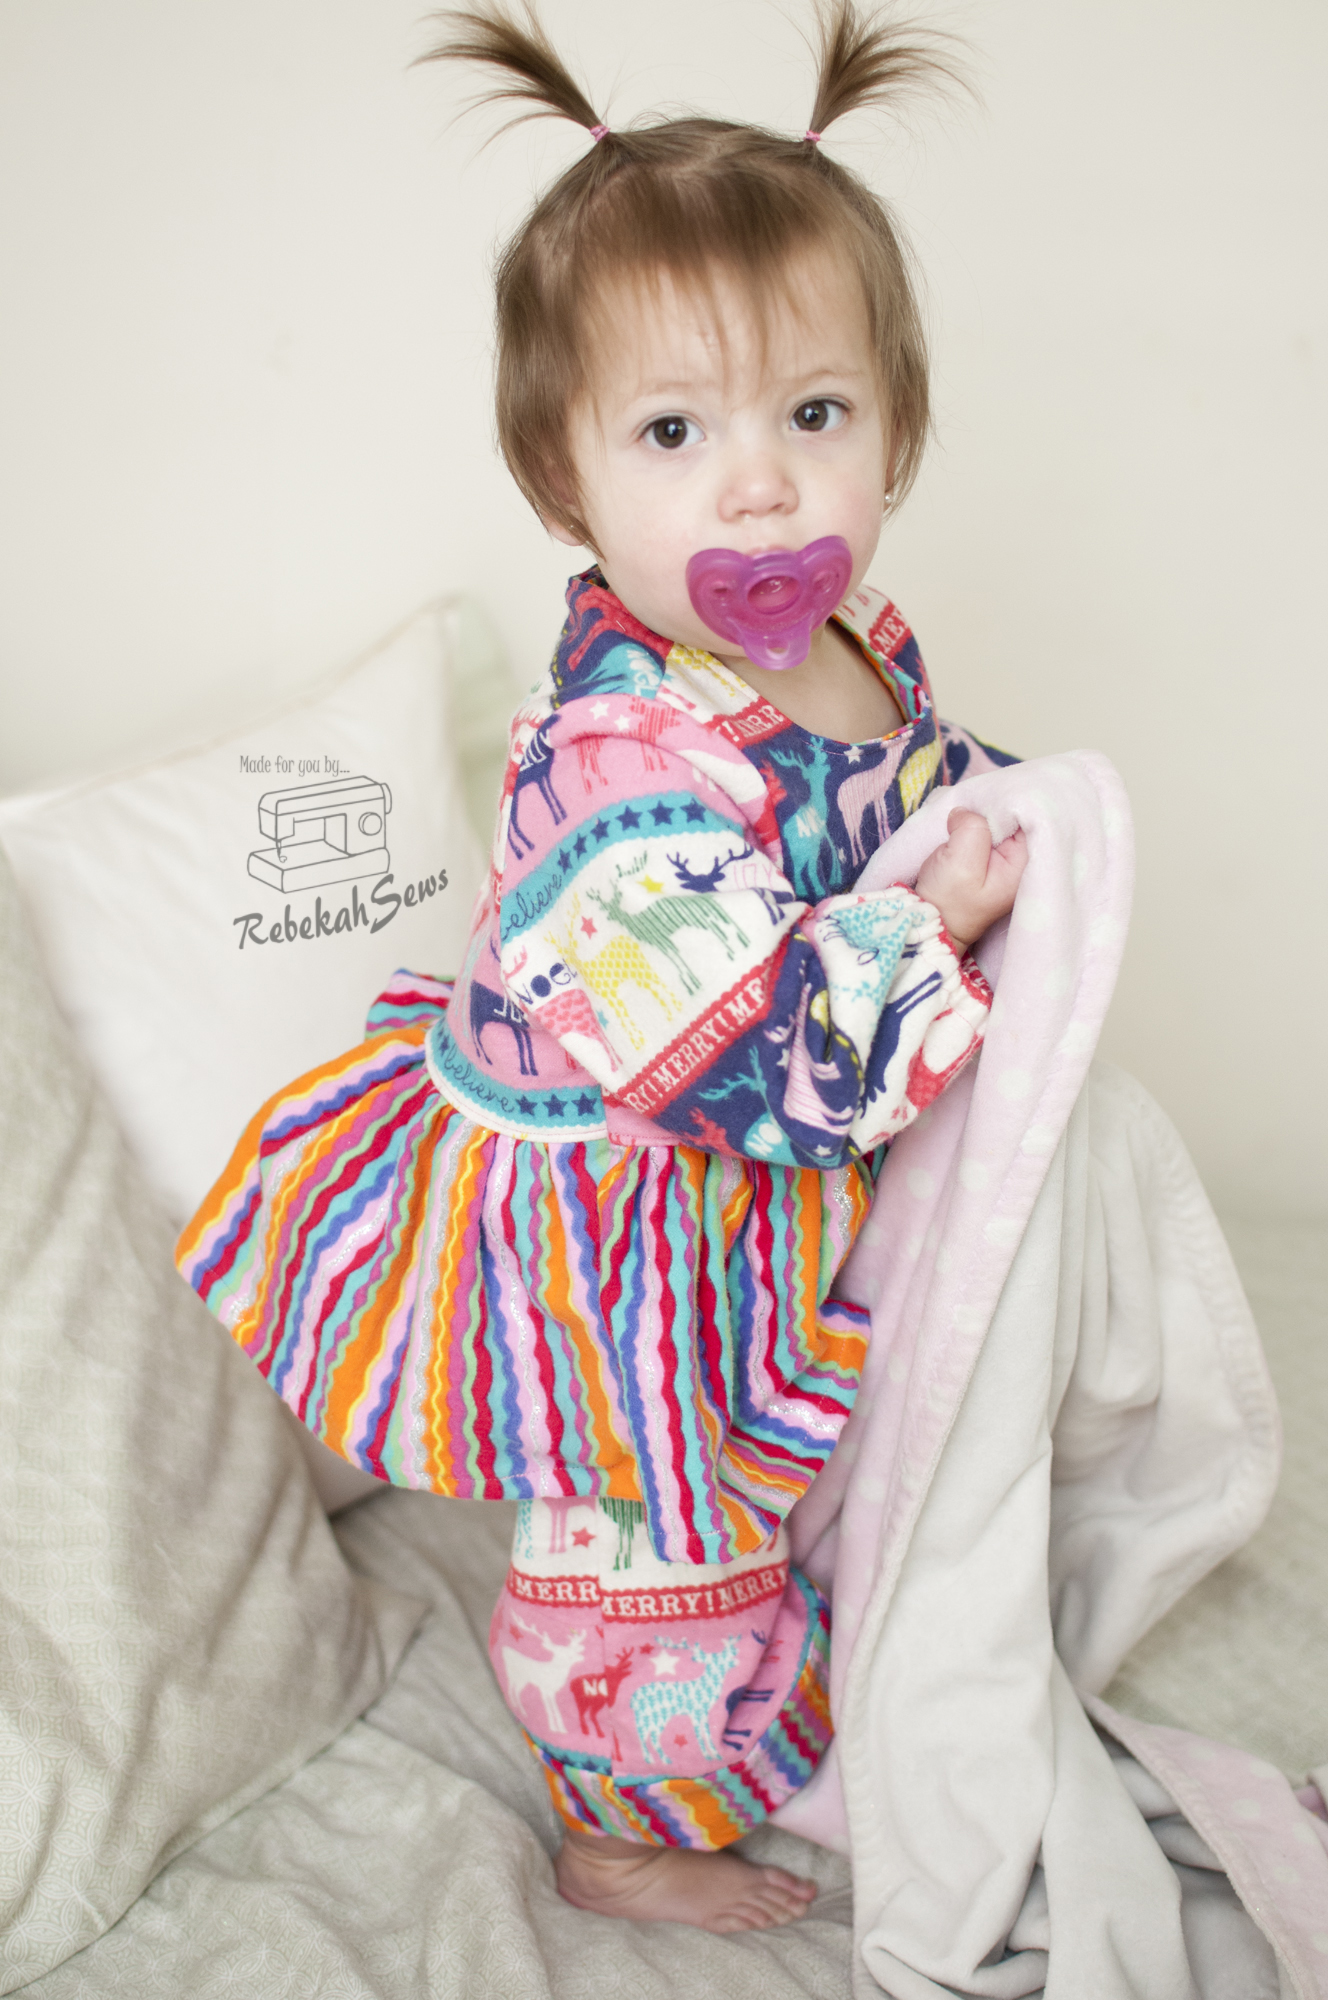
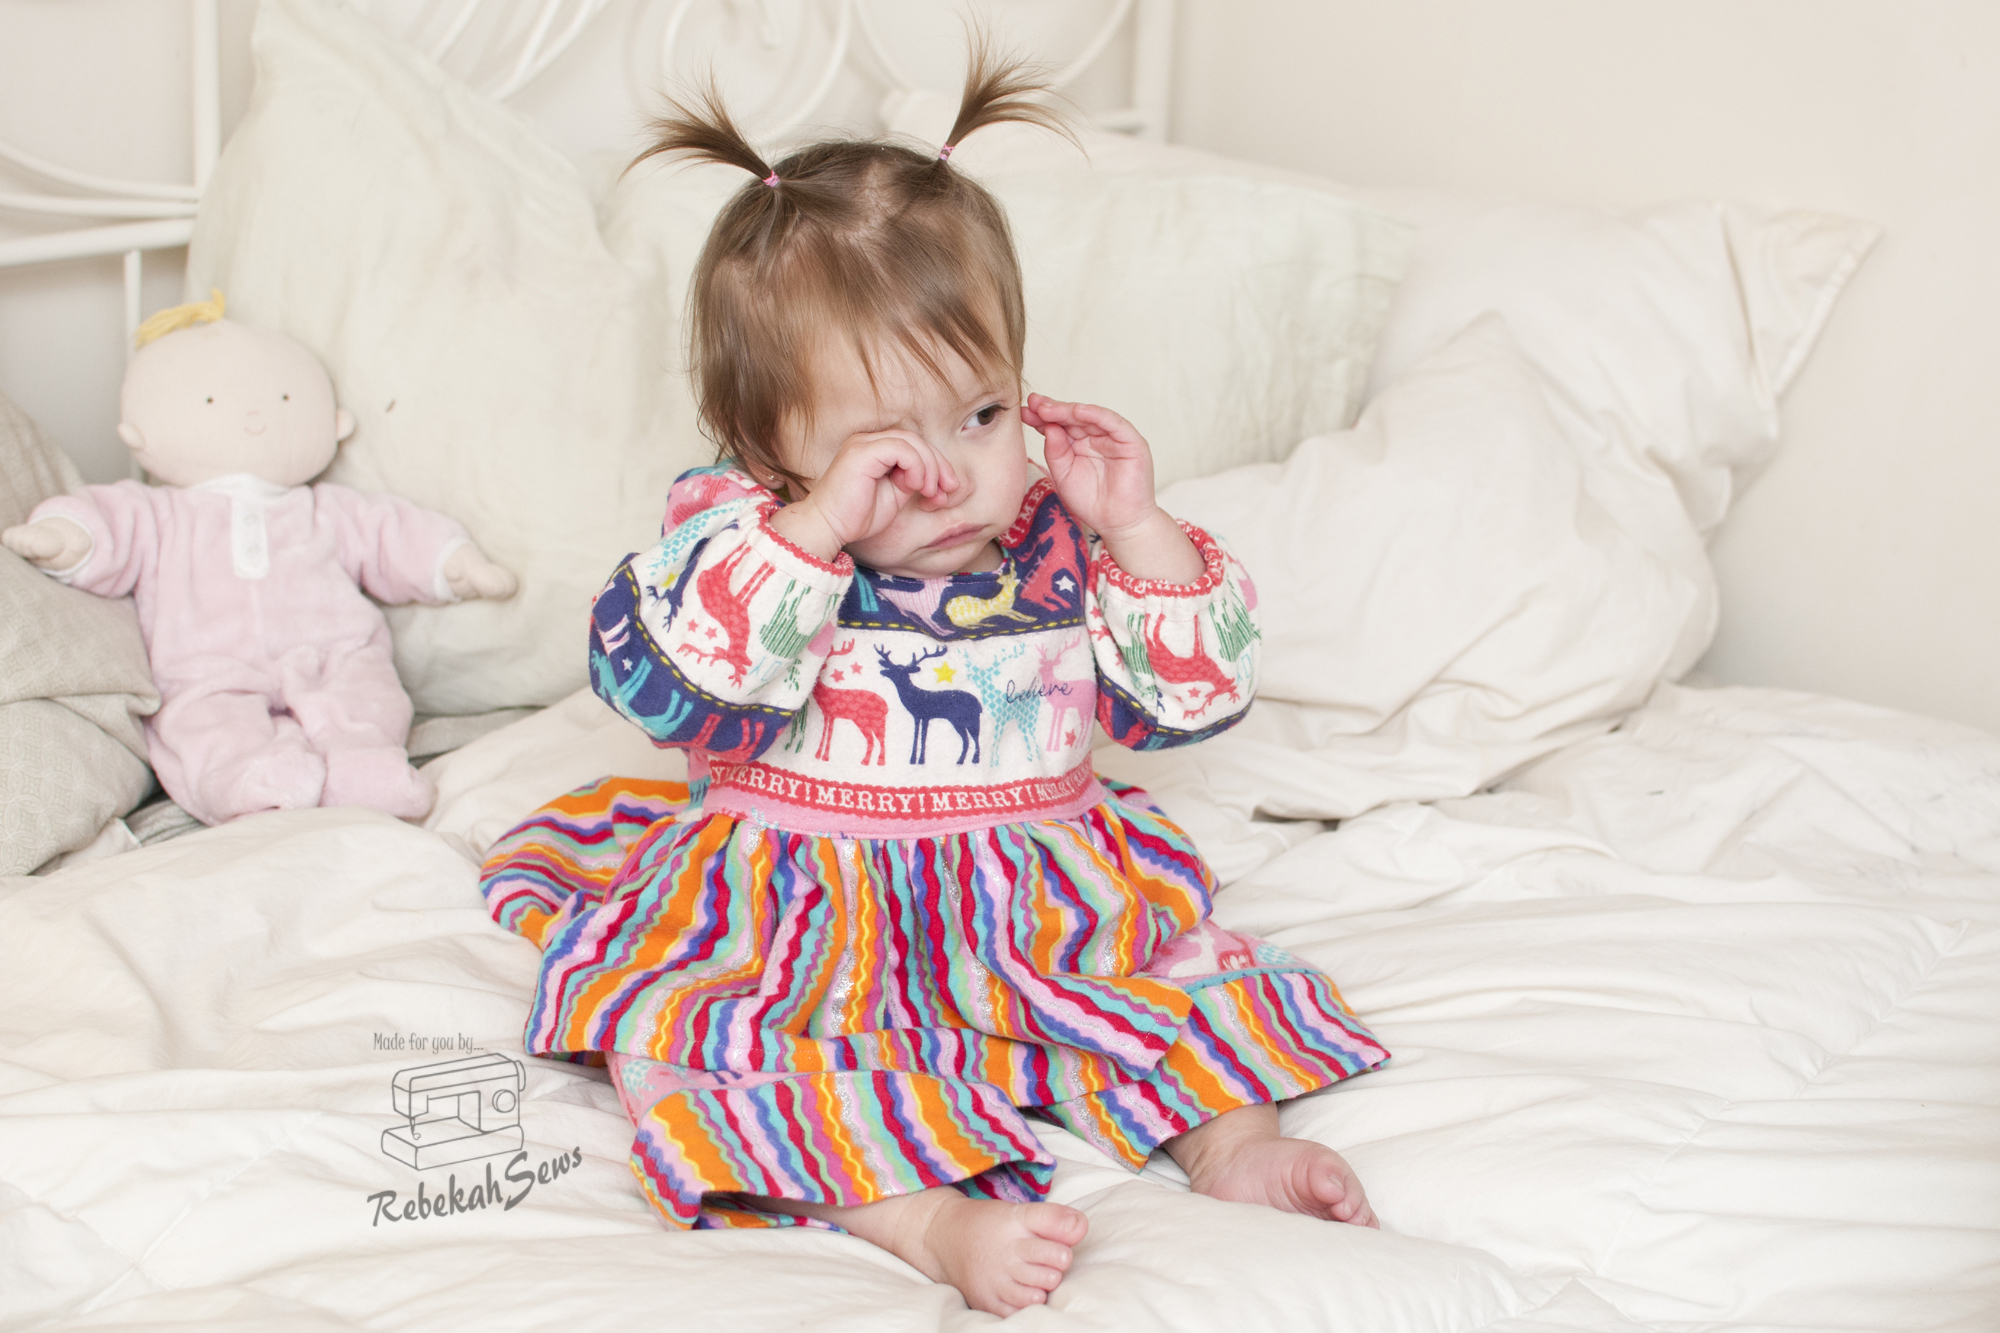
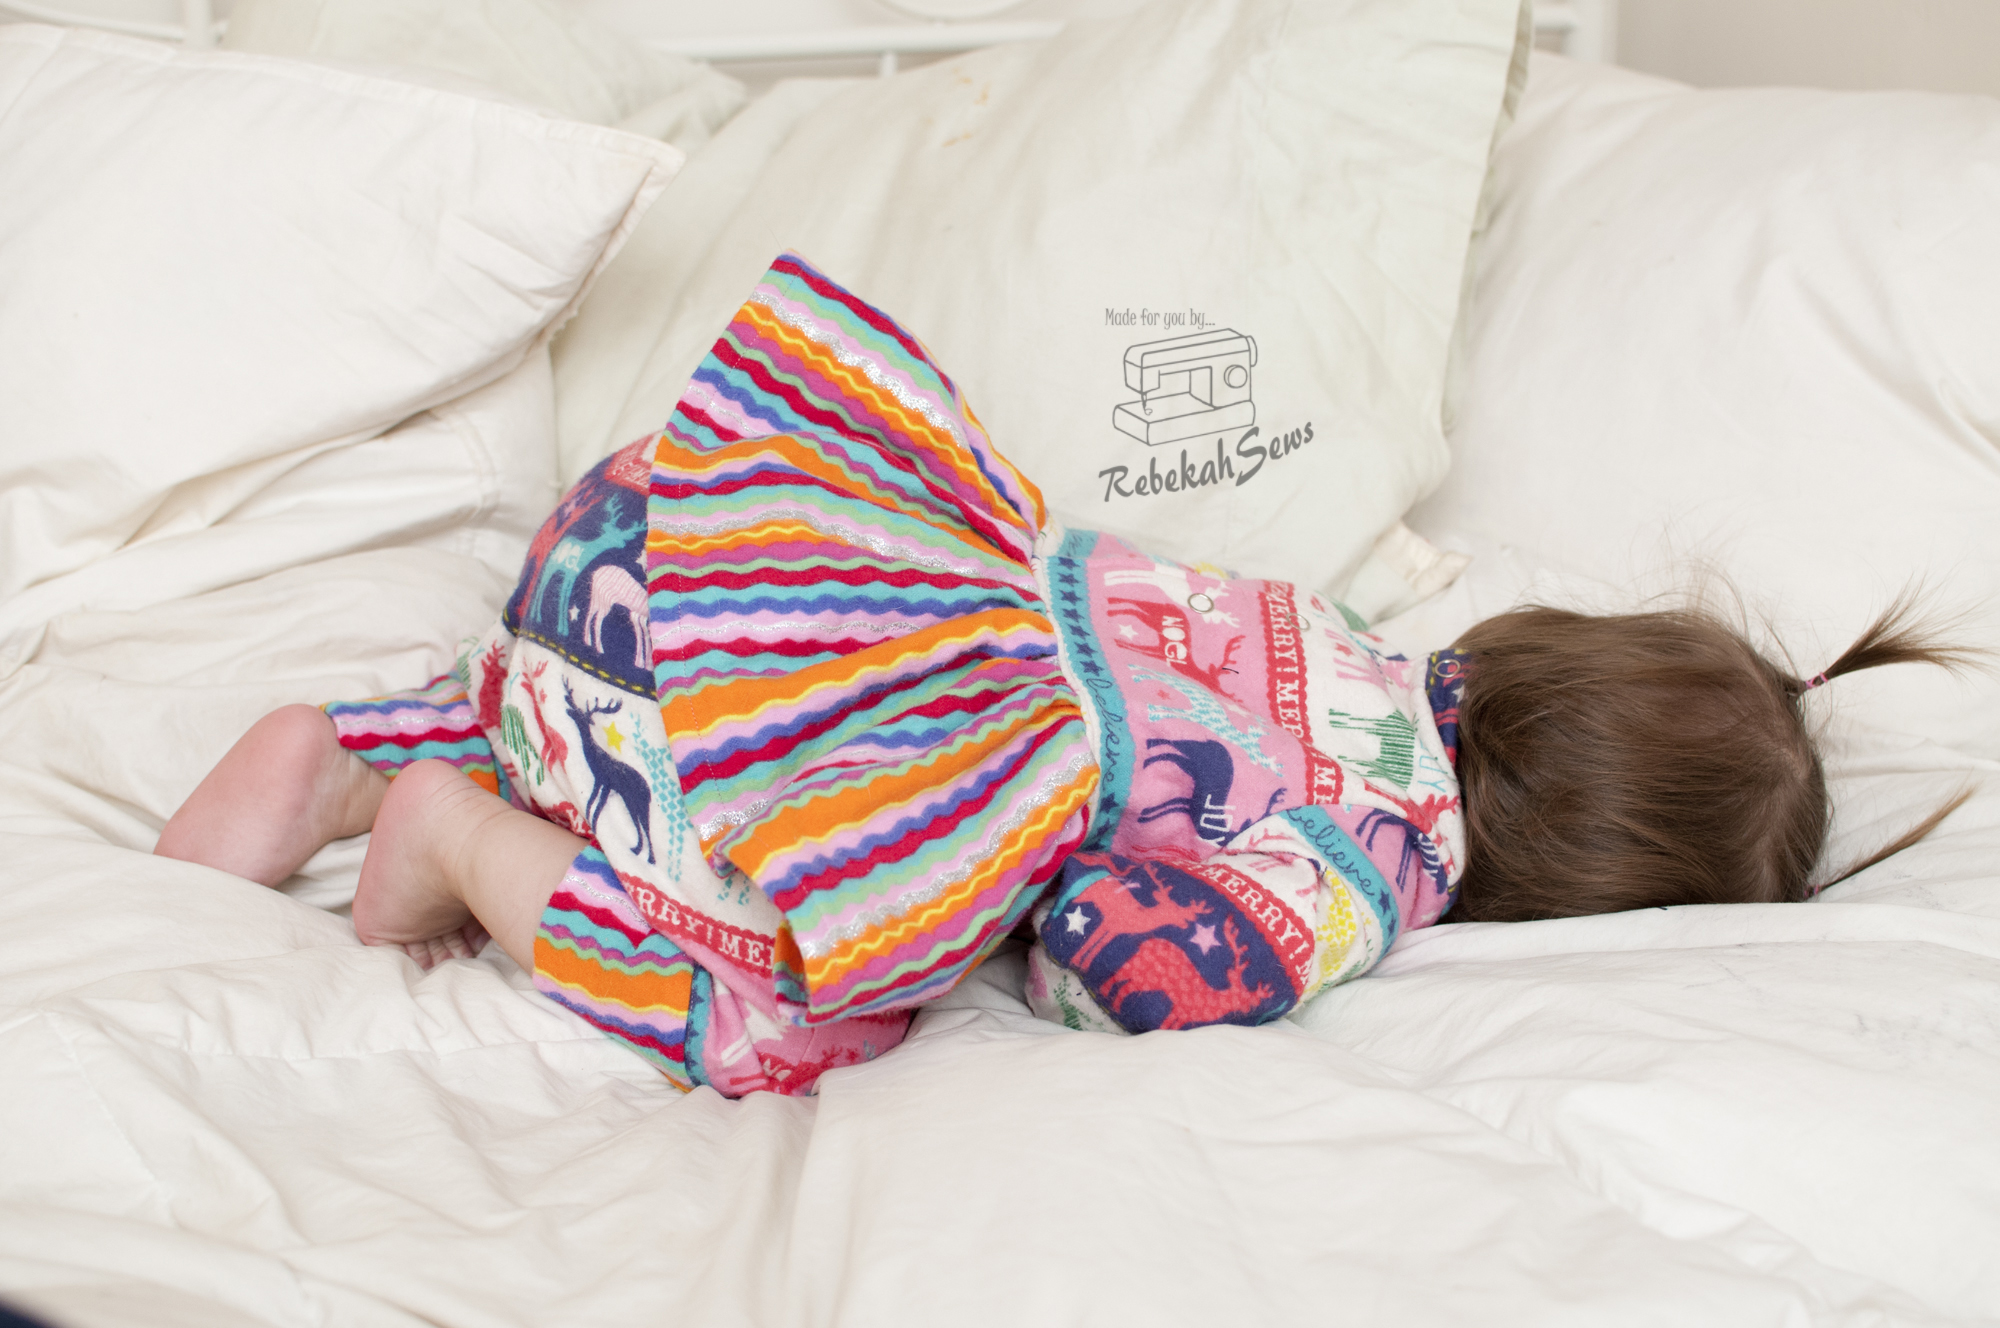
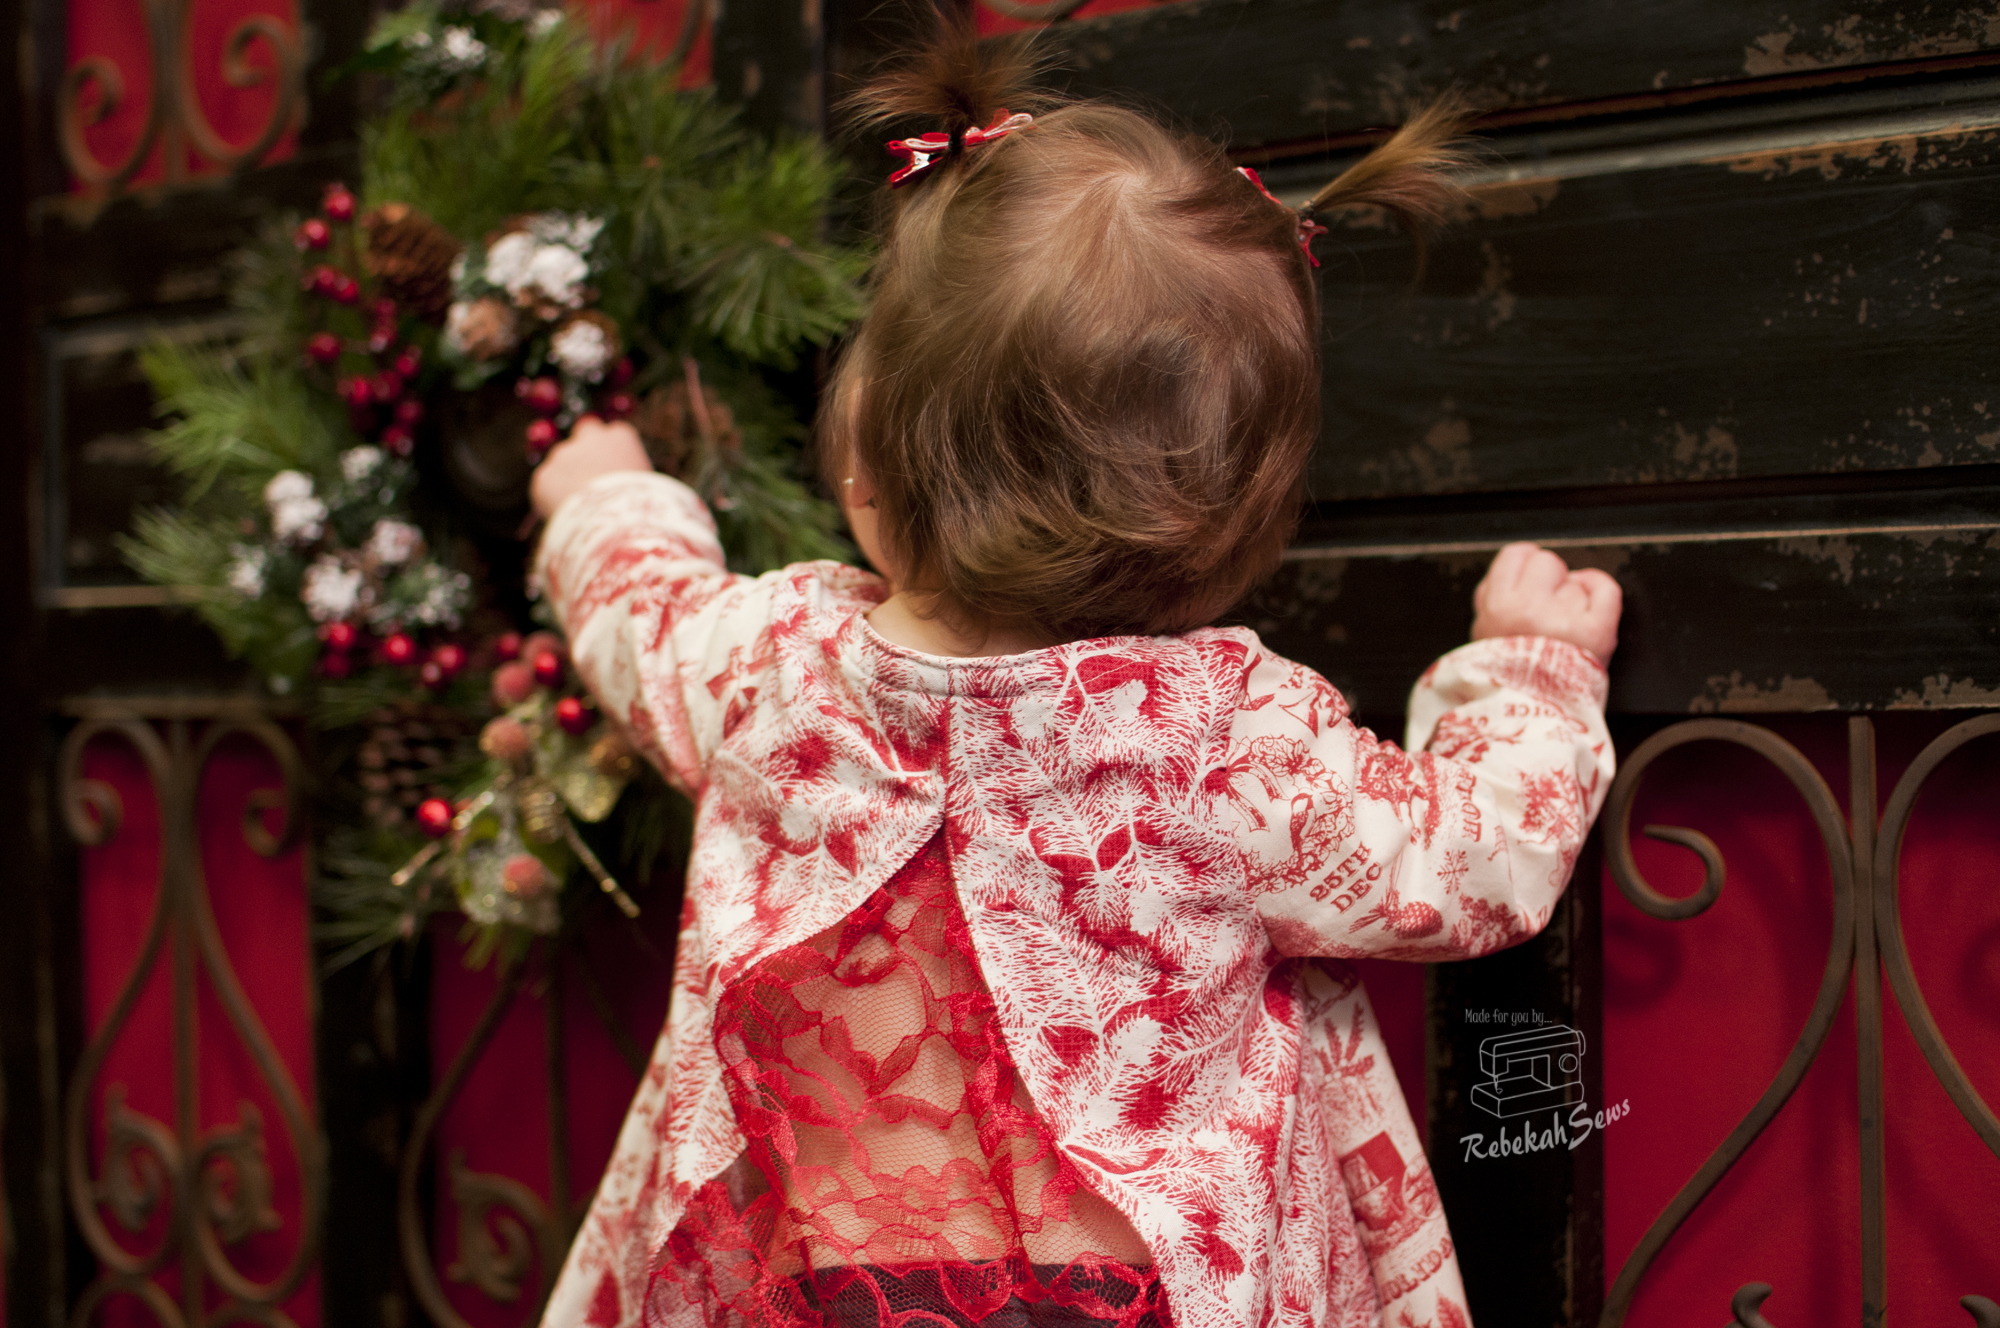
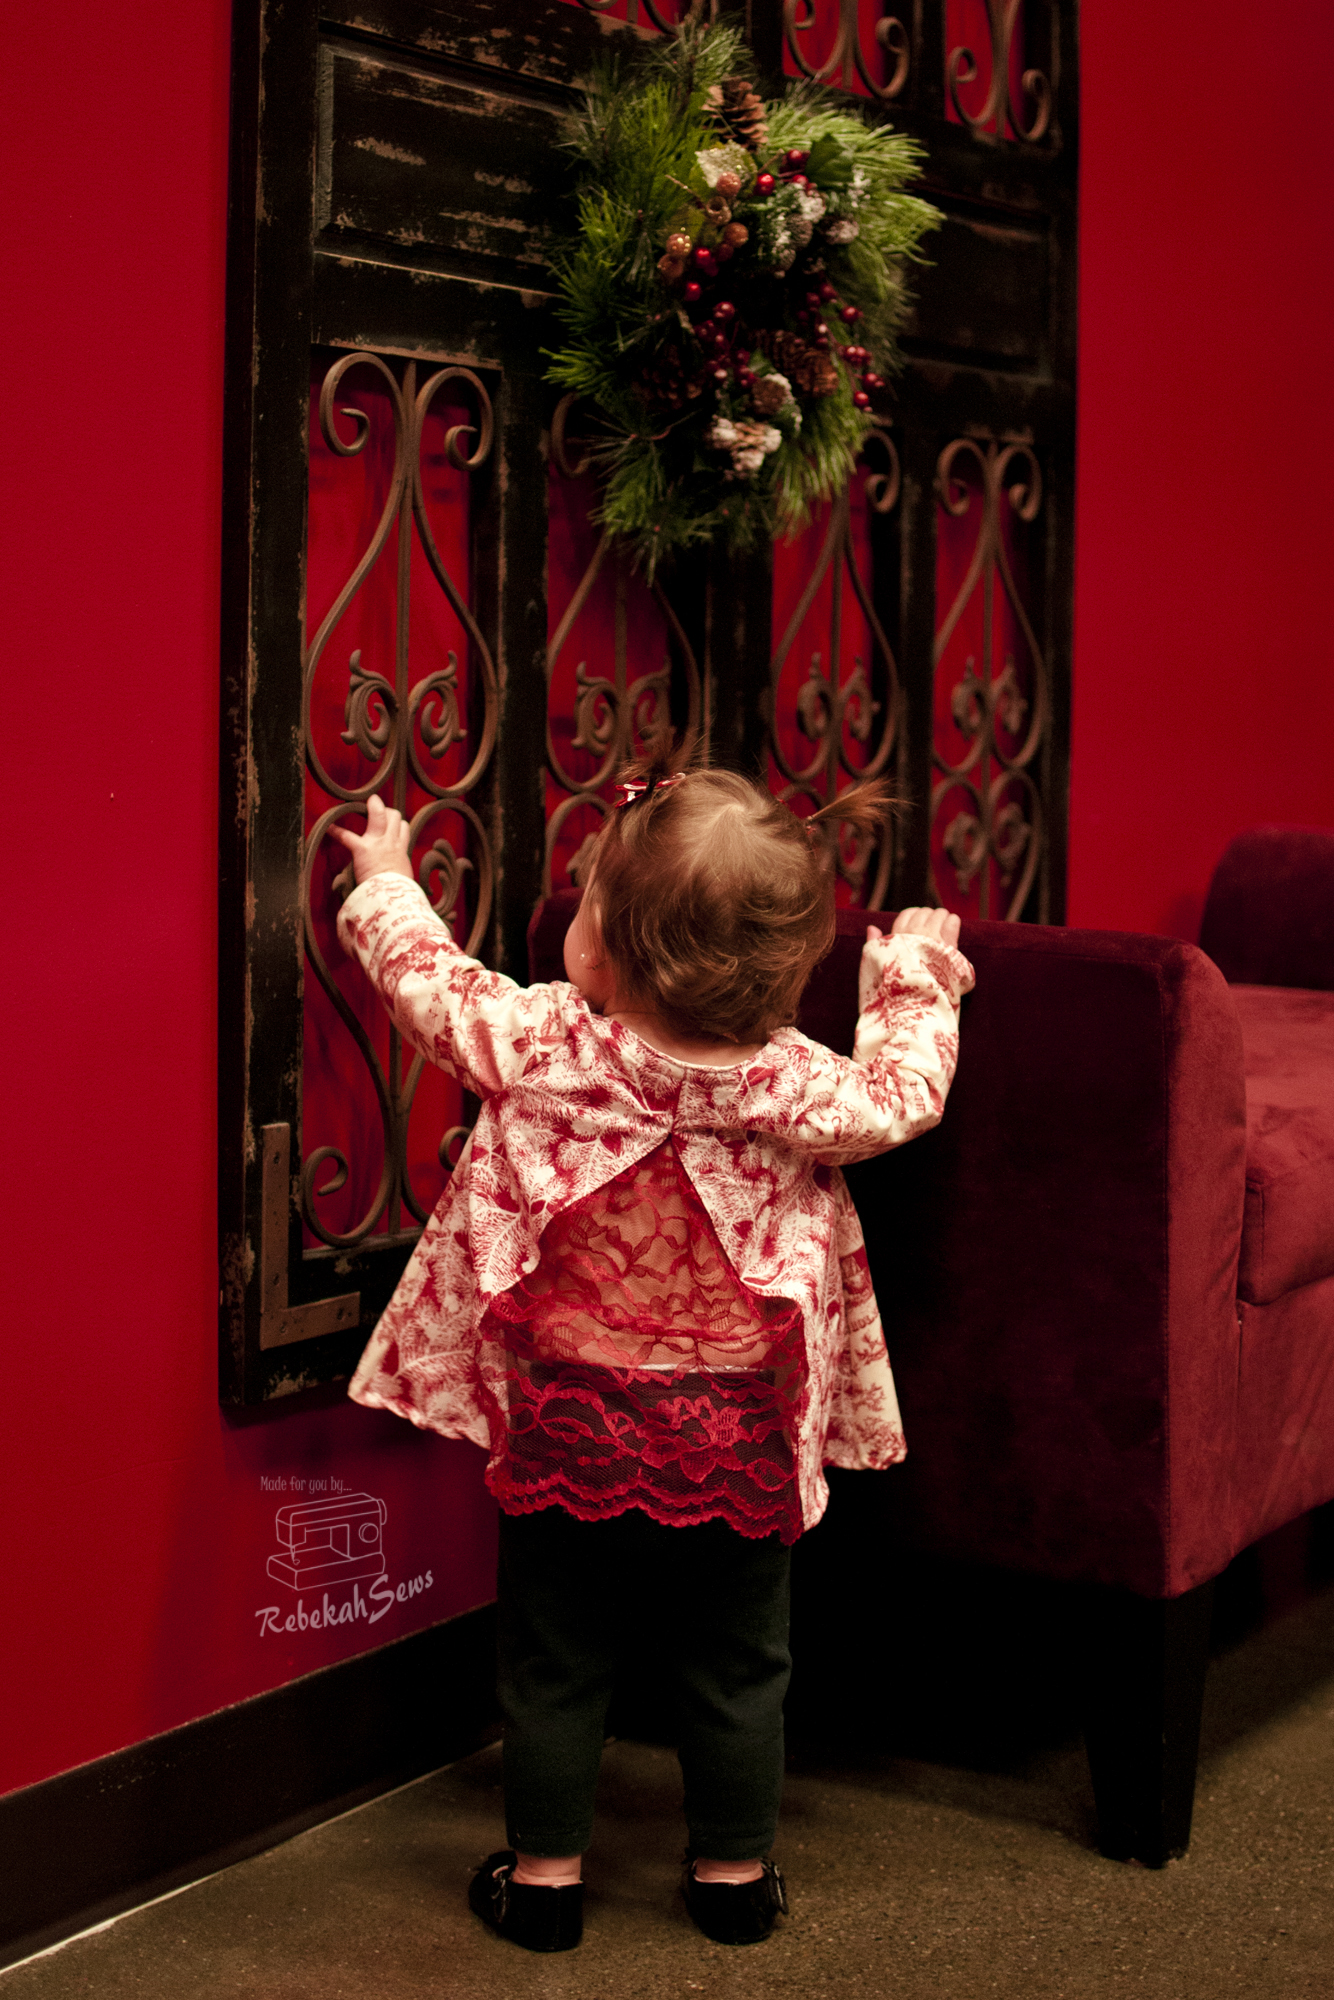
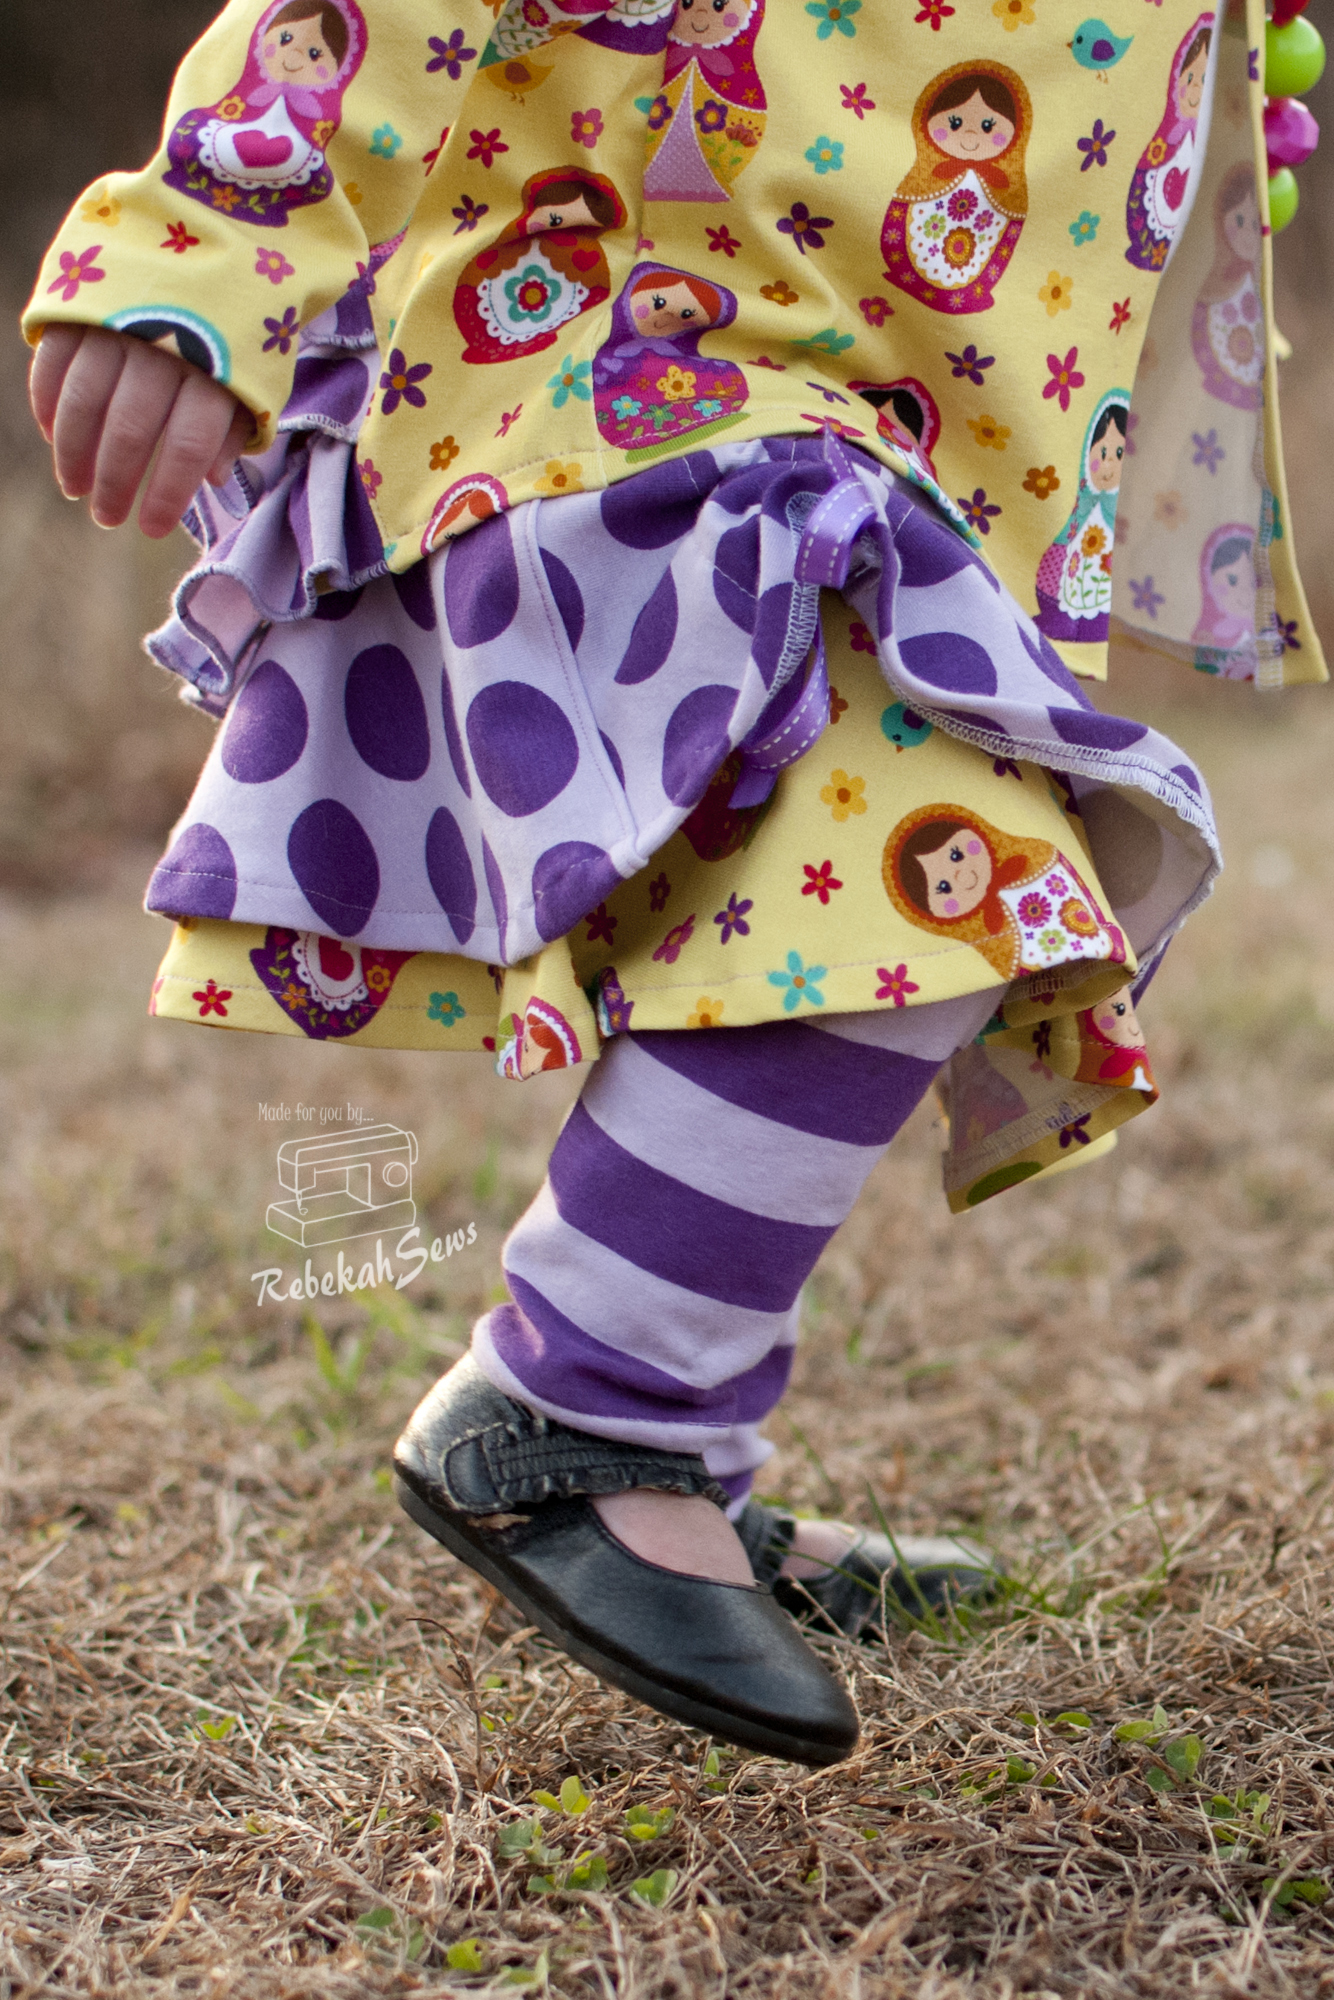
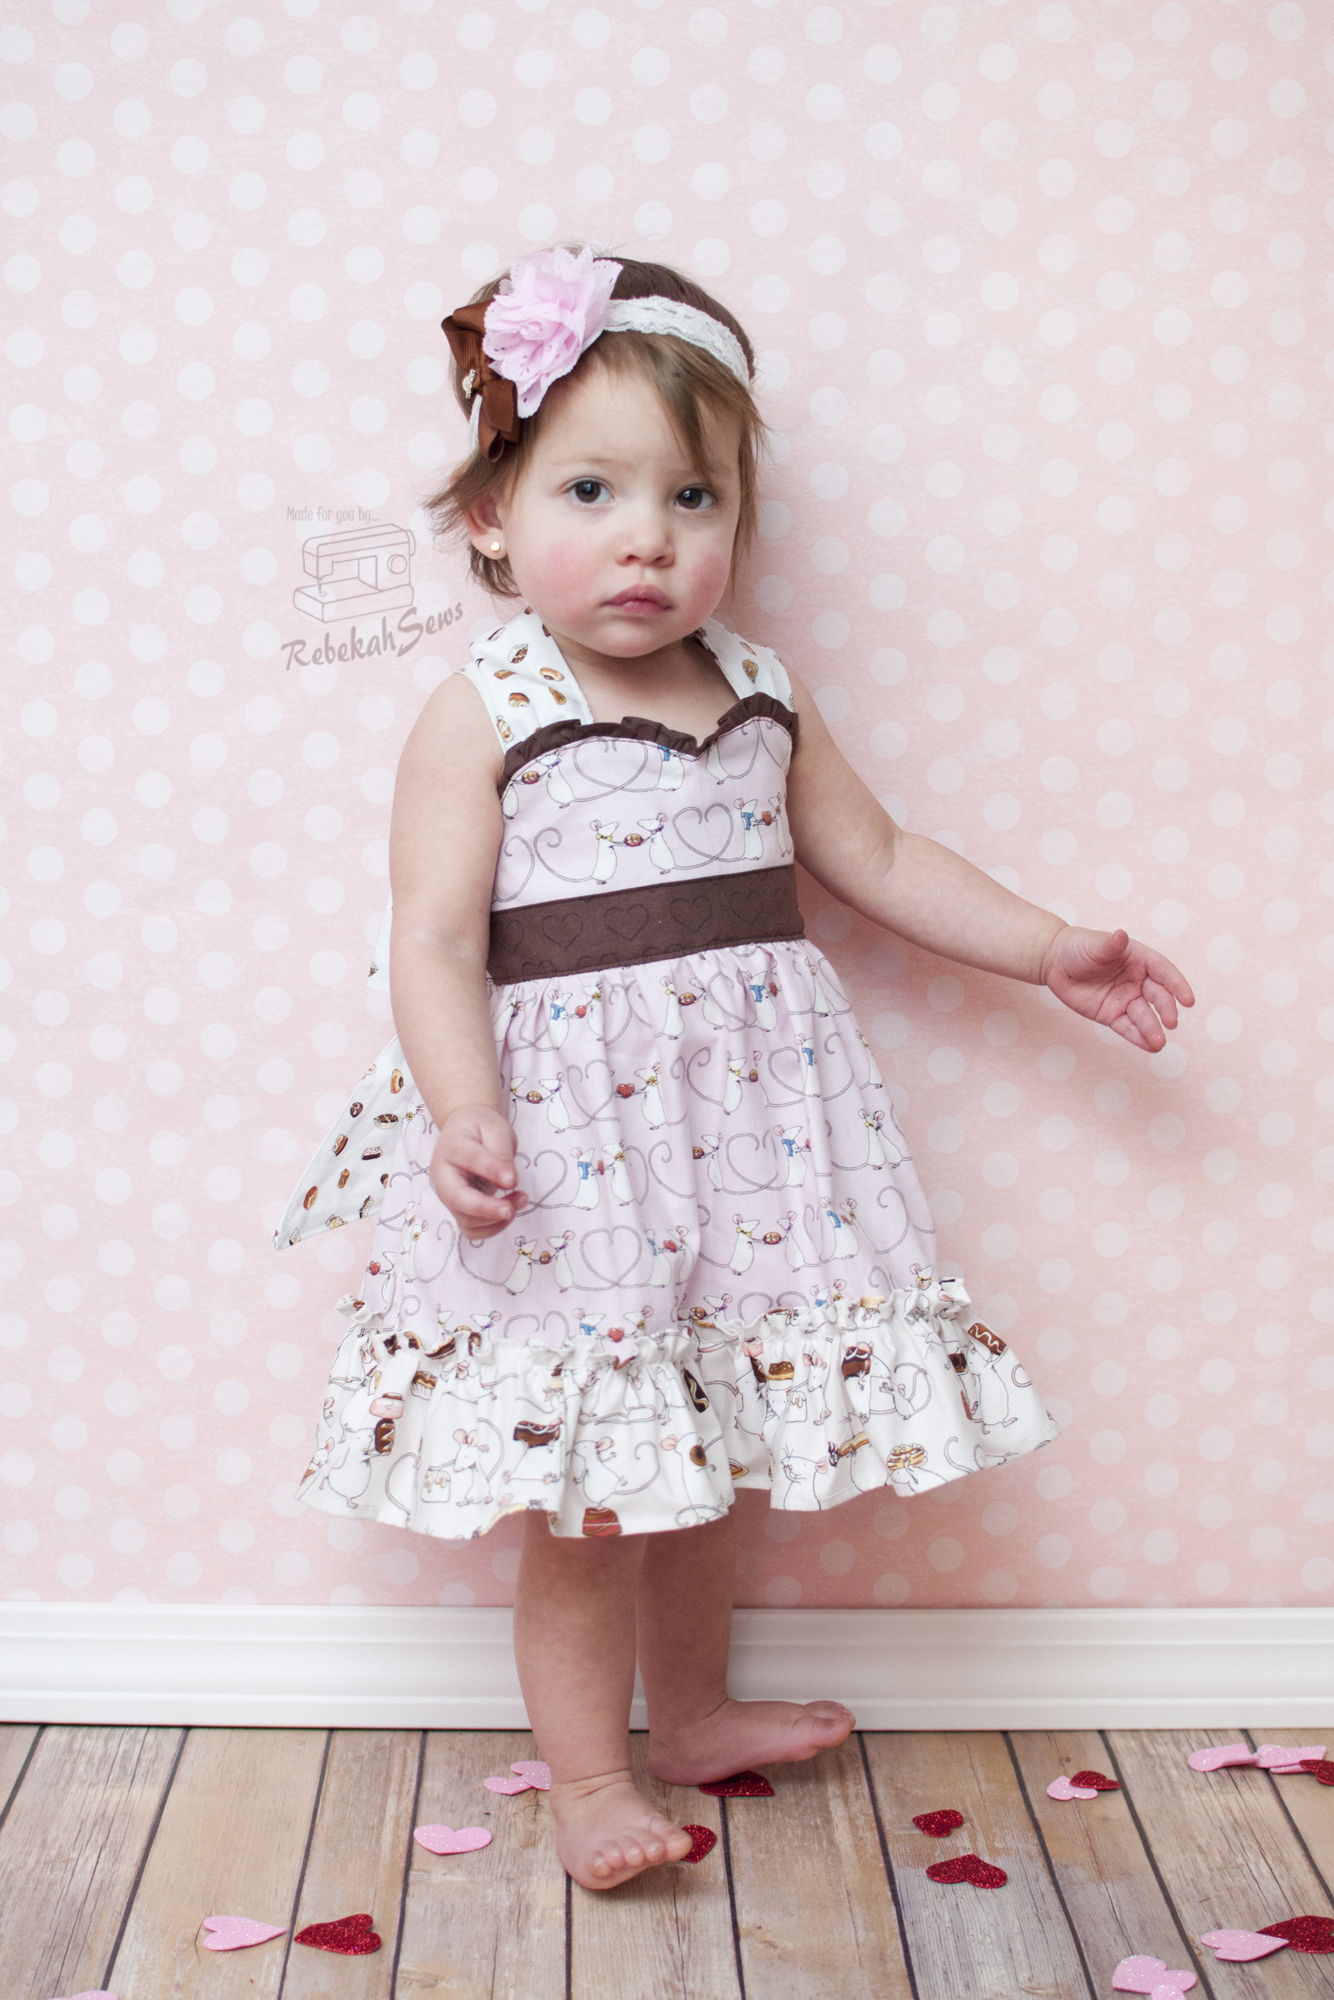
 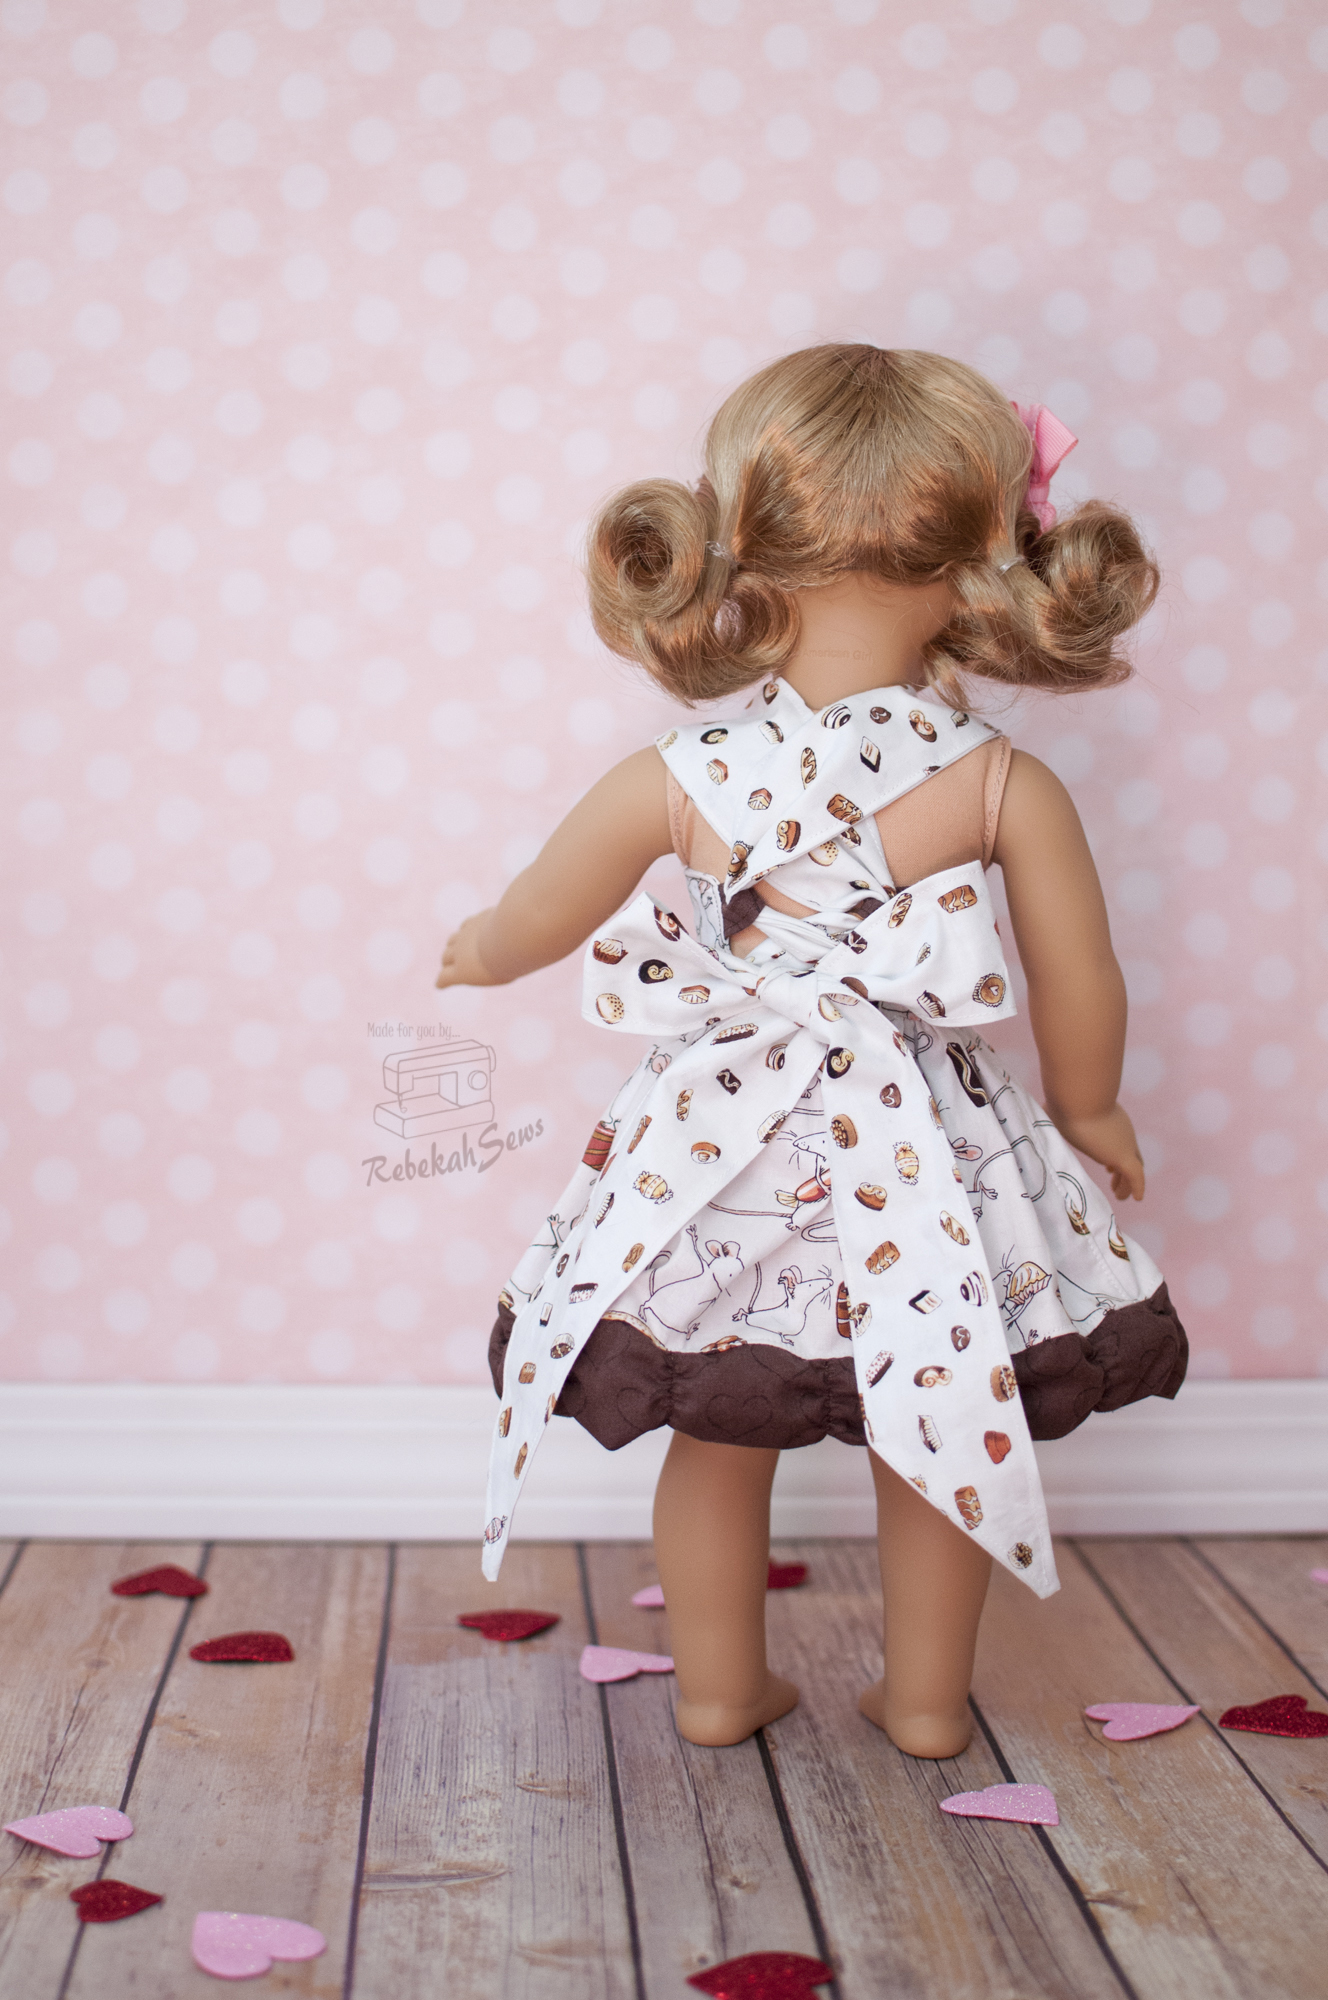 For my girl I made her a size 12m and the fit is AMAZING!!! The corset back certainly helps for fit too as you can tighten or loosen as much or little as you want. As you can see I chose the overlay ruffle for her. I also made my very first doll dress! The same Chocolate Grammy gave my girl an American Girl doll for Christmas (good Grammy!) and it is time I started sewing for her too. Again the fit is great on the doll too! Did you notice the ruched ruffle? I love it. I would love to try it using the shirring method next time instead of 1/4″ elastic as I think that will help it curl a little less so you can see more of it, just because I love it so!
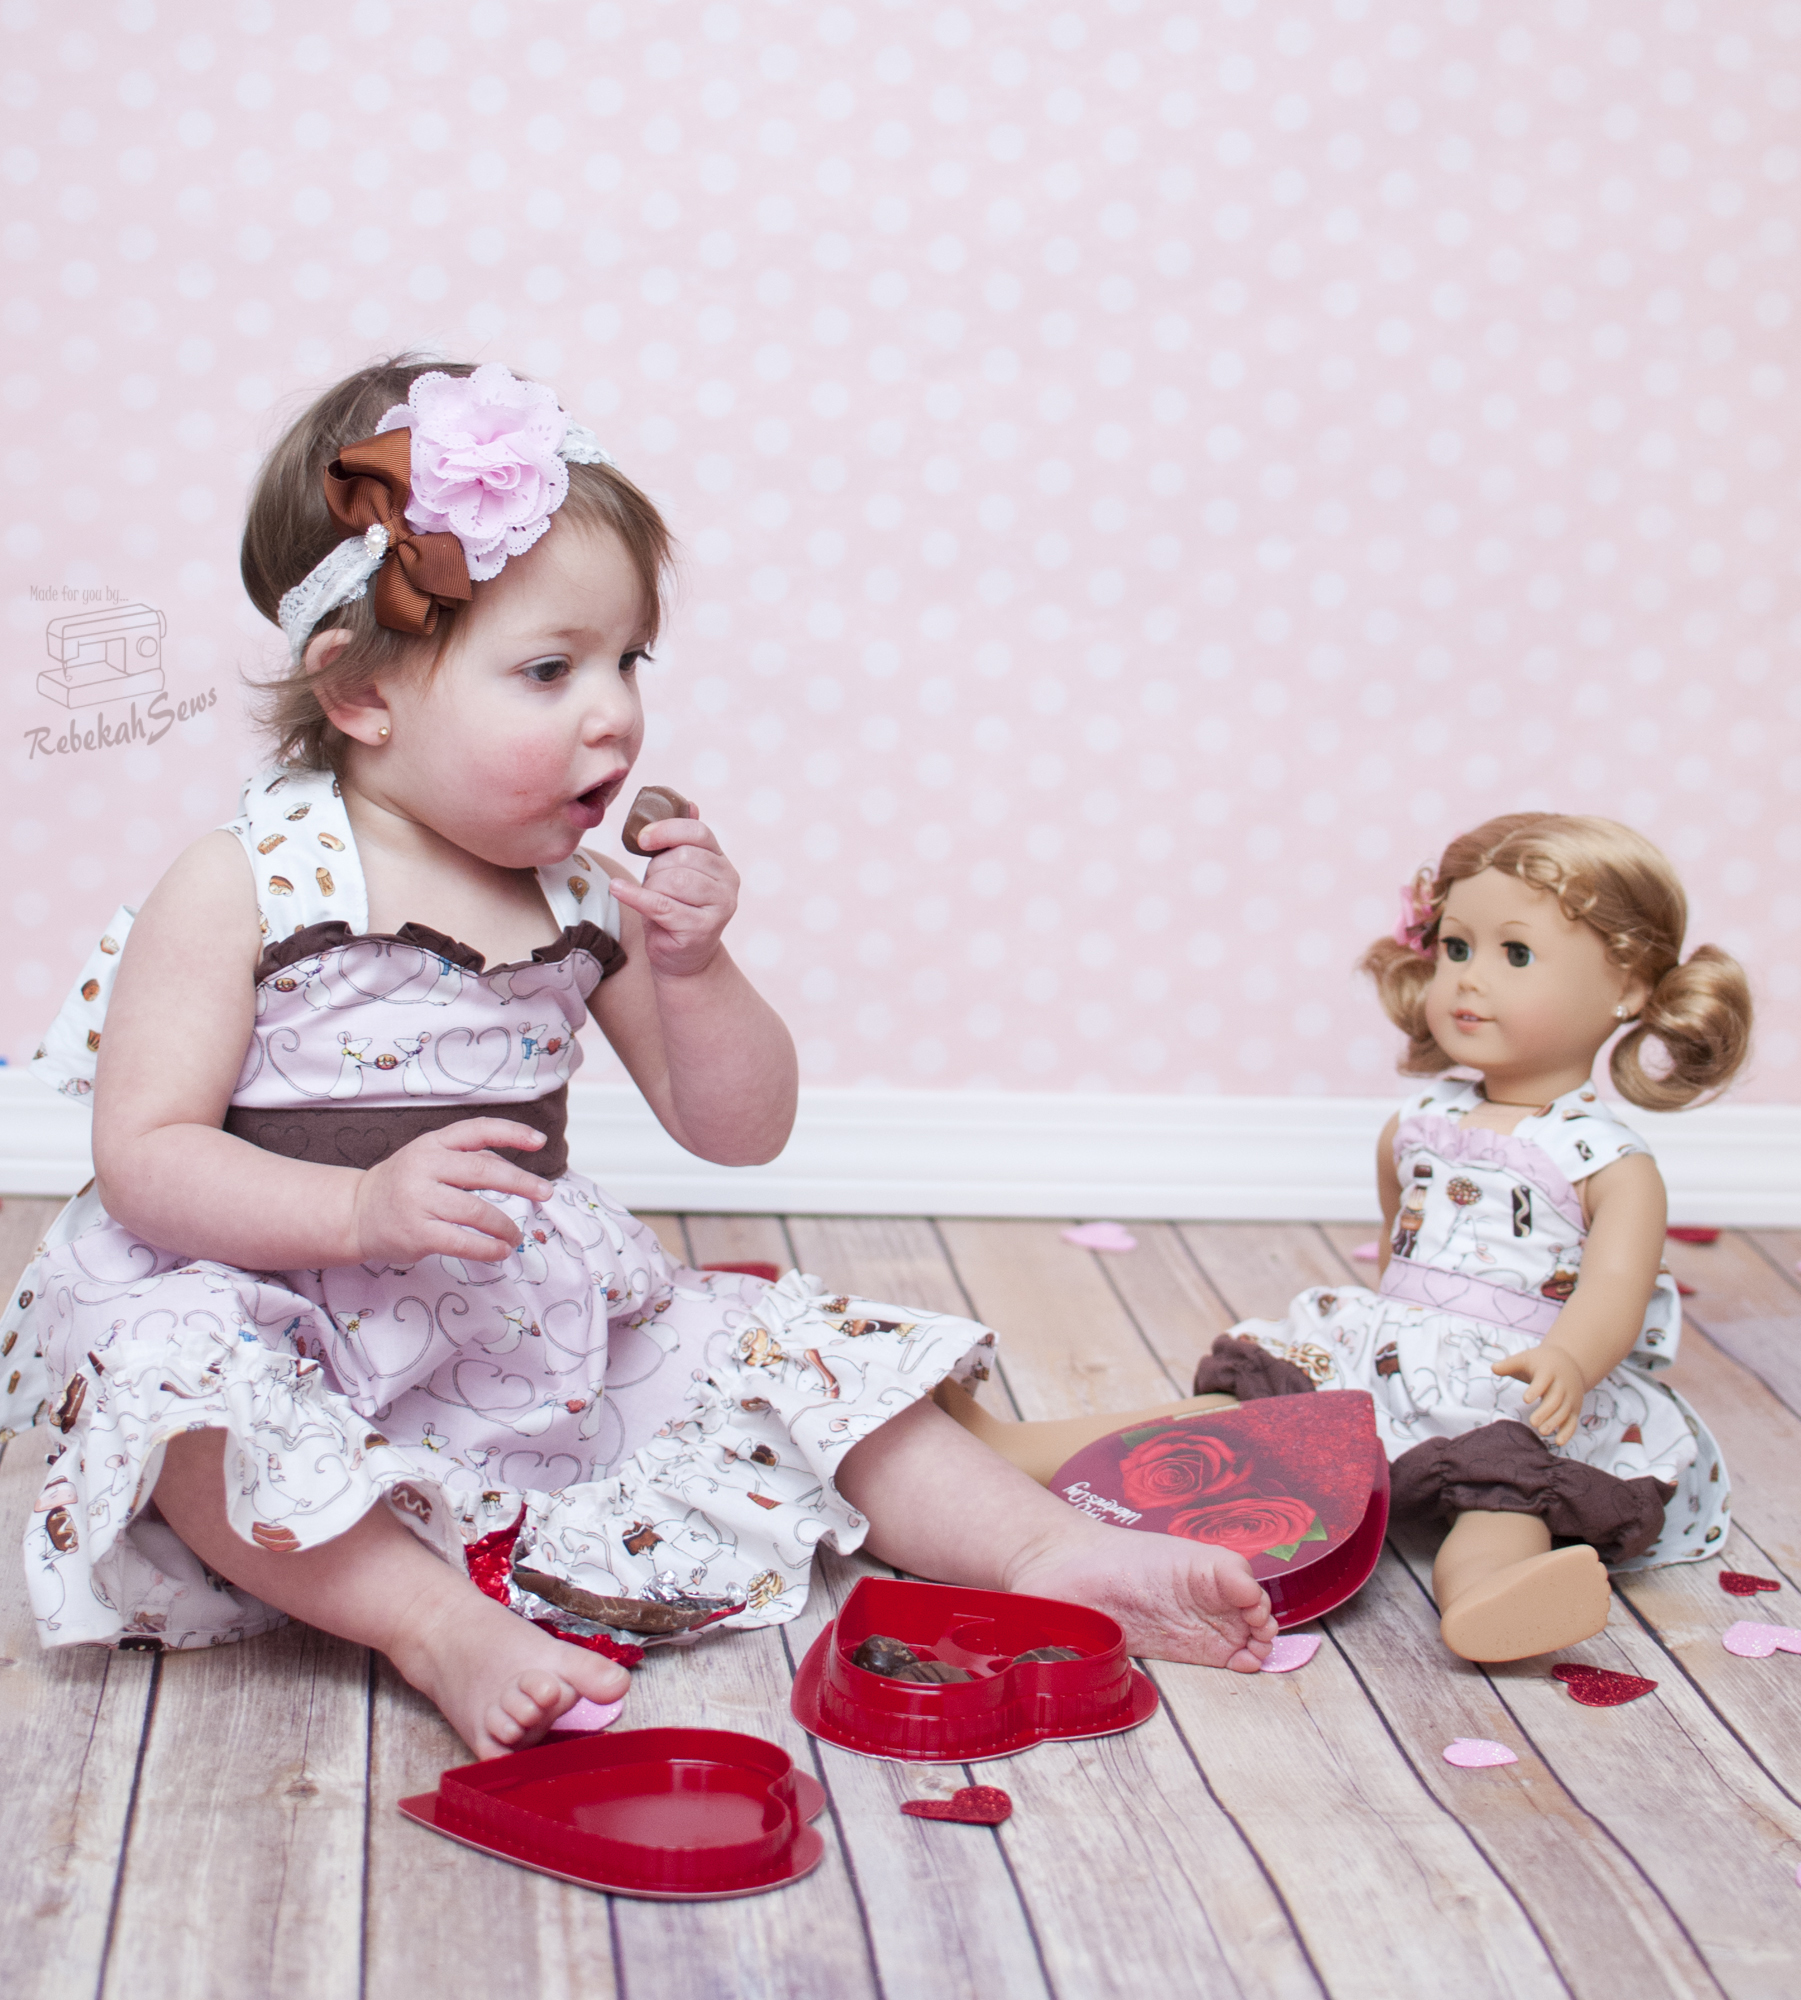
Sharing her Chocolate…It must be love!


 I am now officially a Mandy K Designs fan and certainly look forward to sewing more of her patterns. I plan on reviewing the English Rose dress next month when I sew it up for baby girl’s Easter dress. After that I think the next one would have to be the Happy Days dress as it will be perfect for spring. Then after that…sorry, digressing again; but seriously her patterns are quite addicting! Now if you need a little encouragement to get your girl’s Valentine’s dress done then I have the perfect solution for you! From Feb 2nd to Feb. 6th Mandy K Designs is putting on a Sew-a-long over in her group. Now is the perfect time to go join the pattern group and then pick up the pattern on sale for $6.50!! I can’t wait to see all your little Valentines XOXOs!