
Who else likes taking an already awesome pattern and using it to create something that is uniquely yours with little modifications? I know when I first started sewing, modifying a pattern or adding something to it that wasn’t part of the pattern was rather scary. Once you get more confident in your own sewing skills the possibilities become endless. That being said, when I had the chance to be part of the Pimp That Pattern Tour of Little Kiwi’s Closet Romper and Playsuit patterns I gladly jumped at the opportunity.
 I had originally planned to pimp out the playsuit as I have made it before and loved the outcome both times. It’s a cute onsie pattern with a peasant neckline and many sleeve options. Ranging in sizes NB-4yrs, it is the perfect addition to any little ones wardrobe. However my plans soon changed when I came up with a great idea on how to pimp the romper instead. I couldn’t wait to get started.


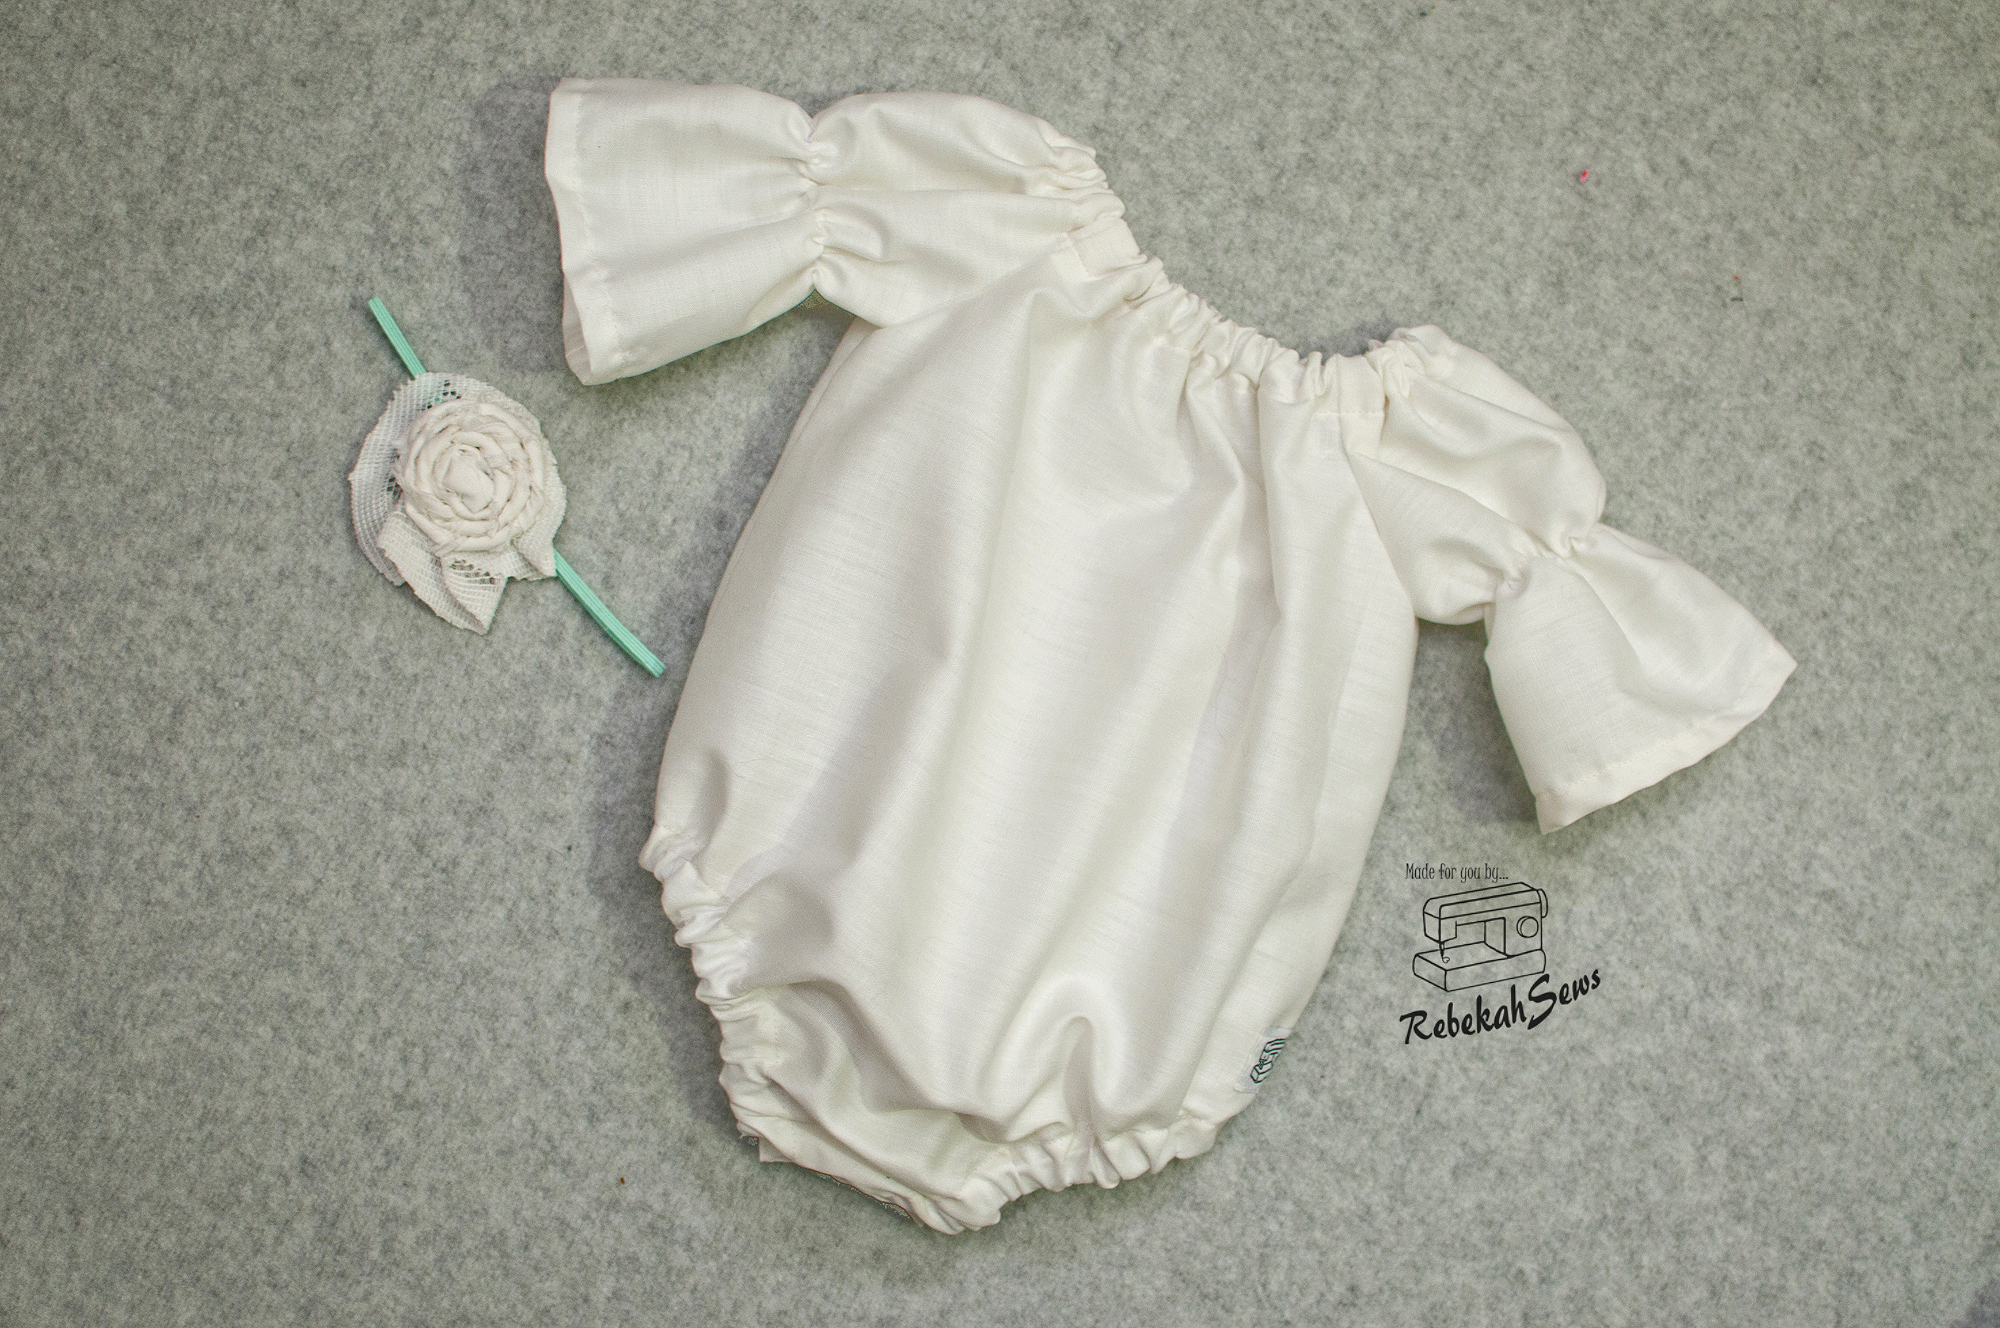
The results where better than I had imagined! I know you want to hear about the modifications I made but I want to first tell you about the pattern! The Flutterby Romper comes in sizes NB-12yrs. There are a ton of features in this pattern that make it perfect for both babies and older girls. These include many sleeve options, instructions for snap crotch, pockets, shorts and pants options as well. You could literally make a different style romper each time you make this pattern by changing up the options you use each time. And of course the tutorial walks you through every step so even a beginner could make this pattern.


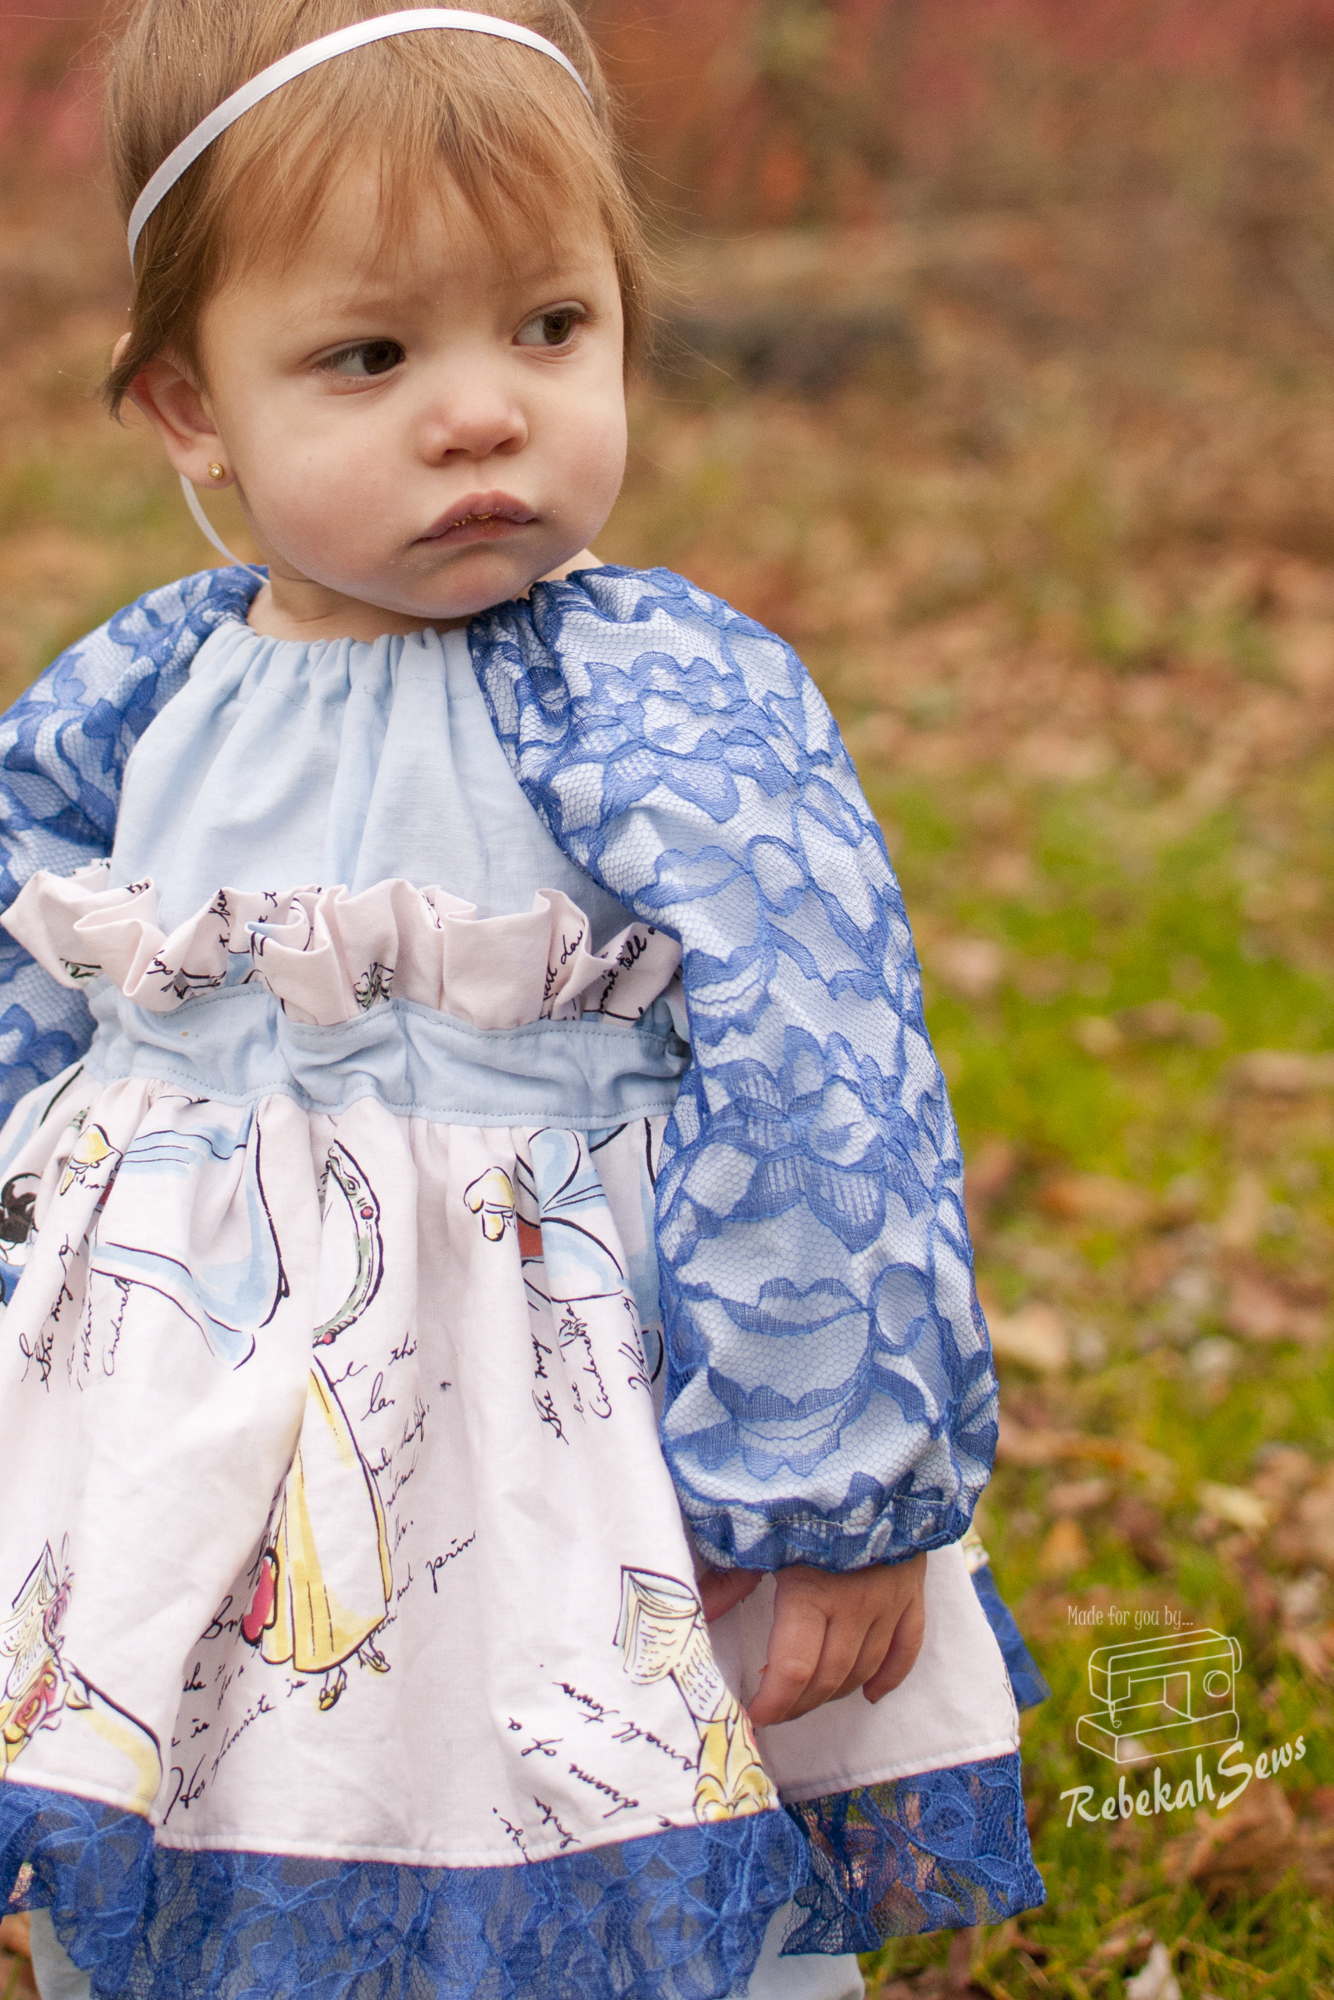
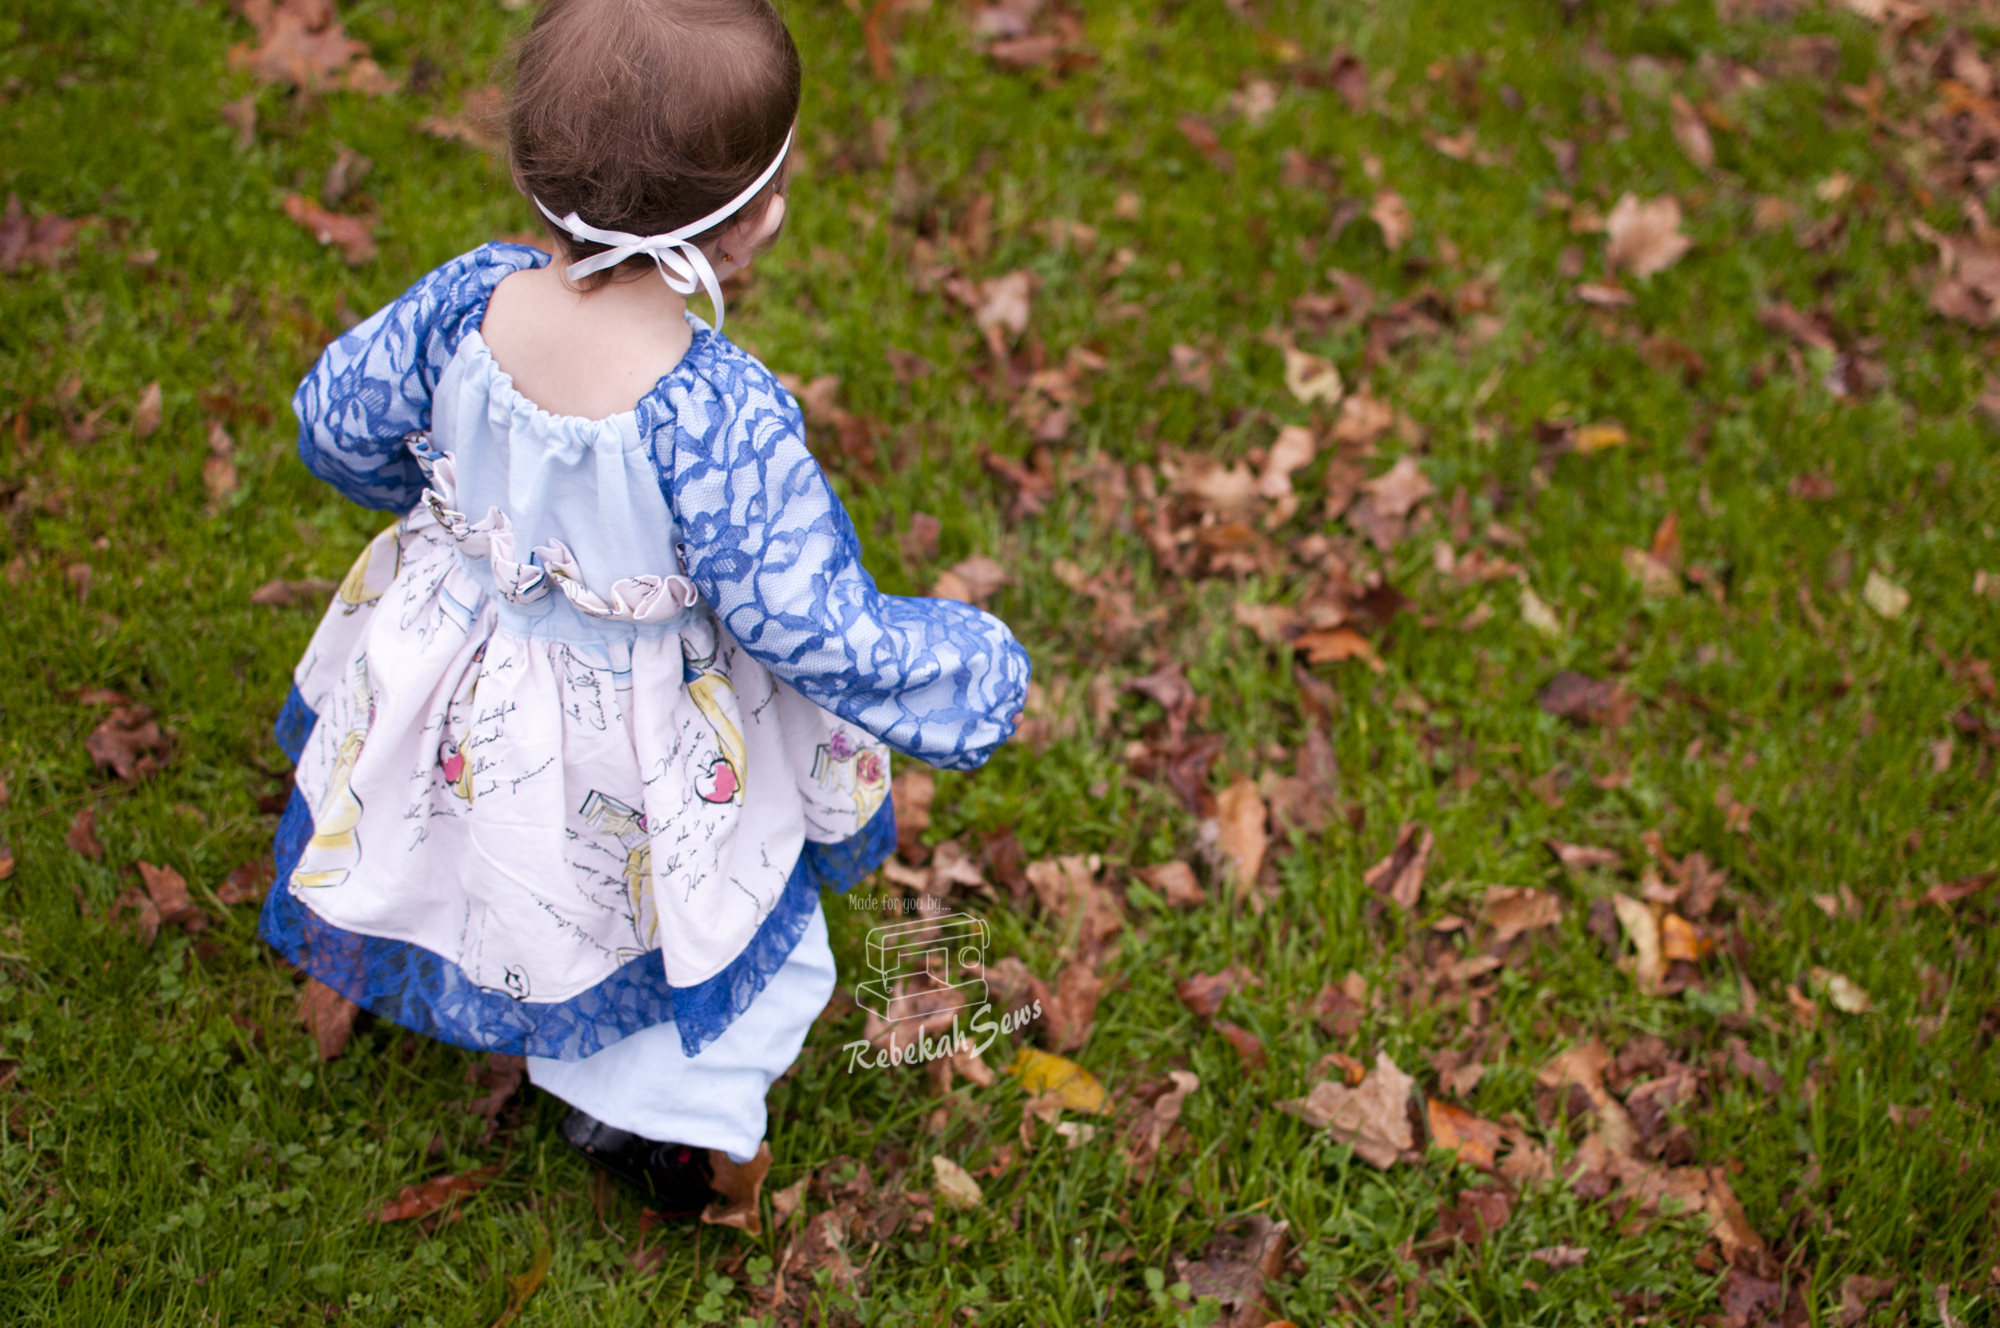
Ready to find out how I made it more of an empire waist with a skirt? I know I am ready to tell you! First an easy add was the lace overlay on the sleeves. I just cut 2 sleeve pieces in the lace and 2 of the lining fabric. Usually the elastic at the waist falls at the waist.  In order to make this look I needed to raise it to an empire waist. This was accomplished by cutting the bottom of the top pattern piece 2.75″ below the arm pit curve. I then added that piece to the top of both the front and back pants pattern pieces. This raised the waist to an empire cut. I then continued to follow the tutorial exactly as written until it was time to add the waist elastic. To add the skirt you need to cut two band pieces the width of the romper plus seam allowances that is about 2″ in length. I then also cut two ruffle pieces (enough to fold over so you don’t have to hem) and 2 skirt pieces to my desired width based on the fullness I wanted. I then sewed the band, ruffle, and skirt into a circle for each piece. Gather the ruffle piece and skirt pieces. You will then attach the ruffle to the top of the band with RST and also attach the skirt to the bottom of the band with RST. Don’t topstitch yet! You will do this when attaching it to the romper.
 Now slide the romper into the skirt and line up the skirt so that the band is centered over the elastic casing and the seams of the skirt and ruffle are pointing in towards the center of the band. Topstitch all the way around the band 1/4’ away from the ruffle and skirt portions. This will attach it to the romper. Now if you look on the inside of the romper you will see that your elastic casing is still intact. You can go ahead and finish the romper now! How fun is that?
Ready to try out either the playsuit or romper yourself? Head on over to Little Kiwi’s Closet’s Craftsy store and get one or both. They are even 30% off during the tour. There is also a giveaway too! Just link up your playsuit or romper and you could win two patterns from Little Kiwi’s Closet! Link up here-> An InLinkz Link-up

Now it’s your turn. I challenge you to step outside of your comfort zone, try something new and make it your own. Have fun pimping it out! (That sounded better in my head…LOL)

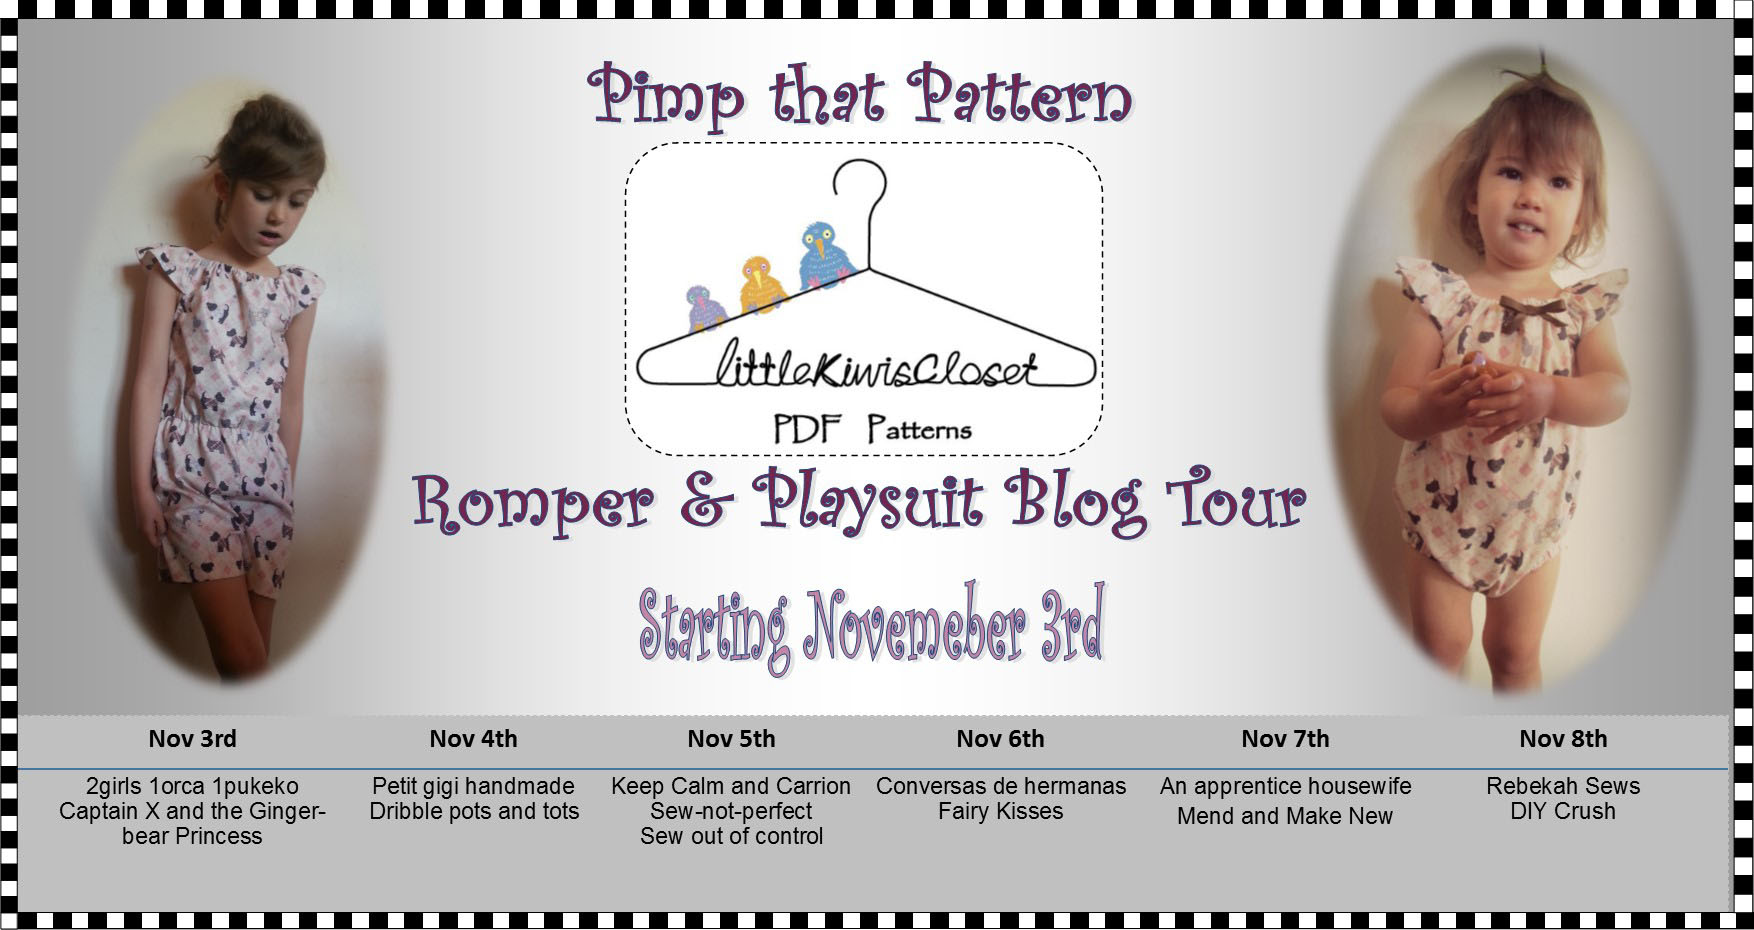
Oh, and don’t forget to check out all the stops on the tour for more inspiration!
3rd November
2girls1orca1pukeko.blogspot.com
4th November
Www.petitgigihandmade.blogspot.pt
http://dribblepotsandtots.wordpress.com
5th November
www.calmandcarrion.blogspot.com
www.sewoutofcontrol.wordpress.com
6th November
fairykissesboutique.blogspot.com
7th November
http://anapprenticehousewife.blogspot.com/?m=1
8th November
https://www.diy-crush.com/blog/


Nicely done, Rebekah! I have that same princess fabric that I’ve been saving. I love what you did with it and the pattern.
I LOVE this!!! Fantastic modifications! You rock!!
Thank you!!!