
Time for another tour! I told you there were lots of exciting things happening. Today we are taking a look at two awesome and versatile patterns by Get Your Crap Together Designs. The name just always cracks me up! I love it. These two patterns are great paired together or with other patterns. Add that they are both quick and easy sews not to mention cute and it’s like adding icing on the cake. First I am going to tell you a bit about each pattern and then I will tell you all about my little girl’s outfit I made using these patterns. I had fun with these!
So let’s take a look at the first pattern shall we? The Tinley Tee comes in sizes 12mo-12yrs.  Included are 4 sleeve options (flutter, gathered cap, short and long sleeves) and 2 hem options (regular or banded). Chelsea does a great job on the tutorial with all the photos and step by step instructions. Truly a beginner could do this! Because of all the options this is a staple for any girls wardrobe no mater the season. The tutorial even includes instructions on how to layer the sleeves for even more fun!

Can’t have a top without a bottom to pair it with! And what would be better than the Love Me Knot shorts. These are just super cute shorts. I have actually made 3 all at different times, but it goes to show you that it’s so cool I keep coming back to it. Sizes range from 6mo-12yrs. These are bubble style shorts that are hemmed with bias tape. Featured on the side is a little keyhole with ties to tie into a bow. There are also optional gathered pockets! The waistband is a flat front waistband with elastic in the back which makes it easy for a customized fit. Everyone can have a little love with these as they are perfect for a beginner or advanced seamstress.

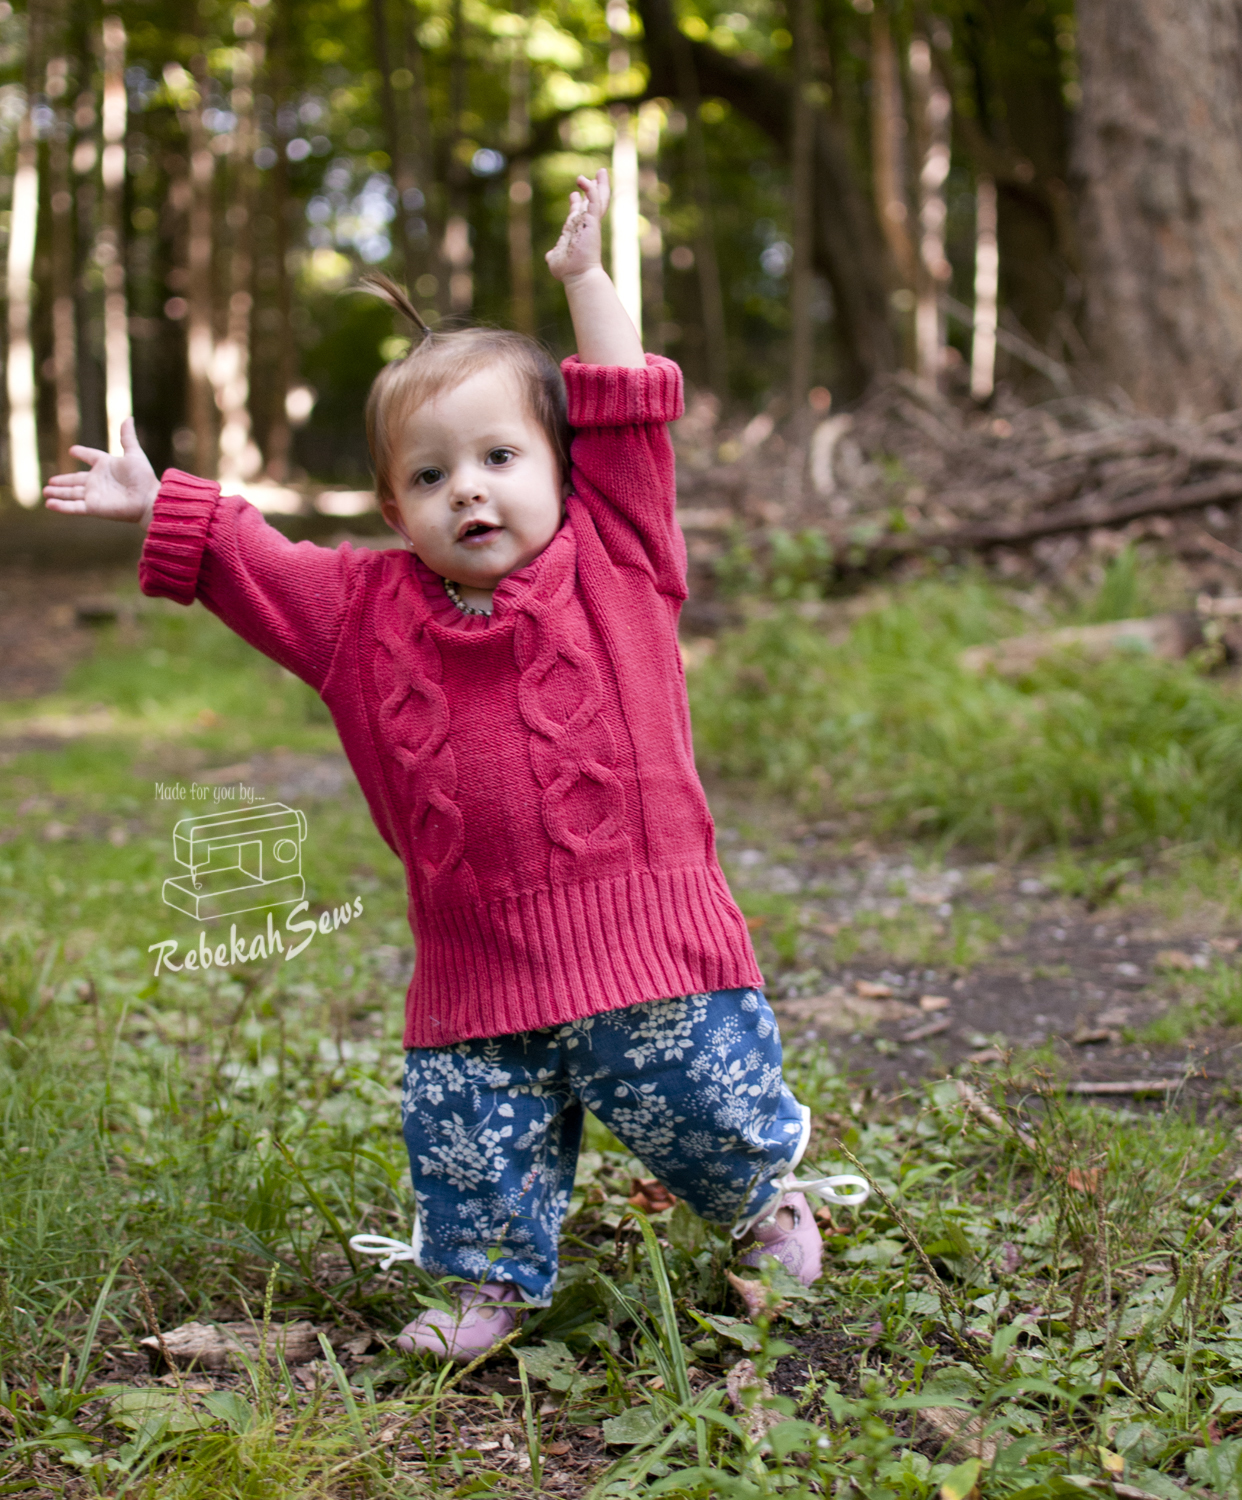
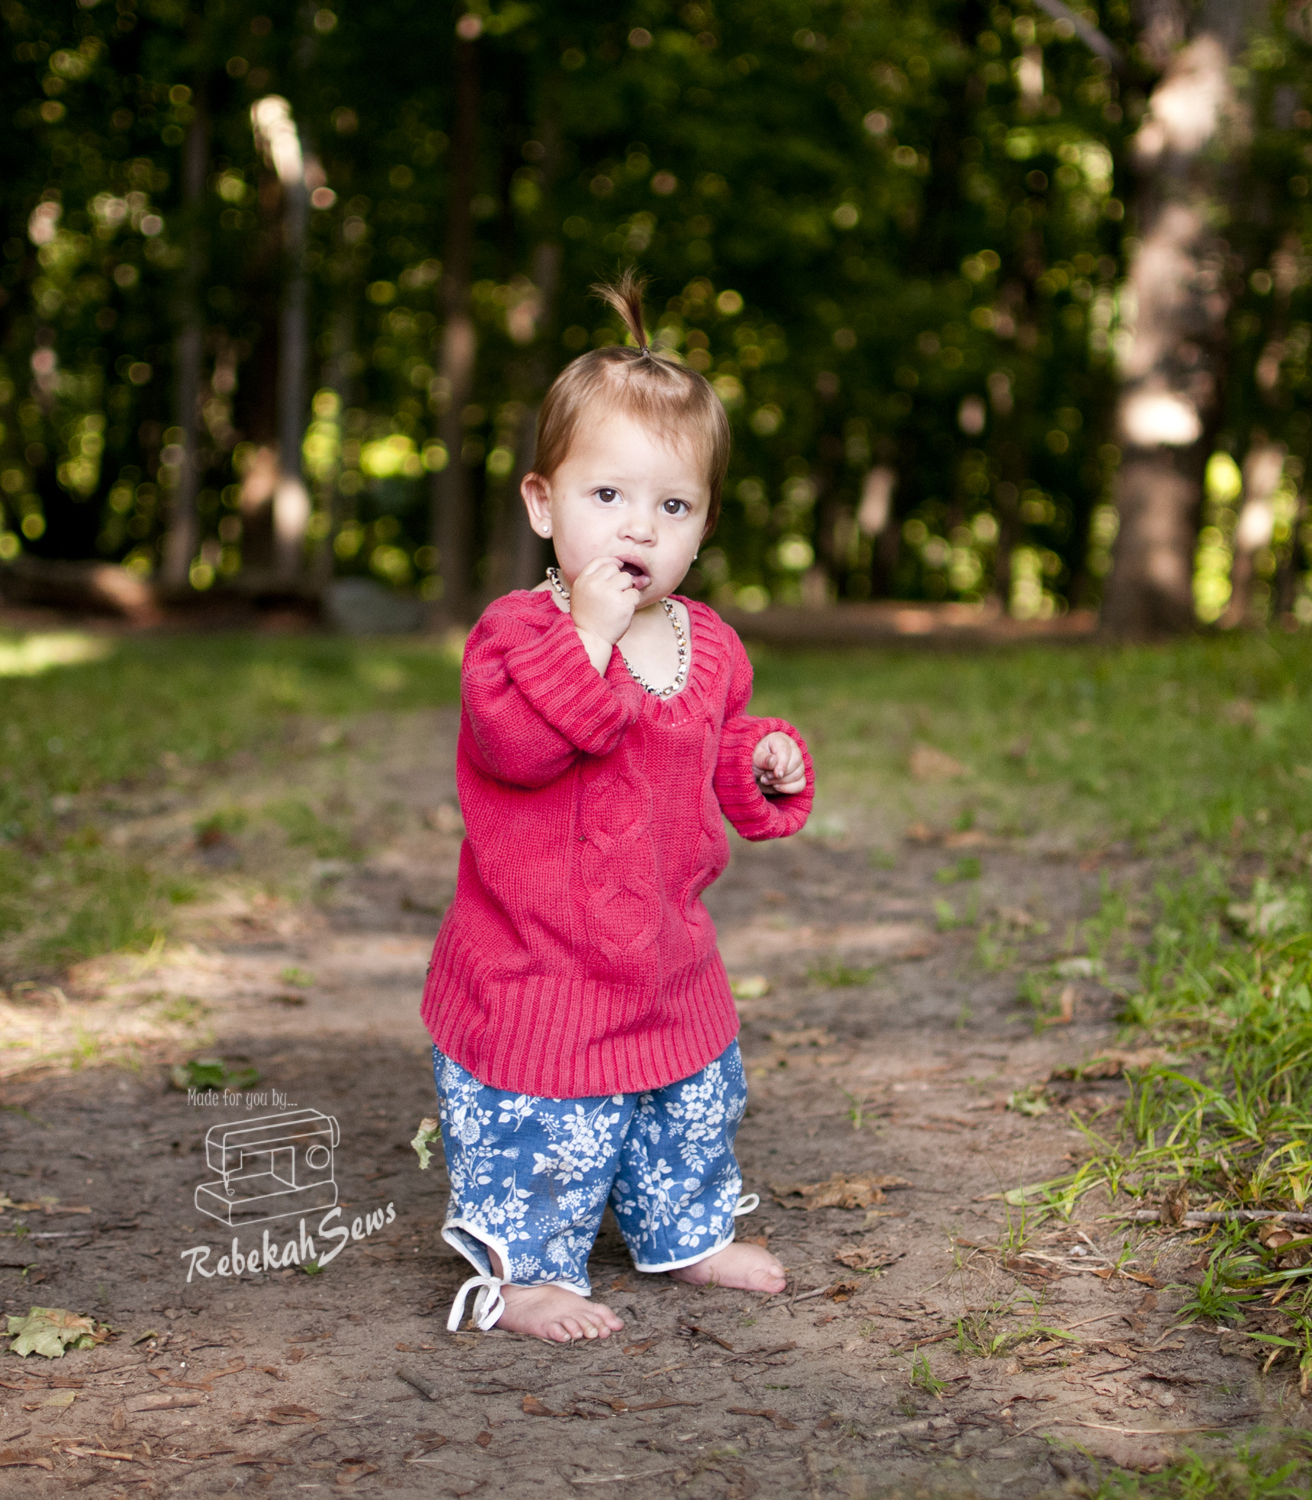
As summer is ending and fall is fast approaching I thought I would use this tour as an opportunity to start on a fall/winter wardrobe for my little girl. For the Tinley Tee I decided to upcycle an old sweater of mine into a new sweater for her. Now I should start by saying that baby girl is technically still in a size 6-9mo. That being said I still decided to stick with the size 12mo in hopes that by the cold months she would grow into it. Secondly I have never upcycled a sweater before and after completion realized that it is (at least mine) was a lot stretchier than regular knit fabrics. Result: a really cute super comfy oversized sweater for baby girl! In order to keep the original hems on the sleeves I just cut off a 1/2″ to the bottom of the pattern piece. For the hem of the shirt I didn’t cut off the hem allowance as I wanted it a bit longer. Also for the neckline I used the original collar on the sweater.
  It’s not as stretchy as normal knit so I had to lengthen the neck binding. This gave it a more open neckline which will look super cute with a turtle neck under it for the really cold months! Despite it being on the bigger side and needing to roll the sleeves a bit, I just love it! If the original sweater had been as comfortable as this sweater looks on baby girl I wouldn’t have upcycled it!

Now for the Love Me Knot Shorts. As you can tell by the photos (we had a fun nature walk can you tell?) I made them into pants! How did I do this?  On the pattern piece right above the keyhole extending over to right below the inseam curve I drew a straight line and cut. I then added paper under that line to extend the leg. Once I added the amount I needed to be long enough for baby girl I attached the bottom of the original pattern piece (the keyhole) to the added paper. My one mistake was then tapering the leg. I totally forgot I needed to leave the wide width of the pant leg in order to gather it before hemming it with the binding. So my hems have no gathering. Still look so cute though. I also didn’t add any pockets as I prefer no pockets for babies as they don’t use them.
 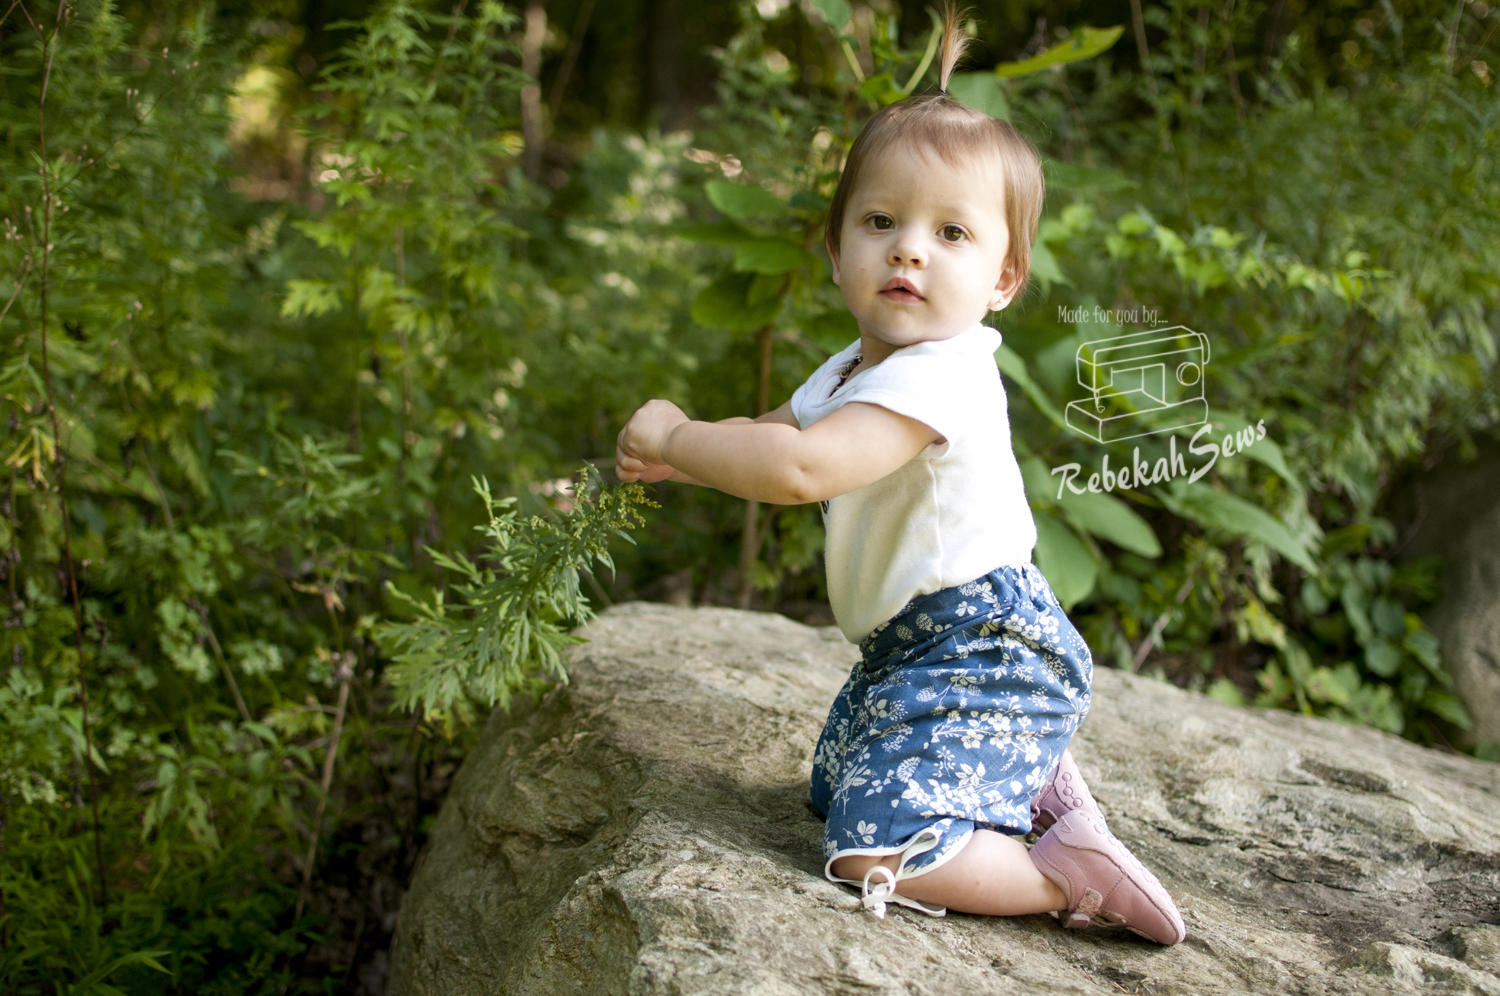 I know they are cute, but that’s just a personal preference. Also the pattern calls for 1/2″ bias tape. I like to use 1/4″. It can be a little trickier to attach but in the end it looks daintier. I will be making more of these for the colder months!

Isn’t it amazing what you can do with these two patterns? Different fabrics, different options, different looks every time! Know what’s even better? You can enter win both patterns! Just click on: a Rafflecopter giveaway to enter. If you don’t want to wait, and I can totally understand your impatience, then head on over to the Etsy shop and buy them both. Use coupon code “SAVE15” to get 15% off. Don’t forget to take a look at her other patterns too! They are all amazing!


Rebekah what a great idea to upcycle. She is such a doll. Thank you for being on the tour!